Main drive motor control jam service check
Action Yes No
Step 1
a Remove the main drive gearbox.
b Check the main drive gearbox cable for proper connection.
Is it properly connected?
Go to step 2. Reseat the cable.
Step 2
a Remove the main drive gearbox.
b Check the gears of main drive gearbox for wear or damage.
Are they free of wear or damage?
Go to step 3. Replace the main drive
gearbox. See “Main
drive gearbox
removal” on page
167.
Step 3
Check the main drive motor for proper operation:
a Remove the main drive gearbox.
Note: Do not disconnect the main drive gearbox cable.
b POR into the Diagnostics menu and perform a feed test:
Diagnostics menu > Input Tray Tests > Feed Test >
Select any input source
c Check if the main drive motor rotates when doing the feed test.
Does it rotate when doing the feed test?
Go to step 4. Replace the main drive
gearbox. See “Main
drive gearbox
removal” on page
167.
Step 4
Check the fuser gear for damage or toner contamination.
Is it free of damage and contamination?
Replace the controller
board. See “Controller
board removals” on
page 184.
Replace the fuser. See
“Fuser removal” on
page 244.
201 paper jams
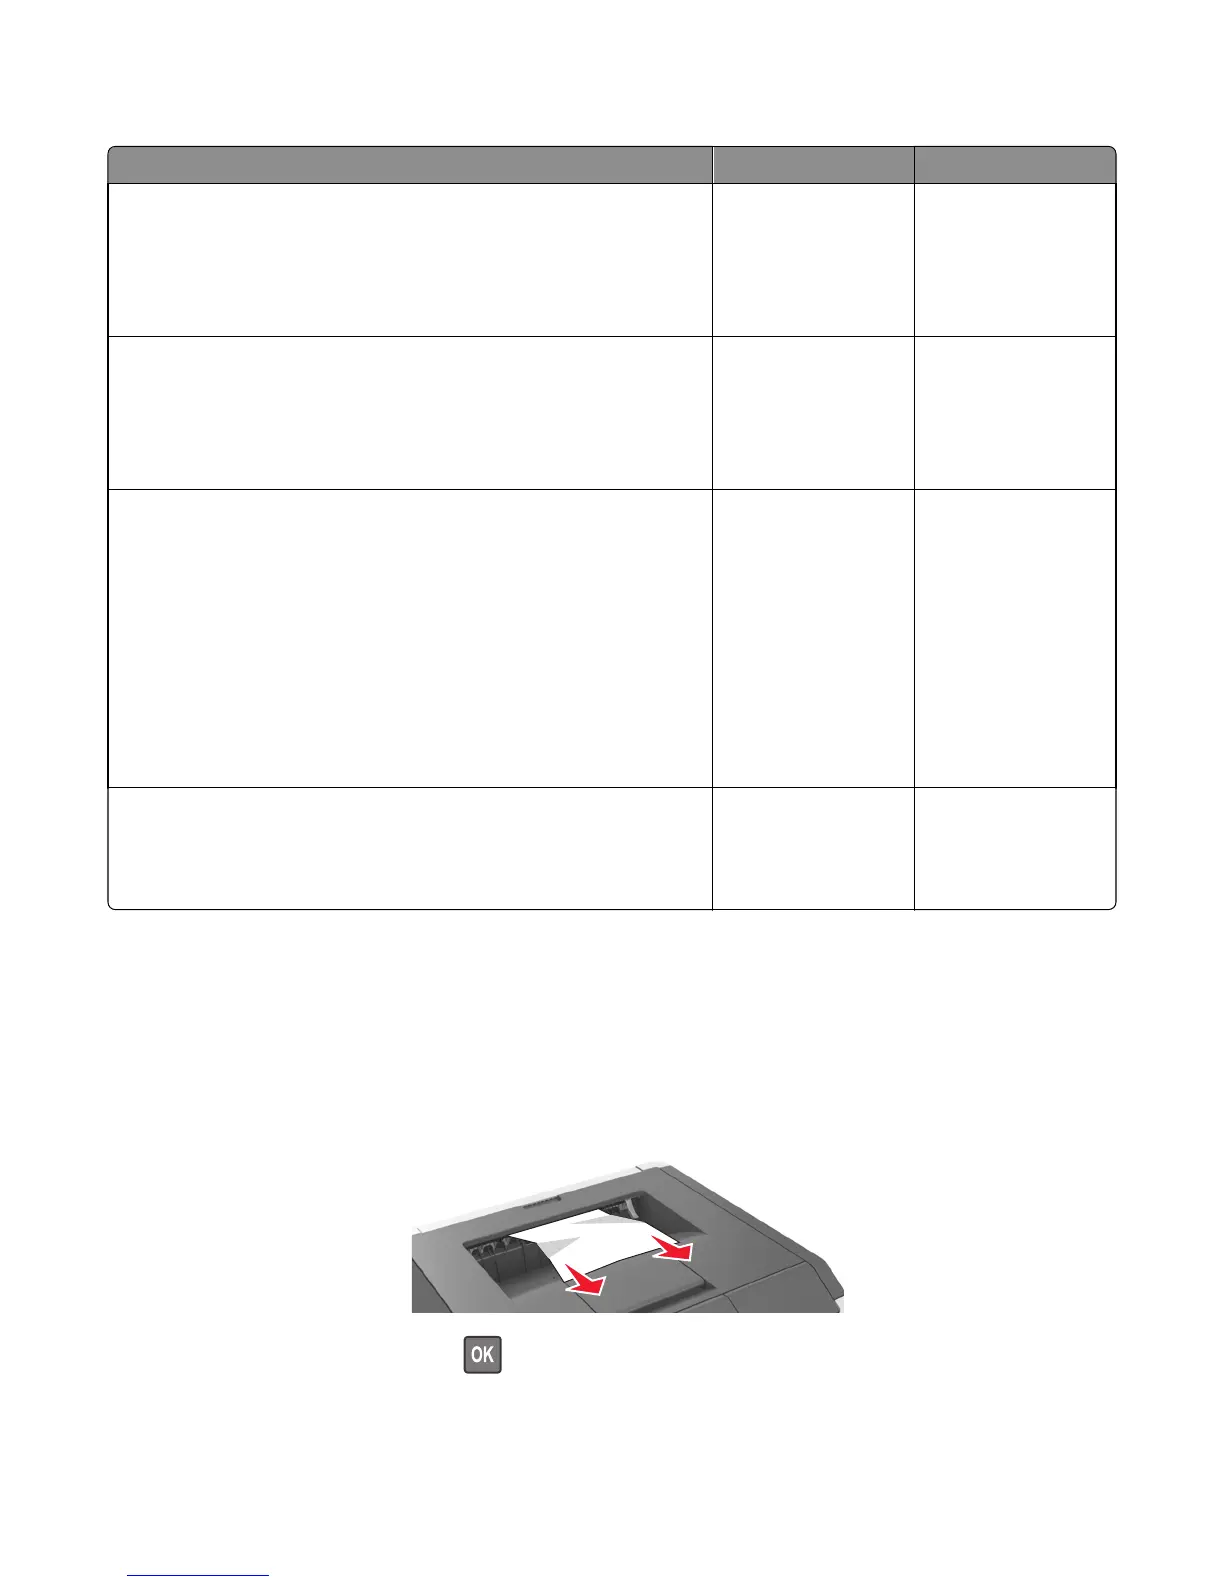
[x]‑page jam, clear standard bin. [20y.xx]
1 Firmly grasp the jammed paper on each side, and then gently pull it out.
Note: Make sure all paper fragments are removed.
2 From the printer control panel, press to clear the message and continue printing.
4514-630, -635, -636
Diagnostic information
63
 Loading...