Mode/Drum Options
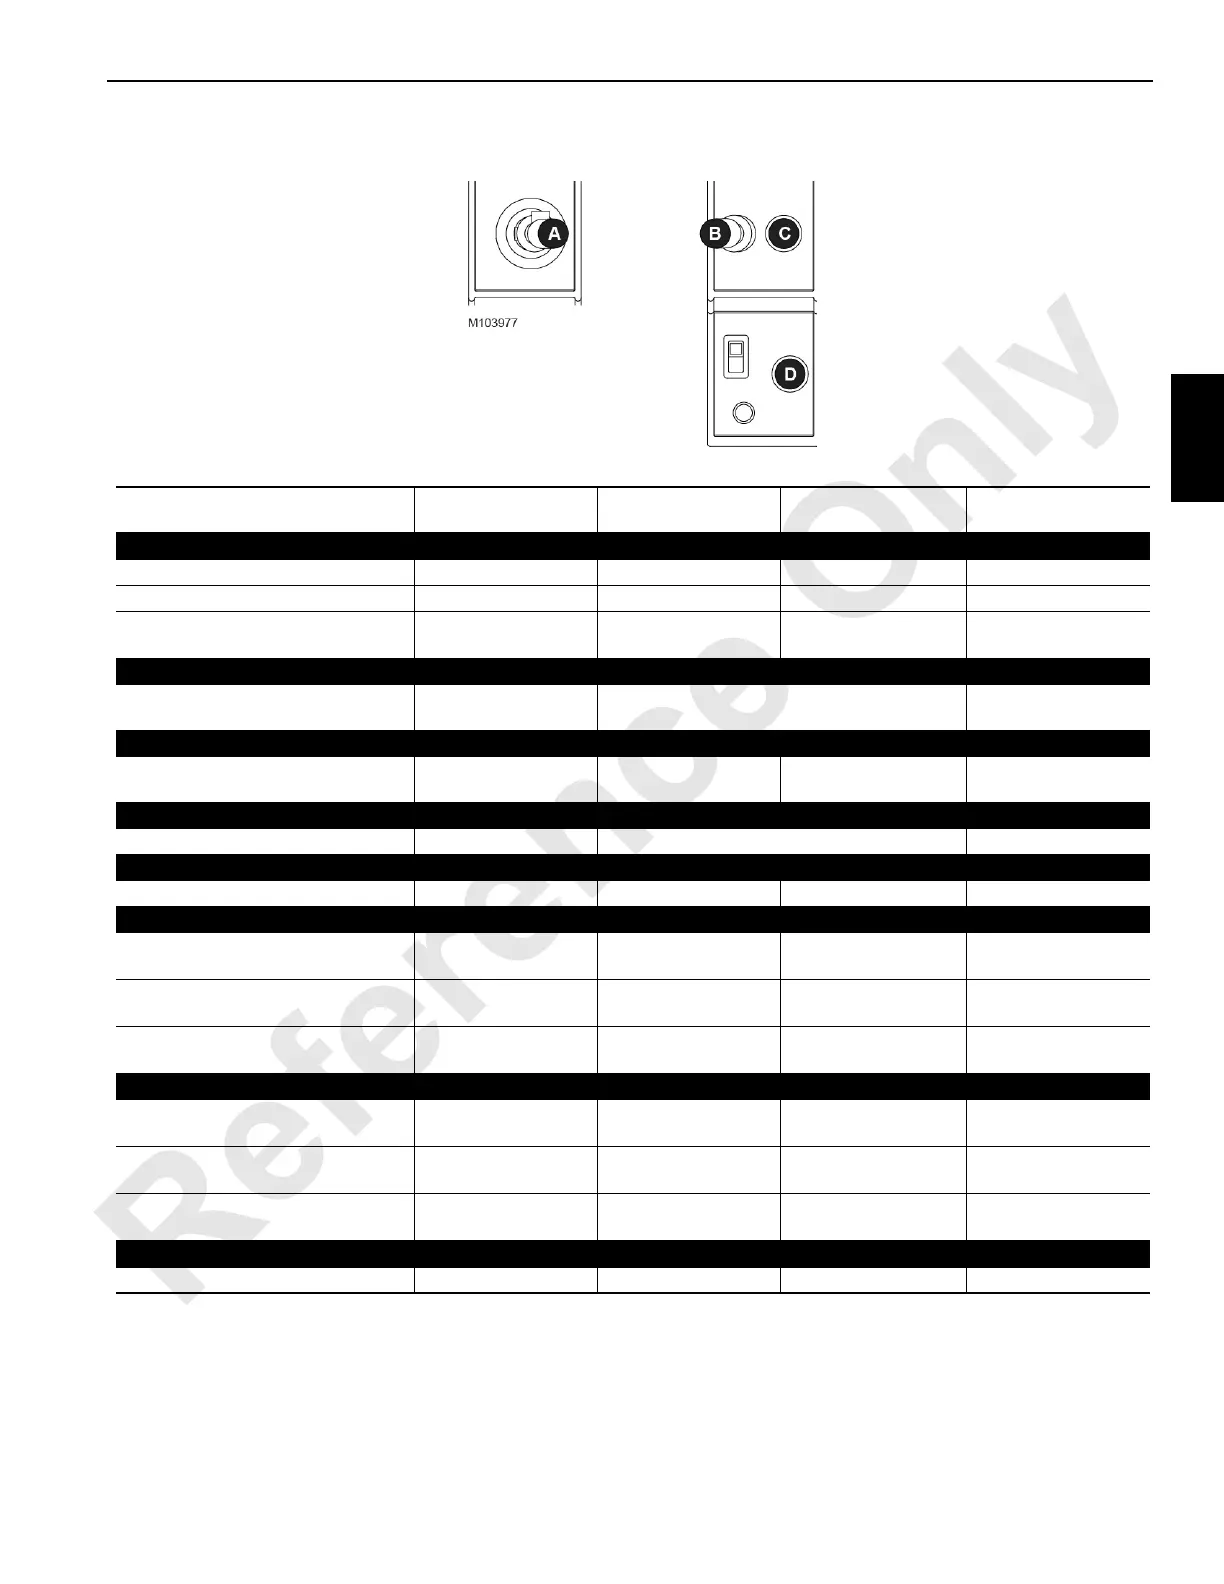
Handle A
Controls
Handle B
Controls
Handle C
Controls
Handle D
Controls
Standard or Setup Mode
Split Rear Drums (2-drum crane) 4—Boom Hoist 2—Right Rear 3—Left Rear
Front and Rear Drums (2-drum crane) 4—Boom Hoist 1—Front 2—Rear
Front and Rear Drums (3-drum crane) 4—Boom Hoist 1—Front
2—Right Rear
or
3—Left Rear (NOTE 1)
Drum 5 (Luffing Jib) Mode—Standard Crane (NOTE 2)
4—Boom Hoist or
5—Luffing Hoist
Same as Standard Mode
Drum 5 (Luffing Jib) Mode—MAX-ER 2000 (NOTE 2)
4—Boom Hoist or
5—Luffing Hoist
9—Boom Butt Drum 3—Left Rear
Drum 5 (Auxiliary Hoist) Mode—Standard Crane (NOTE 3)
4— Boom Hoist Same as Standard Mode 5—Auxiliary
Drum 5 (Auxiliary Hoist) Mode—MAX-ER 2000 (NOTE 3)
2—Boom Hoist 9— Boom Butt 5—Auxiliary
Tandem Drum Mode (NOTE 4)
Split Rear Drums (2-drum crane) 4—Boom Hoist
2—Right Rear
and
3—Left Rear
Front and Rear Drums (2-drum crane) 4—Boom Hoist
1—Front
and
2—Rear
Front and Rear Drums (3-drum crane) 4—Boom Hoist
1—Front
and
2—Right Rear
Clamshell Mode
Split Rear Drums (2-drum crane) 4—Boom Hoist 2—Right Rear
2—Right Rear
and
3—Left Rear
Front and Rear Drums (2-drum crane) 4—Boom Hoist 1—Front
1— Front
and
2—Rear
Front and Rear Drums (3-drum crane) 4—Boom Hoist 1—Front
1— Front
and
2—Right Rear
MAX-ER Mode (M*) (2000) (5)
2—Boom Hoist 9—Boom Butt 3—Left Rear
Left Console
Right Console
Handle-to-Drum Identification
FIGURE 3-8 continued