11 Troubleshooting
SAMPLE PORT FRIT REPLACEMENT
The equipment images in this topic may differ slightly from your equipment; however,
the instructions are the same unless otherwise noted.
A frit is located in the connecting nut attached to each analysis port. If the frit becomes
contaminated, the contaminant may adsorb or desorb during analysis, affecting the results. A
contaminated frit on the analysis port may be indicated as a leak or a free space reading much
lower than normal.
Use the proper size frit for the sample port. The analyzer will not operate properly if an
incorrect size is used.
3. Use a wrench to remove the connecting nut from the sample port. Pry out the filter (frit) and
O-ring.
To avoid degassing problems, the frit should be clean and should not be touched with
bare hands.
4. Place a new frit into the connecting nut.
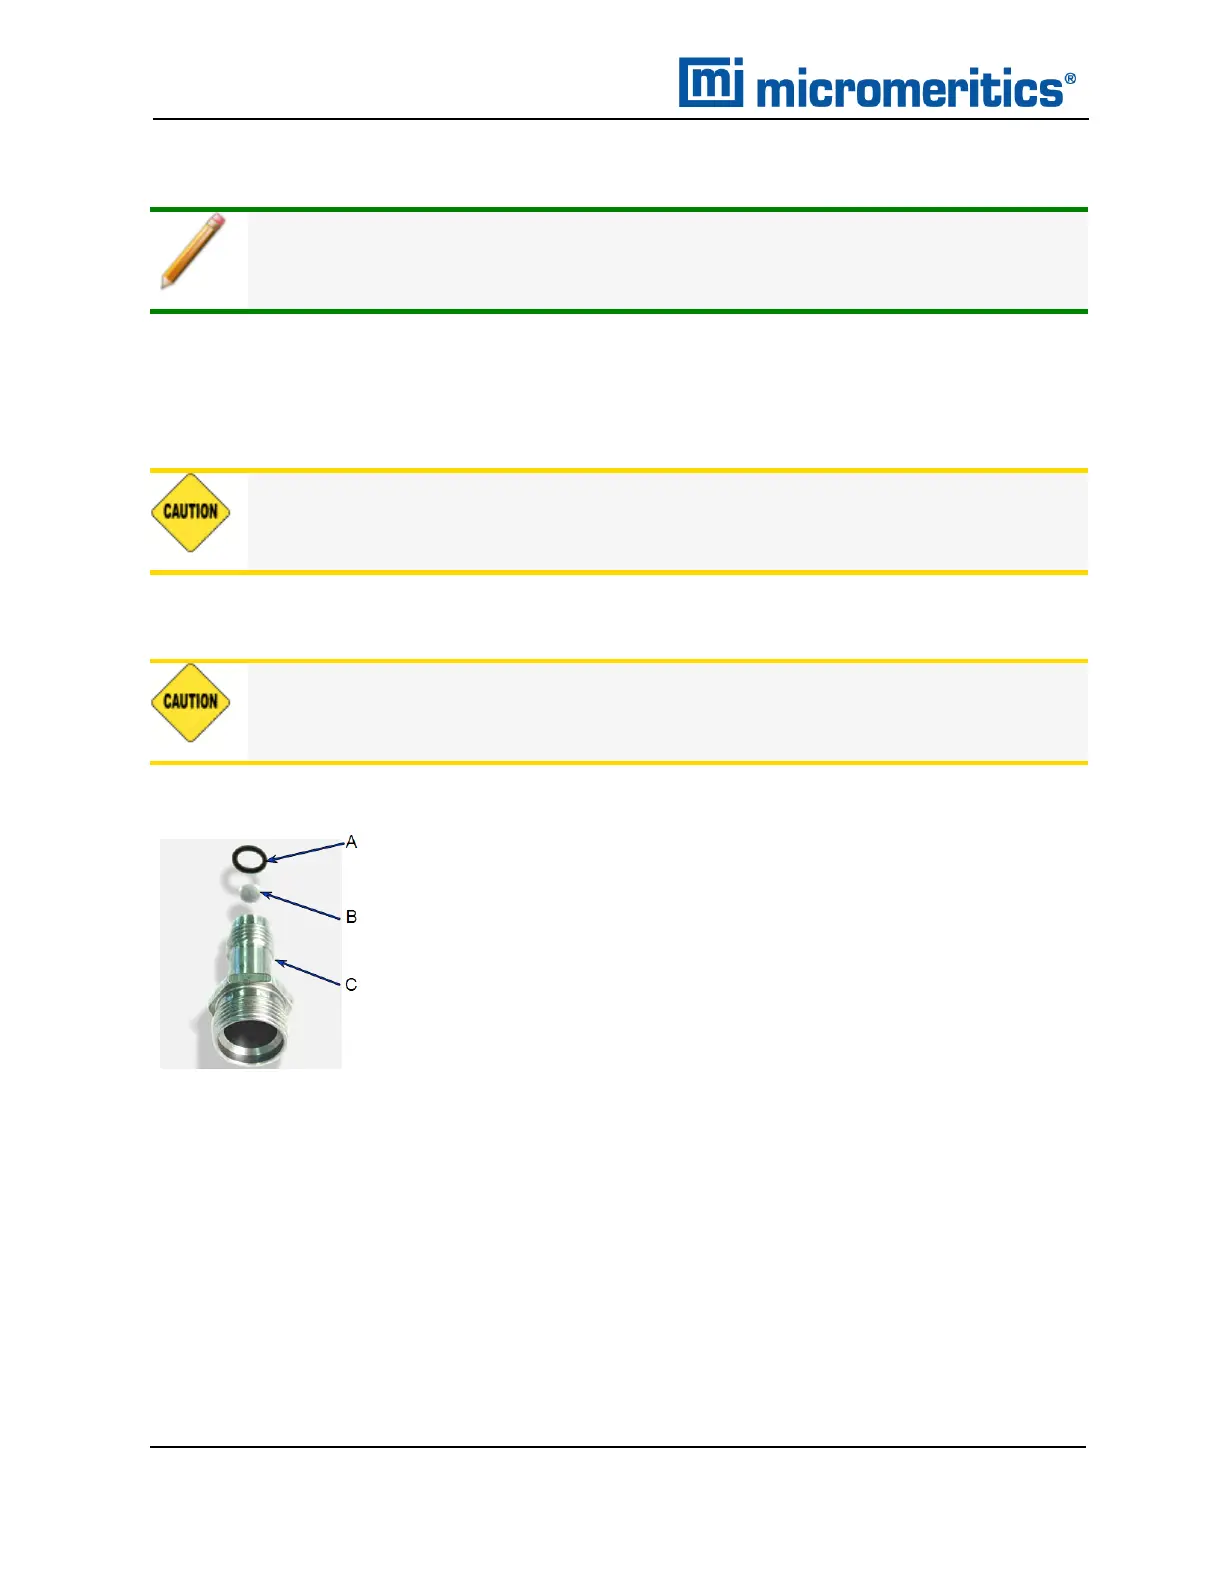
A. O-ring
B. Filter (frit)
C. Sample tube fitting
5. Replace the filter and O-ring. Carefully reassemble the sample tube fitting and reinstall on
the sample port. Tighten by hand, then with a wrench to prevent leaks.
11 - 18
TriStar II Plus Operator Manual
303-42800-01 (Rev M ) — Sep 2023

 Loading...


