– 2.20 –
Starting cutting (plotting)
After the completion of loading of a tool and sheet and establishment of tool conditions, you can
start cutting (plotting).
• Check up the following settings before executing cutting (plotting).
Setting of the origin (
Page 2.20)
Setting of the origin select (
Page 3.54)
Setting of the commands (
Page 3.59)
Priority of commands (
Page 3.61)
Setting of communication conditions (
Page 3.60)
Setting of the Maximum size of response (
Page 3.61)
Setting an origin
The origin is a reference point of data to be cut (plotted).
To start cutting (plotting), be sure to specify an origin in prior.
*Reset the origin point before performing the subsequent data cutting to
prevent from cutting on the previous cut (plotted) data.
1) Move the head to a point that is specified as an
origin.
[ ]: Moves the head to the right.
[
] : Moves the head to the left.
[
]: Moves the sheet away from you.
[
]: Moves the sheet toward you.
• Every time you press the [TOOL] key, the tool
will go up and come down alternately. This
helps you to set an origin at a correct position
with accuracy.
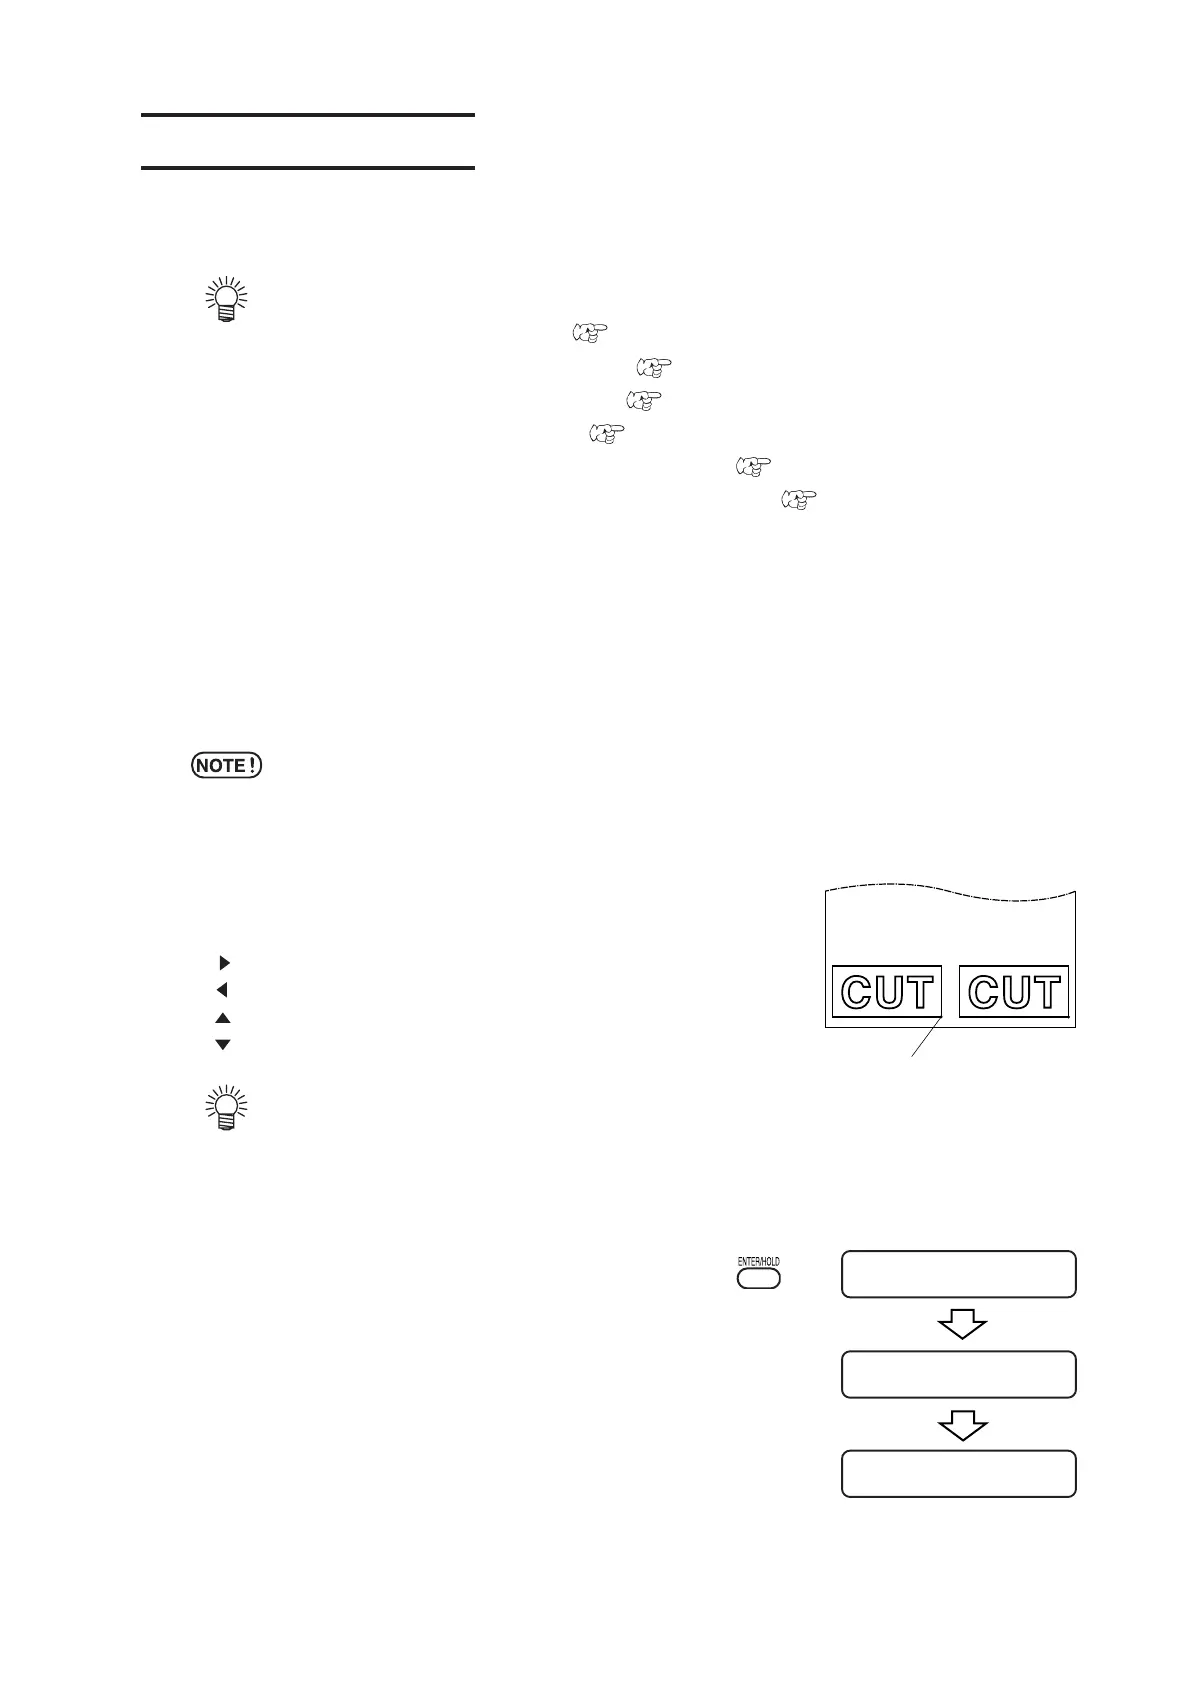
2) Press the [ENTER/HOLD] key to enter the
origin.
After the effective cutting area appears on the LCD, tool
conditions will appear there.
A =
****
B =
****
CT1 020 050 0.30
**
ORIGIN
**
New origin
 Loading...


