8.15 Stand
8.15.2 Installing procedure
8 - 57
1
OVERVIEW
2
SYSTEM
CONFIGURATION
3
SPECIFICATIONS
4
PART NAME AND
SETTINGS
5
EMC AND LOW
VOLTAGE
DIRECTIVE
6
INSTALLATION
7
WIRING
8
OPTION
(2) GT05-50STAND
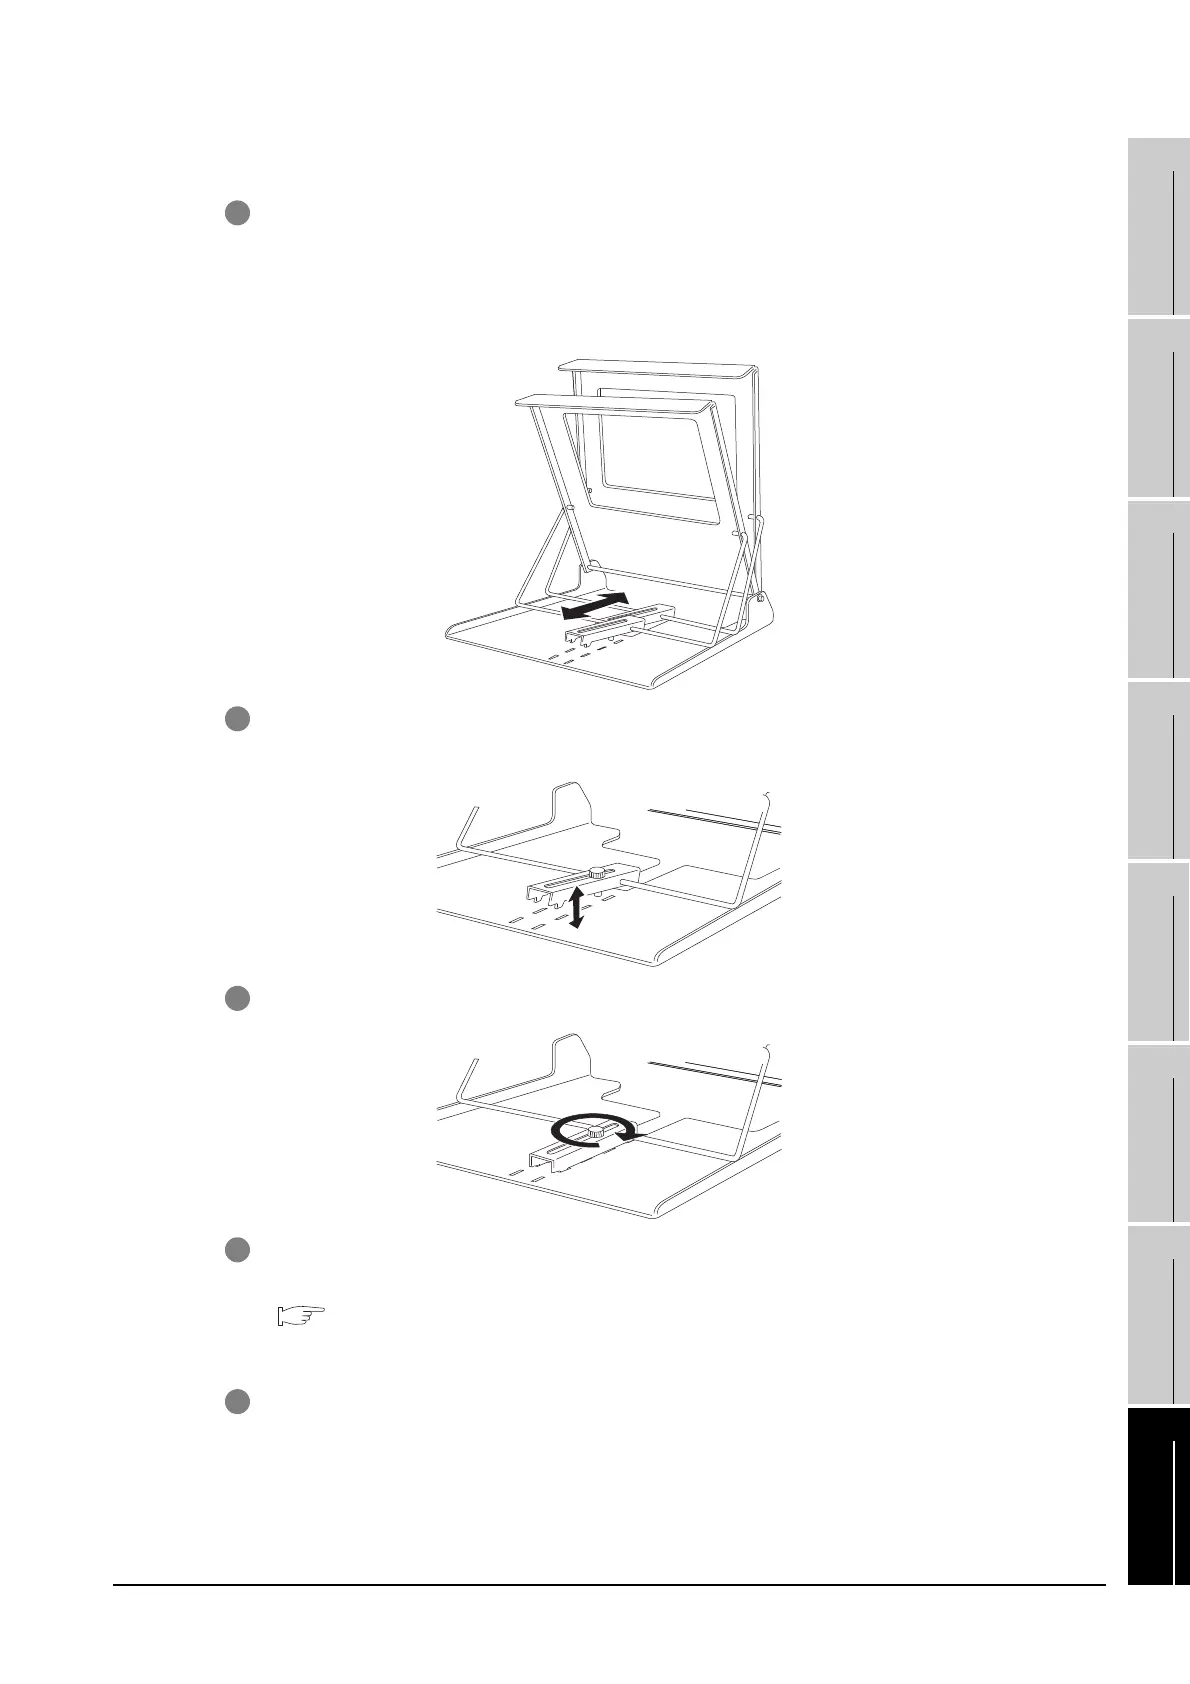
1 Determine the angle for installing the GOT.
Slide the angle adjustment fitting as shown below to determine the angle.
The angle can be adjusted to 75°, 65°, 55° or 45°.
When installing multiple units to the GOT, use the stand with 75 or 65 degrees for securing lead-
in allowances for cables at the bottom of the GOT.
2 Once the angle is determined, insert the angle adjustment fitting's fixing hook into the hook
insertion section on the bottom of the stand.
3 Securely tighten the fixing screw.
4 Insert the GOT from the front of Stand and install it to Stand.
Refer to the following for details on installing the GOT.
6.5 Installation Procedure
5 After the installation, perform wiring, etc.

 Loading...

