7 Functions and settings
© Maschinenfabrik Reinhausen 2012 2117246/02 EN TAPCON® 230 basic 141
7.4.4.2 Assigning function
A function can be assigned to an LED. As soon as the corresponding event
occurs, the selected LED lights up. There are a total of 4 LEDs.
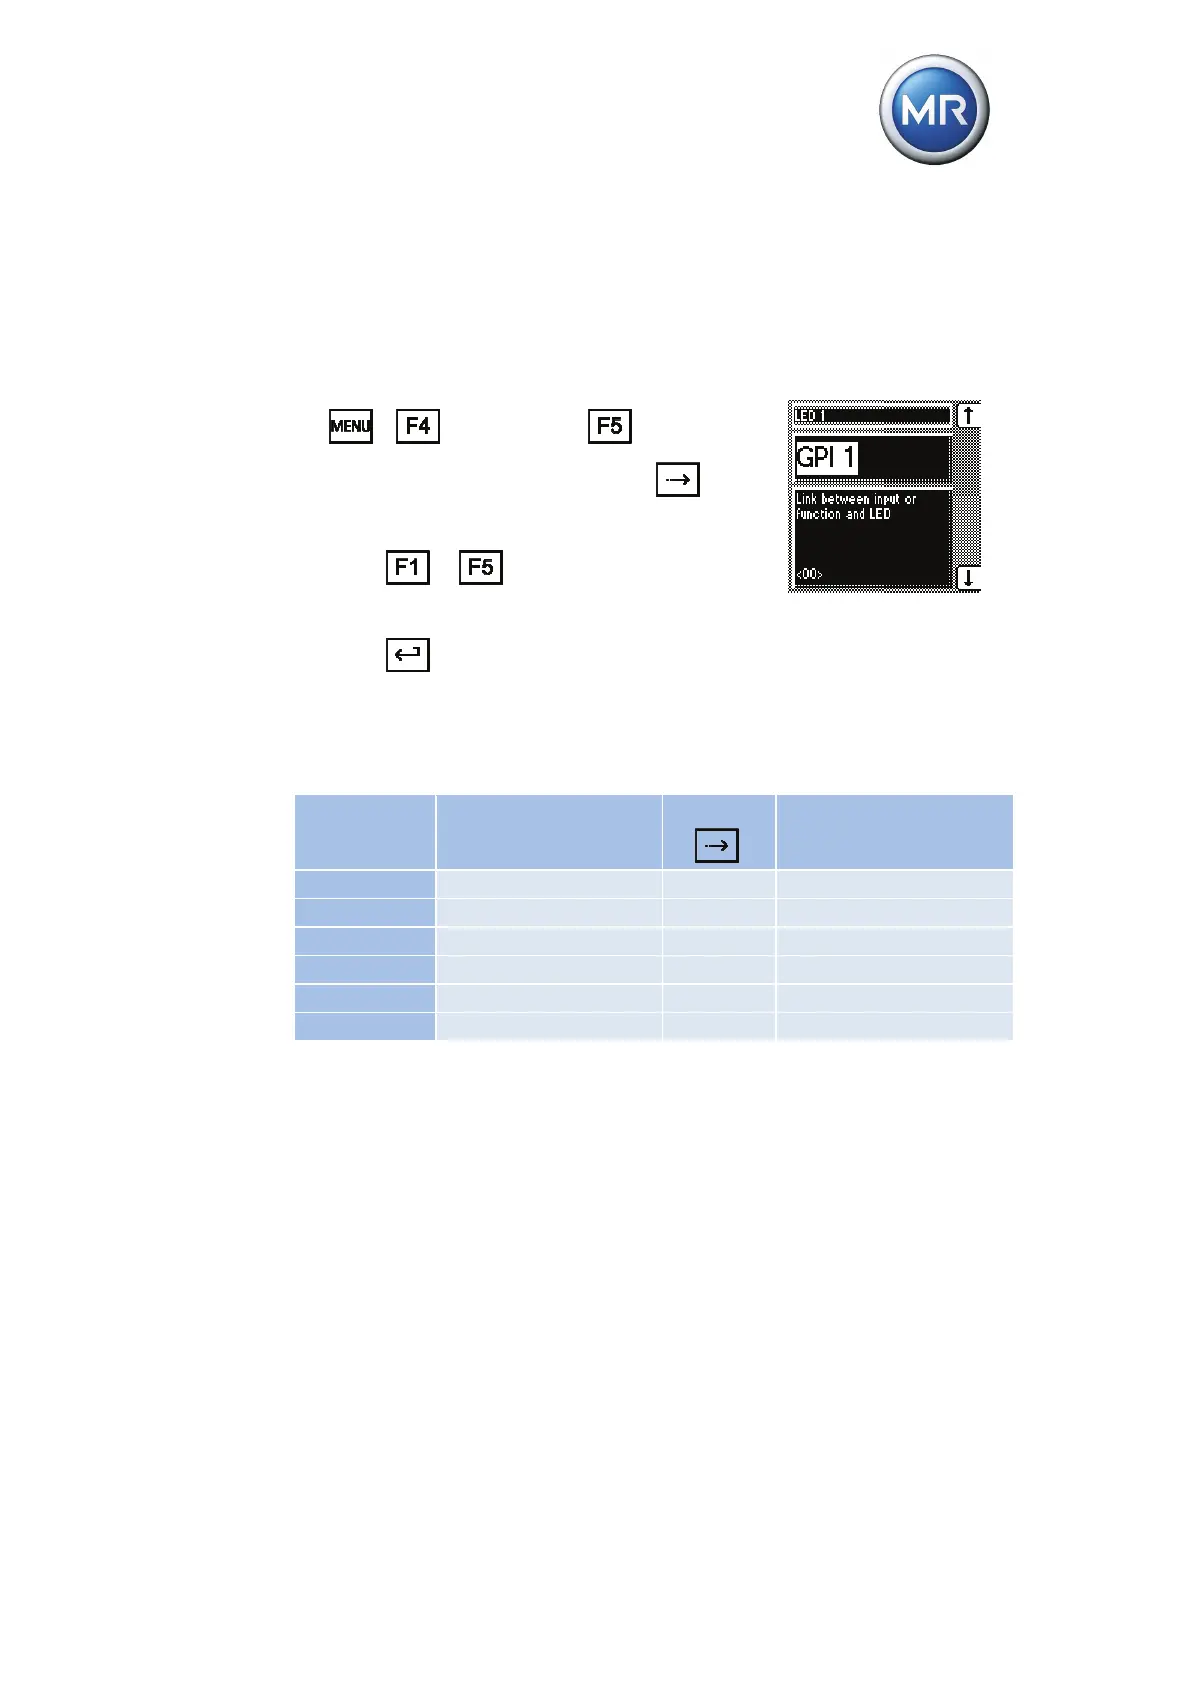
To assign a function to an LED, proceed as follows (Example: "LED 1"):
1. > Configuration > LED selec-
tion (for LEDs 2...4 see table, press
).
<00> LED 1.
2. Press
or repeatedly until the de-
sired function appears.
3. Press
.
The function is assigned.
All additional LEDs can also be assigned as described above. You can select
the LEDs as follows:
LED Characteristics
Press
.
Page number in the
display
LED 1 Single-colored - <00>
LED 2 Single-colored 1x <01>
LED 3 yellow Two-colored 2x <02>
LED 3 green Two-colored 3x <03>
LED 4 red Two-colored 4x <04>
LED 4 yellow Two-colored 5x <05>
Table 44 Configurable LEDs