5 Mounting
44 TAPCON® 230 basic 2117246/02 EN © Maschinenfabrik Reinhausen 2012
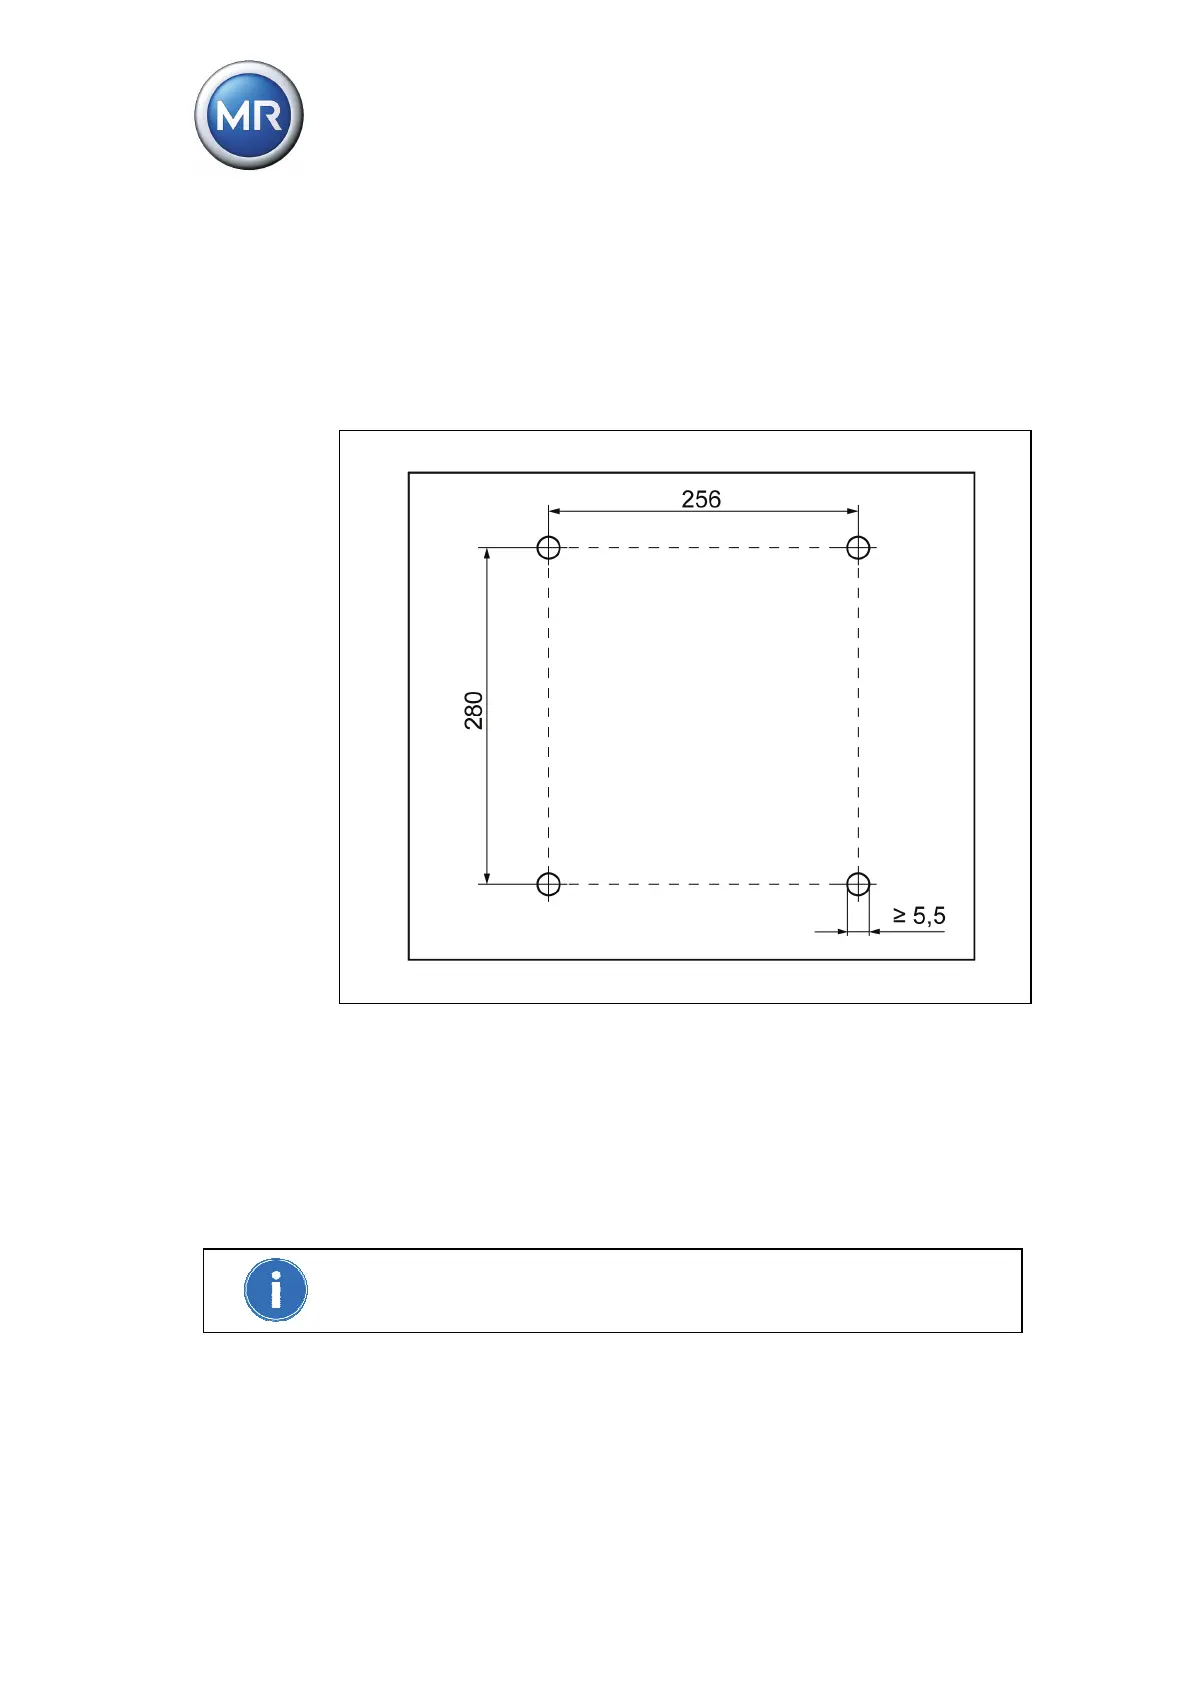
5.3.4 Wall mounting with mounting brackets
As an alternative to mounting the device directly on the wall, it can be fixed to
the wall using the mounting brackets supplied.
Drill 4 holes, each 5.5 mm in diameter, in the wall as shown in the drilling
template below.
Figure 15 Drilling template for wall mounting with mounting brackets
To mount the device using the mounting brackets, proceed as follows:
1. Lay the device carefully on the door.
2. Screw the mounting brackets supplied to the back of the device using the
hexagon socket screws.
3. Fix the device on the wall using 4 screws (maximum diameter of 5 mm).
The screws for fixing to the wall are not included in the scope of supply.
The screw length required depends on the wall thickness.