5 Mounting
40 TAPCON® 230 basic 2117246/02 EN © Maschinenfabrik Reinhausen 2012
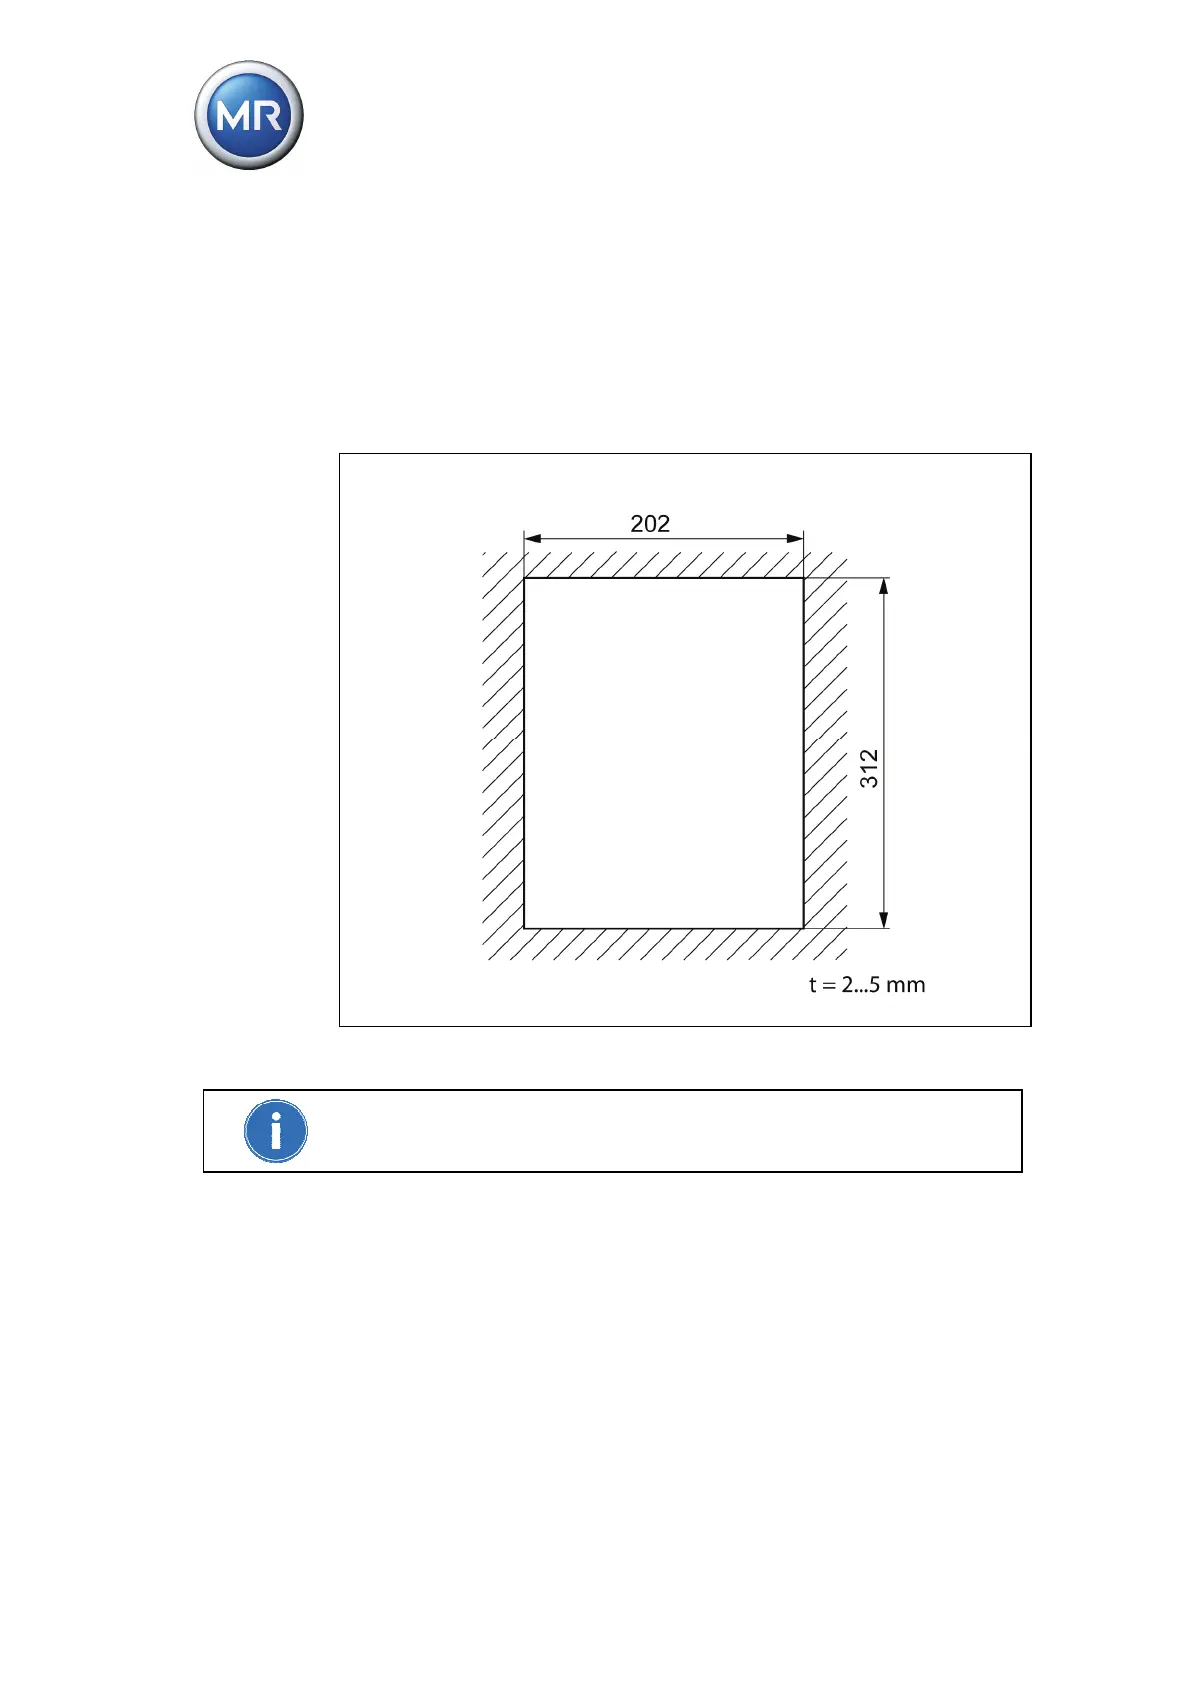
5.3.2 Flush panel mounting
For flush panel mounting the device is inserted through a cutout in the control
panel and fixed to the control panel or control cabinet from behind using the
mounting brackets.
The diagram below shows the dimensions required for the control panel cu-
tout.
Figure 11 Cutout for flush panel mounting
A wall thickness of 2...5 mm is needed for secure device fixing.
To mount the device in the control panel or control cabinet, proceed as fol-
lows:
1. Close the device's door.
2. Insert the device through the cutout in the control panel or control cabinet.
3. Screw both fixing brackets to the rear of the device with 2 hexagon socket
screws each.