10 Maintenance and repairs EFA-200/-300
10-10
10.4.1 Entering the access code
The procedure described below is identical for the Basic Unit and for the E-
Field Unit.
Note: You might have to enter multiple access codes to enable an
operating mode.
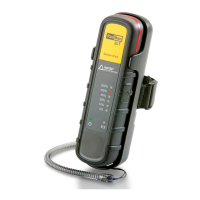
✓ The current version of the software “EFA-200/ -300 Tools”
should be installed.
Installing the software “EFA-200/-300 Tools”: see page 10-5
✓ The opto-electrical adapter should be connected to a serial interface
“COM” of your computer.
✓ The document with the device-specific access codes for the desired
operating mode should be handy.
1. If possible, close all open applications on the PC.
2. Power up the EFA and wait for it to boot up (approx 15 s).
3. Launch the application “conf.exe”.
The “CONF” window should open.
4. Clock on the MODE... button.
The window “COM Port” should open.
5. Activate the serial interface “COM” to which the opto-electrical adapter is
connected and confirm your entry with SELECT.
The “Enable Mode” window should open.
The device-specific identification number “ID” will be displayed.
Already enabled modes will be indicated with red lights next to their
access code.
The access code is individually selected for each device.
6. Check whether the “ID” given in the document exactly matches the one
displayed in the output screen.
7. Use the EDIT CODE key to open the input field for the specified access
code.
8. Enter the four-digit code and close the input field.
9. Activate the “write” field next to the access code.
10.Repeat steps 7 to 10 for each mode to be enabled.
11.Begin programming with the WRITE SELECTED CODE(S) key.
A window will open to show the progress.
12.Close the program when this is complete.
13.Power the EFA off and back on again.