3 Preparing the NBM-550 for use
26 NBM-550 Narda
Disconnecting the probe
Undo the threaded coupling using your thumb and
forefinger and then pull the probe upwards to release it.
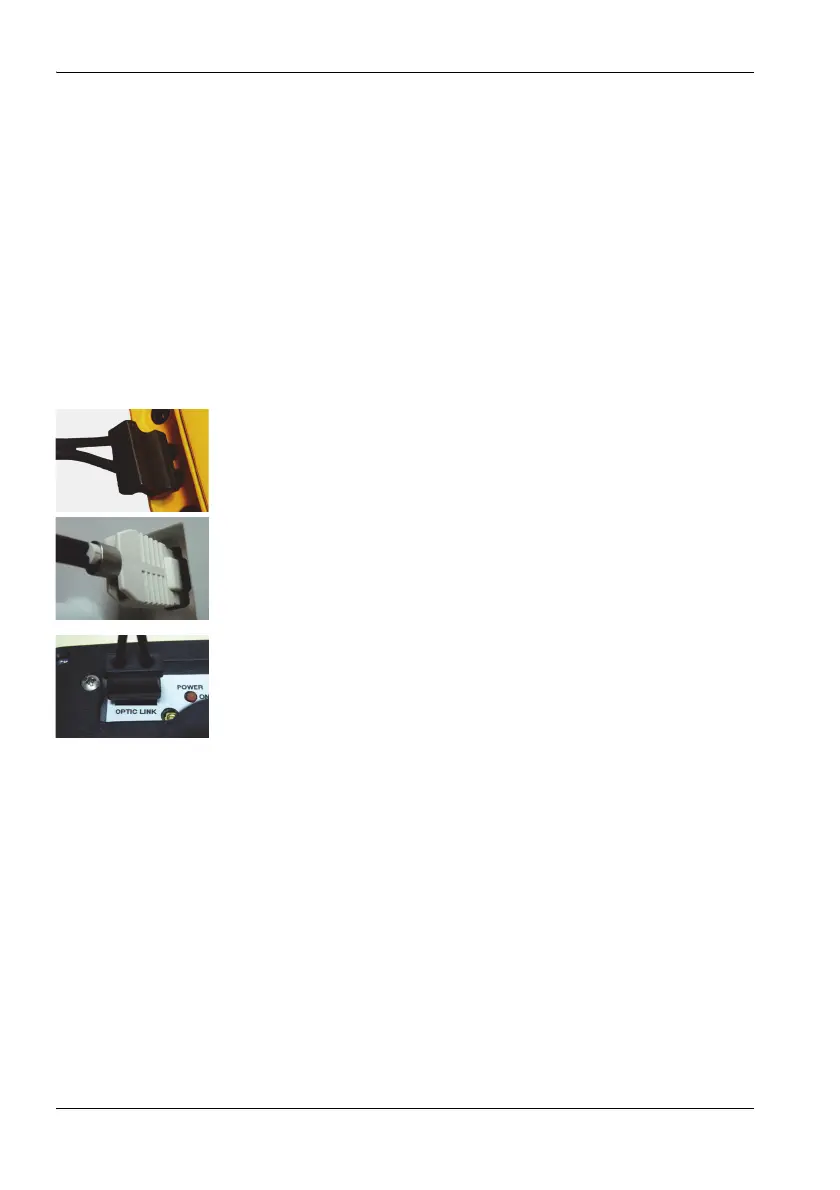
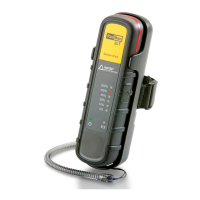
3.6 Connecting and setting up the EHP-50
The EHP-50 Analyzer is connected using the optical cable
supplied with it. Using the optical cable for data transfer
prevents the field distortions that are caused by electrically
conductive cables.
To connect the probe:
1. Plug the black plug of the optical cable into the optical
connector of the NBM-550 (Figure 1: 6c). The plug will
only fit in one direction and will lock in place when light
pressure is applied.
2. EHP-50D: Plug the white plug of the optical cable into
the optical connector of the EHP-50 (Figure 2: 13a). The
plug nose must be aligned with the indentation on the
socket.
– or –
EHP-50F: Plug the black plug of the optical cable into the
optical connector of the EHP-50 with the groove of the
grip pointing towards the center of the probe. The plug
can only be inserted in this one direction and will lock
into place when you apply light pressure.
Observe the following when setting up the device:
Do not use a conductive tripod.
Make sure that the device is at least one meter above the
ground.
Make sure that the device is at least two meters from any
person and from the NBM-550.