Parameter Description
MODE (Knob 3) Selects from the two available recording modes:
SYNC: If SYNC is selected, you can synchronize the recording
function to the sequencer, so that the recording starts in sync with
the sequencer after you press Button 5 (START). The recording will
start at the top of the next bar. Using Knob 4 (LENGTH), you can
choose a length for the Sample to be recorded: either 1, 2, 4, 8, or
16 bars — or choose FREE if you don’t want to set any duration limit
to the recording. At any time you can press Button 5 (STOP) to stop
the recording before the duration defined by LENGTH has been
reached — the recording will then stop at the next bar.
DETECT: If DETECT is selected, you can set a certain threshold using
Knob 4 (THRESHOLD). The threshold is indicated by a little arrow
above the level meters on the left display. After you pressed Button 5
(START), the input signal level exceeding this threshold will start the
recording. You can then manually stop the recording by pressing
Button 5 (STOP) again. This is useful to record a singer or an
instrumentalist, for example.
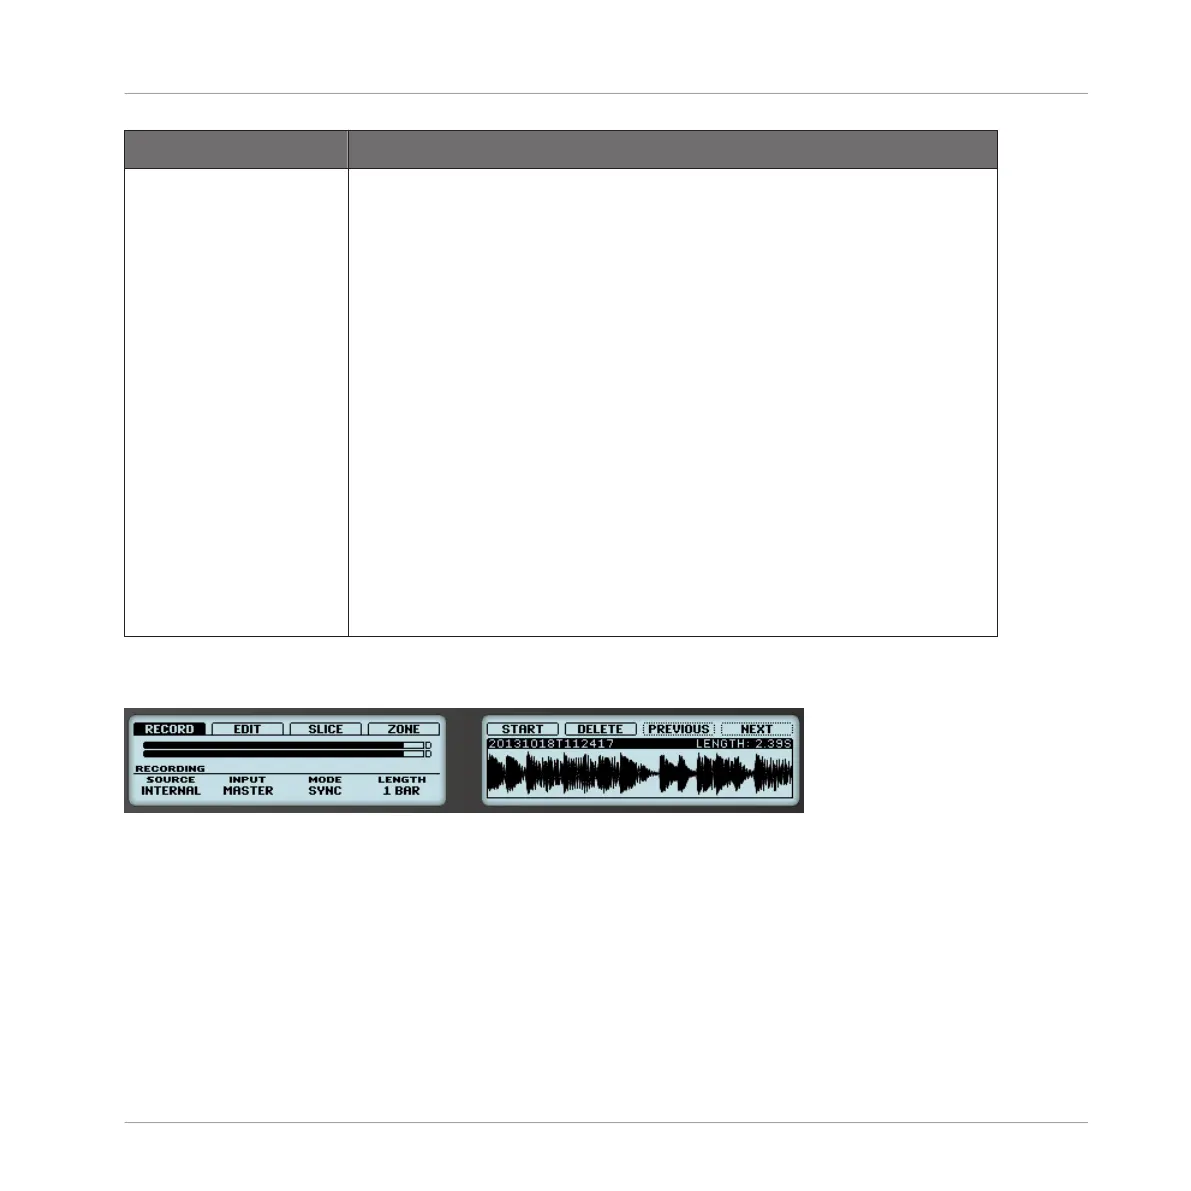
Monitoring the Input Signal
Visually controlling the input signal.
The level meters above the RECORDING section show you at any time the level of the selected
audio source. For example, this can come in handy to adjust the appropriate threshold in De-
tect mode. For this purpose, in Detect mode the level meters provide a little down-pointing ar-
row indicating the threshold level.
Sampling and Sample Mapping
Recording a Sample
MASCHINE - Manual - 758
 Loading...