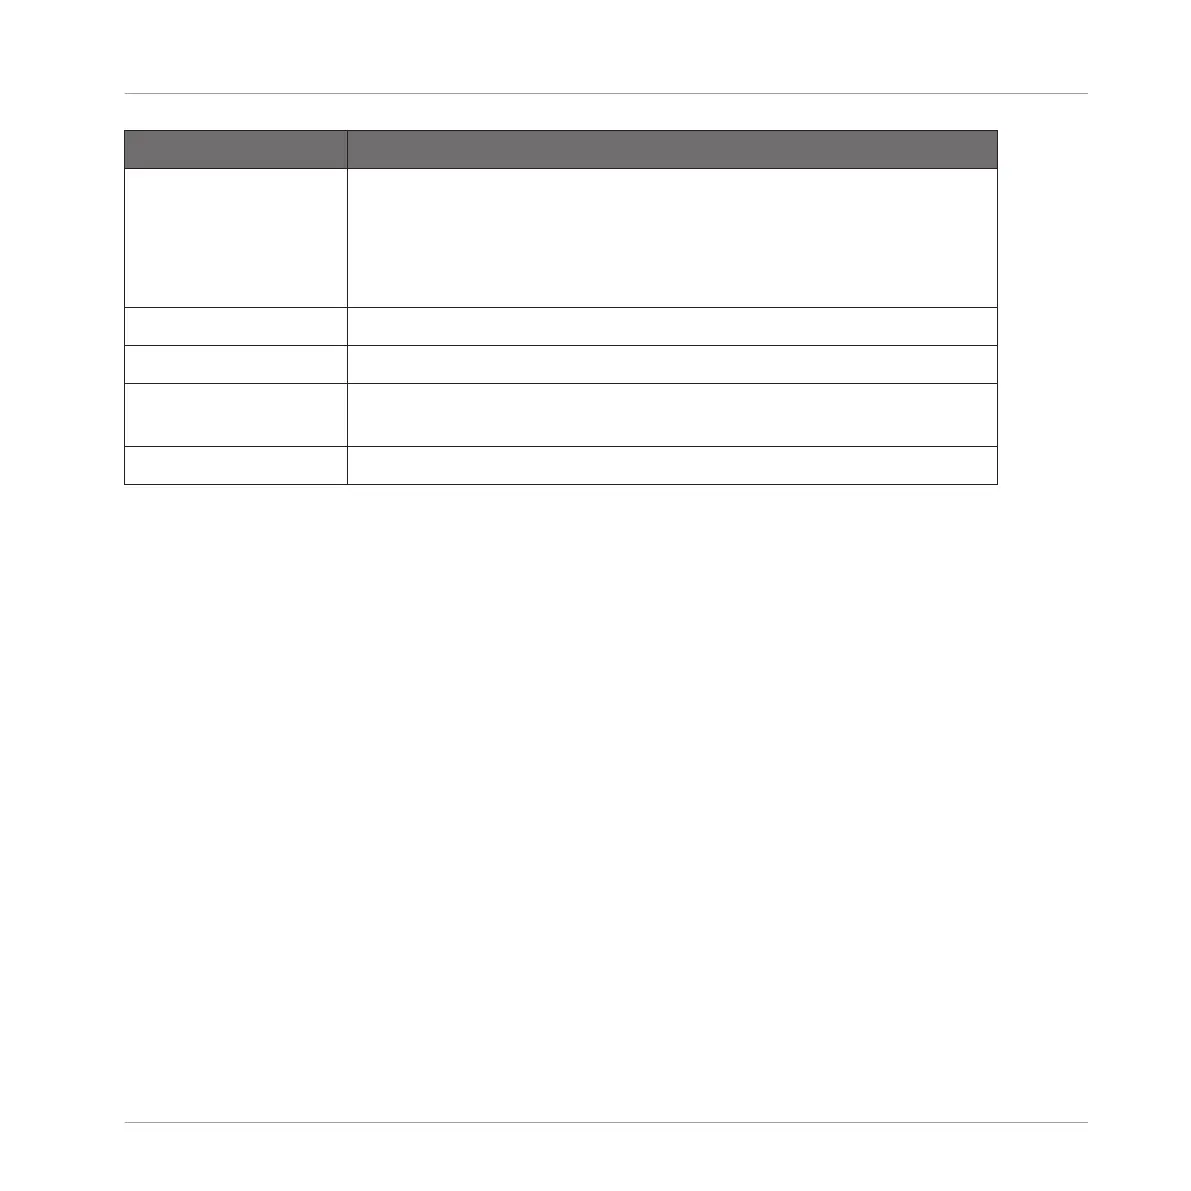
Parameter Description
END (Knob 4) Adjusts the end point of the selected Slice. Hold SHIFT when turning
the Knob to adjust the parameter in finer increments. Note that
moving the end point of a Slice does not simultaneously move the
start point of the next Slice — in opposition to adjusting the START
parameter (see above).
Button 6, 7 and 8
SPLIT/SLICE Splits the sample in half, or adds a Slice during sample playback.
REMOVE Removes the start border of the selected Slice, thereby joining this
Slice with the previous Slice.
SHIFT + DEL ALL Removes all Slices.
After you have performed your Slice edits, confirm them by pressing Button 5 (EDIT) again to
leave Slice Edit mode.
14.4.5 Applying the Slicing
Once you are satisfied with the proposed and/or manually adjusted Slices (see section
↑14.4.2, Adjusting the Slicing Settings), you can apply the slicing in order to actually cut the
original Sample and create these Slices. This is done via the three elements at the bottom
right of the Slice page:
Sampling and Sample Mapping
Slicing a Sample
MASCHINE - Manual - 794