8-Port Gigabit (PoE+) Ethernet Smart Managed Pro Switch with (2 SFP or 2 Copper Ports and)
Cloud Management
Configure Switching User Manual168
5. Click the Login button.
The System Information page displays.
6. Select Switching> VLAN >
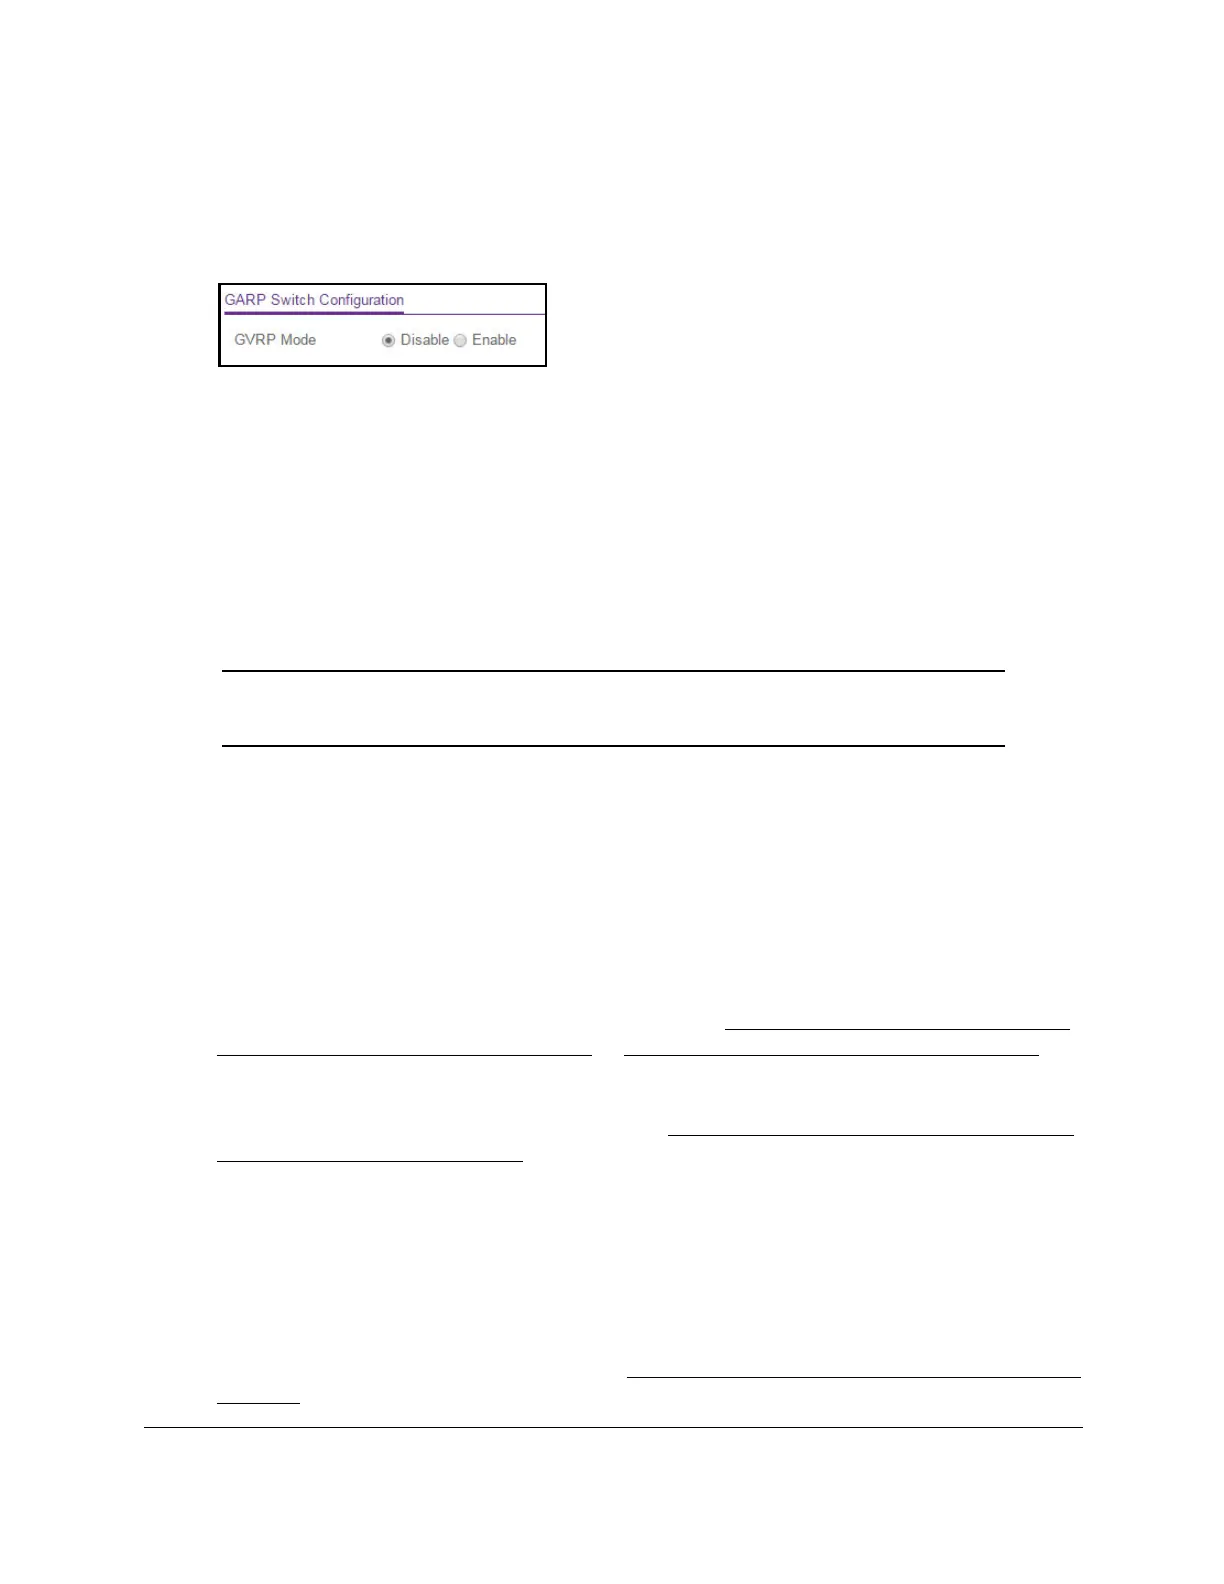
Advanced > GARP Switch Configuration.
7. Select the GVRP Mode Disable or Enable radio button.
This selection specifies the global administrative mode for GARP on the switch. The
default is Disable, which causes the protocol to be inactive.
8. Click the Apply button.
Your settings are saved.
Configure GARP ports
Note: It can take up to 10 seconds for GARP configuration changes to take
effect.
To configure GARP ports:
1. Connect your computer to the same network as the switch.
You can use a WiFi or wired connection to connect your computer to the network, or
connect directly to a switch that is of
f-network using an Ethernet cable.
2. Launch a web browser.
3. In the address field of your web browser
, enter the IP address of the switch.
If you do not know the IP address of the switch, see
Access the switch on-network and
connected to the Internet on page 19 or Access the switch off-network on page 30.
The login page displays.
If the NETGEAR Business page displays, see
Register and access the switch with your
NETGEAR account on page 34.
4. Enter one of the following passwords:
• After registration, enter the local device password.
By default, the local device password is password.
• If you previously managed the switch through the Insight app or Cloud portal, enter
the Insight network password for the last Insight network location.
For information about the credentials, see
Credentials for the local browser interface on
page 32.