683311W
9-8
9.2.6 DISASSEMBLING/REASSEMBLING THE PRINT HEAD
- Open the printer cover and lift the upper mechanical assembly
- Remove the ribbon cartridge from the printer
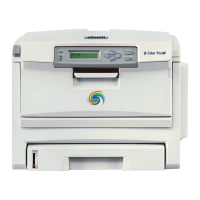
- Loosen the two screws (1) that secure the print head
- Partly lift the print head from the carriage, disconnect the electrical power supply flat cable and
remove the print head from its slide
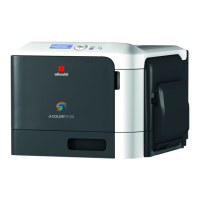
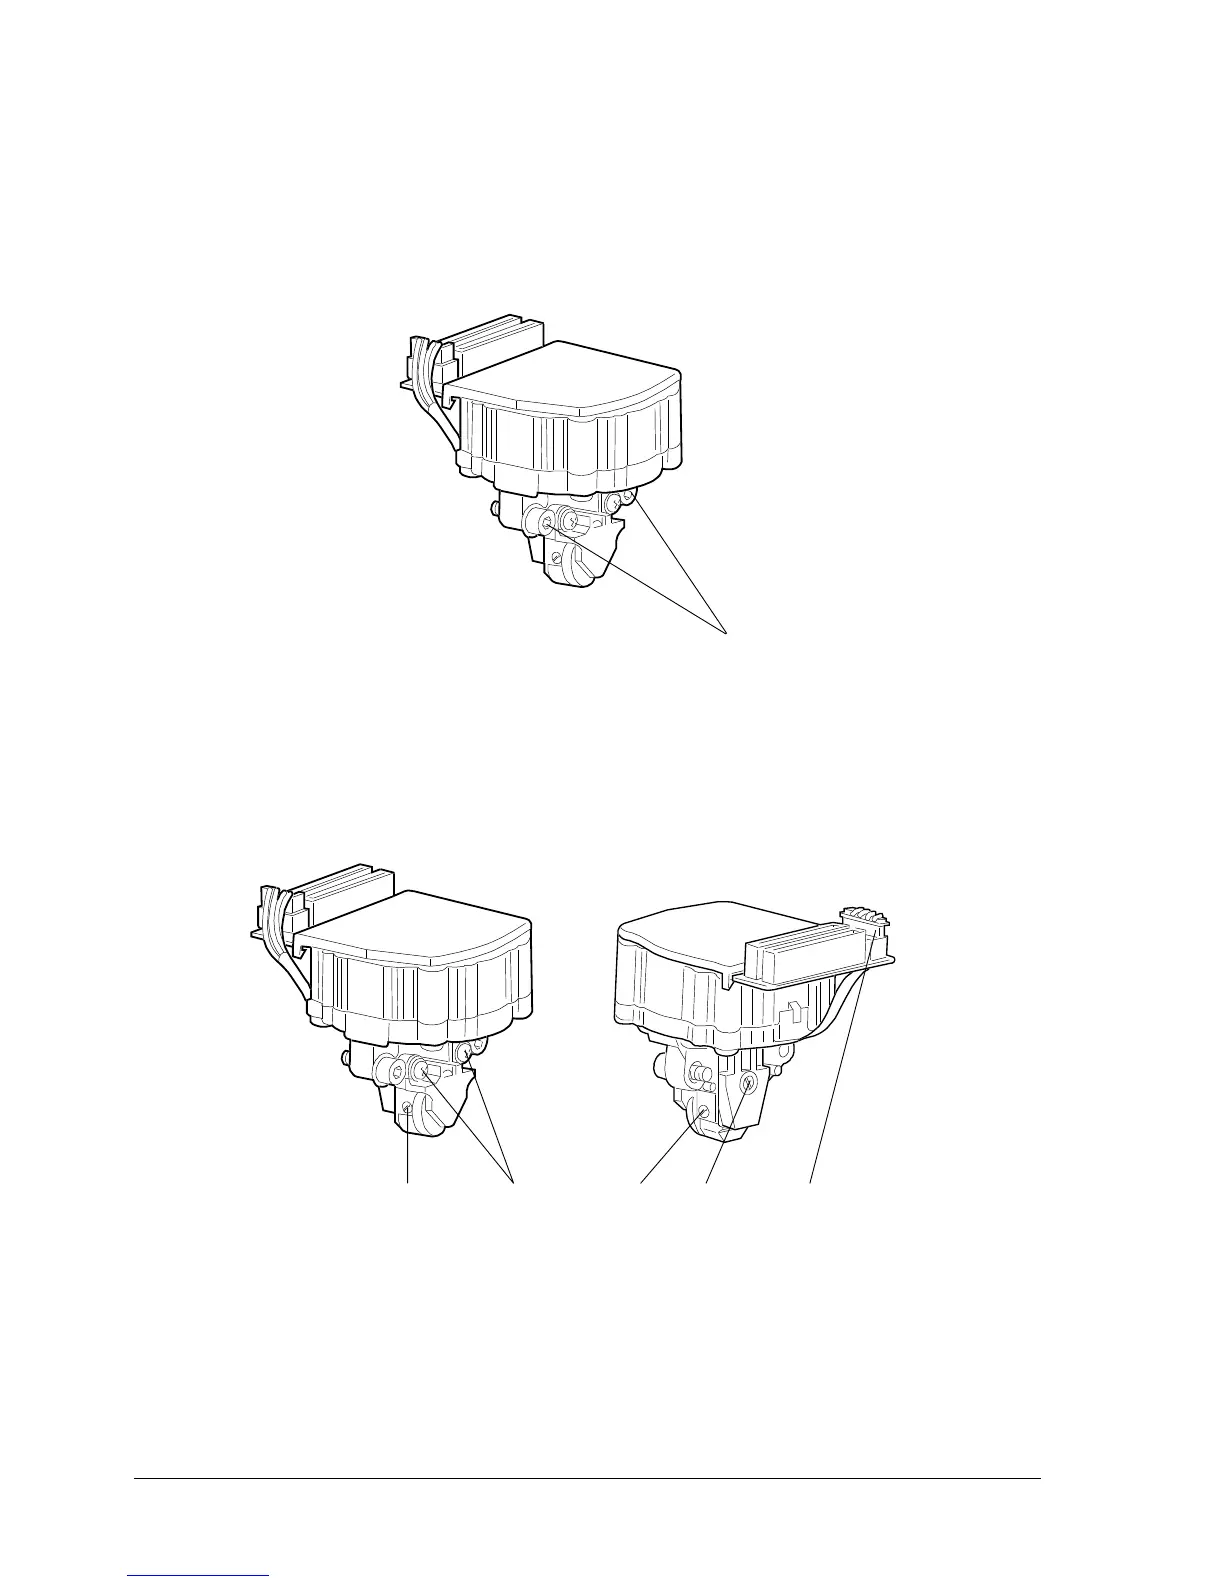
To disassembly the print head
- Remove the two front screws (2) and then remove the probe roller
- Remove the two side screws (3) and remove the ribbon protection fin
- Remove the rear screw (4), detach connector (5) and remove the paper photosensor.
Note: To attach the flat cables to the print head connectors, first release the cables from the cable
guide block and then secure them in place again once attached.
Perform the following adjustments during reassembly: 8.1.2 (platen-needle distance), 8.1.3
(needle-ribbon protection fin distance), 8.1.4 (paper photosensor position).
1
Fig. 9-6
2 543
3
Fig. 9-7