Install the Fan Board
b.
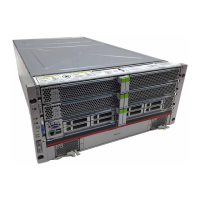
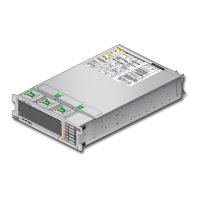
Remove the two screws on each side of the outside of the chassis that hold
the fan board in place and unplug the fan board and power cables from
motherboard (panel 2).
c.
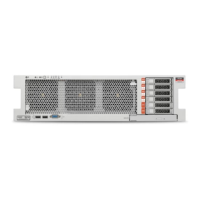
Remove the front memory riser guide by pulling it up and out of the chassis
(panel 3).
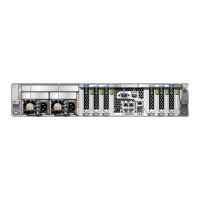
d.
Pull the fan board back and out of chassis (panel 4).
The circuit board and the fan holder portions of the fan board should remain together.
6.
Install a new fan board.
See “Install the Fan Board” on page 137.
Related Information
■
“Install the Fan Board” on page 137
Install the Fan Board
1.
Remove the fan board.
See “Remove the Fan Board” on page 135.
2.
Unpack the replacement fan board and place it on an antistatic mat.
3.
Remove the fan board cable and power cables from the faulty fan board and plug
the cables into the fan board on the replacement fan board.
Servicing the Fan Board 137
 Loading...
