Copyright© Orphée SA. All Rights Reserved.
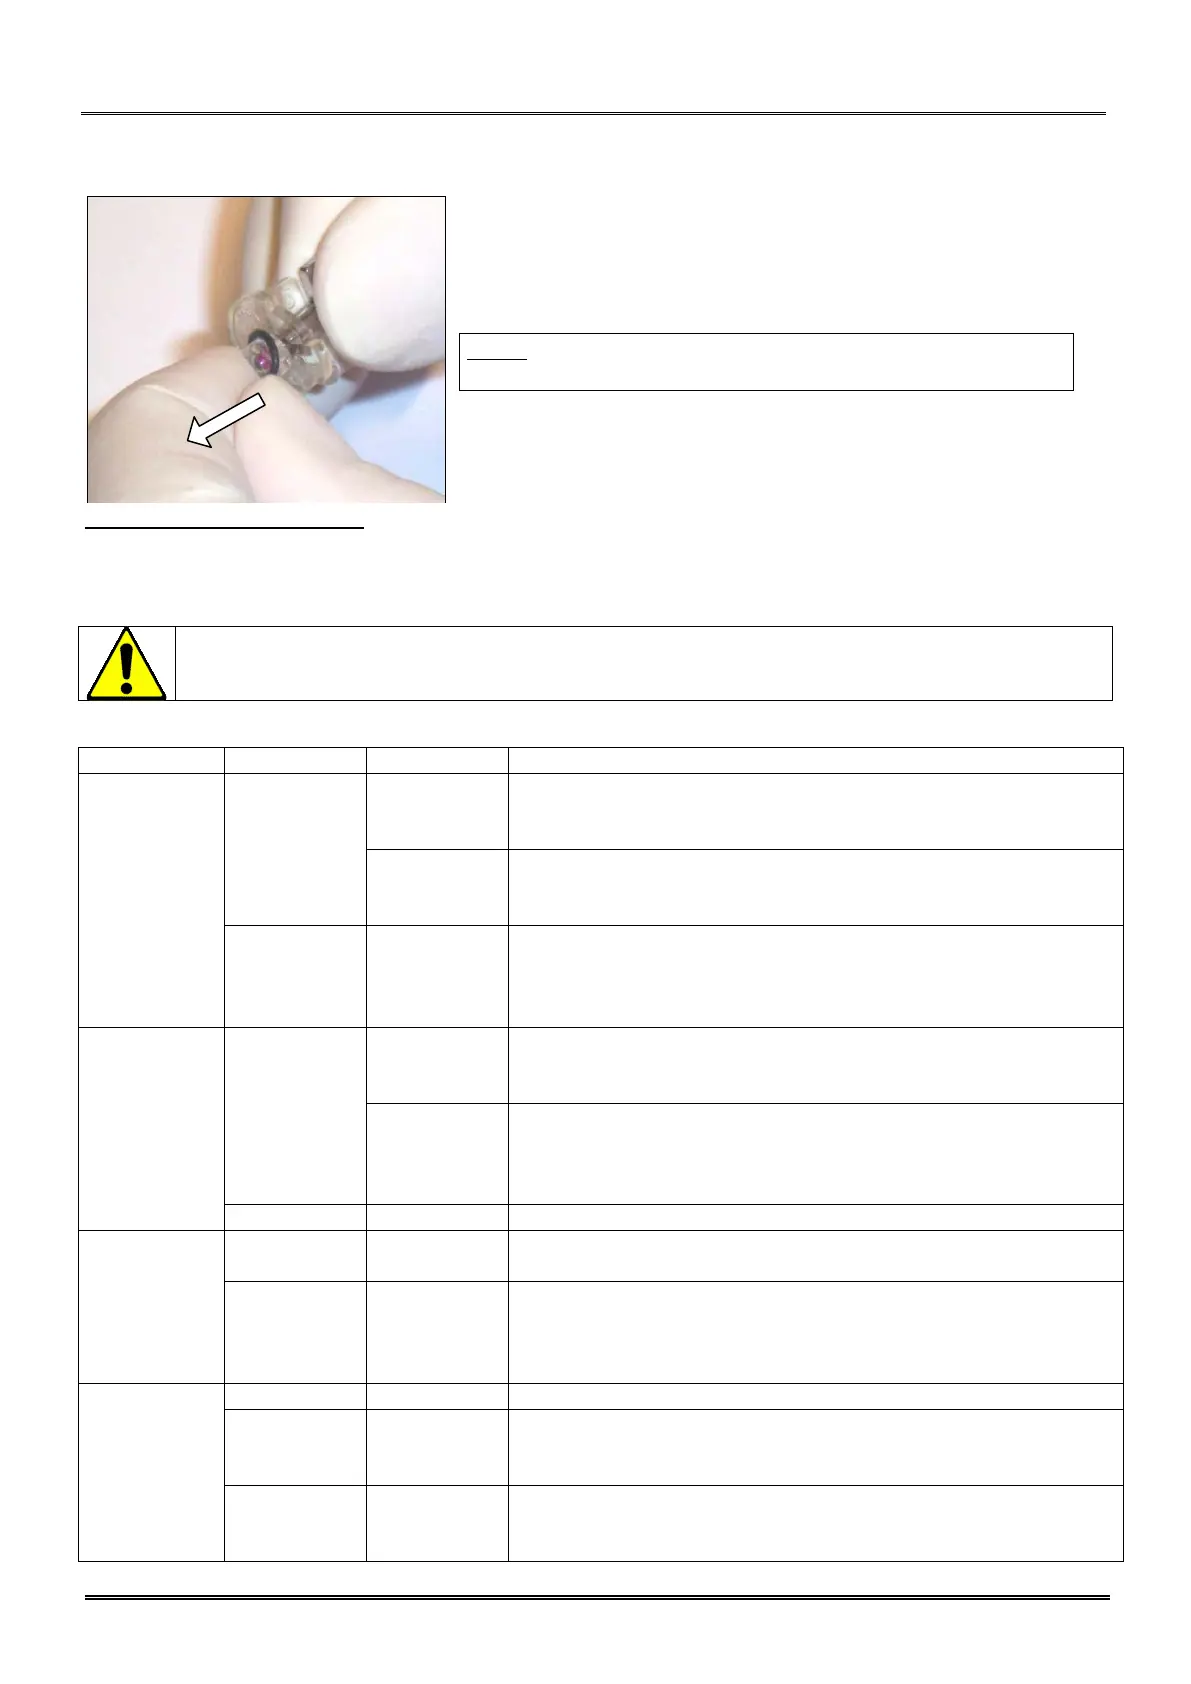
- Remove the o-
ring and replace by a new one or replace the whole
part. Don’t grease the o-ring.
NOTA: The WBC aperture block is marked with a figure 8 on
the ear and with a figure 5 for the RBC.
REASSEMBLY PROCEDURE :
To reassemble the unit, carry out the various operations in the opposite direction.
Place the seal on the aperture block gently not to wound it.
9.5 TROUBLESHOOTING
In any case, if a problem is not solved, call Orphée’s representative.
9.5.1 Analytical problems
Check the right lyse tubing connection to the WBC bath.
Check the valve number 9.
Perform a cleaning cycle and then a bleach cycle if unsuccessful.
Change the aperture block if unsuccessful.
Perform a back flush and a cleaning cycle and then a bleach cycle if
unsuccessful.
Check the level bubble flow in the WBC bath during the run cycle.
Check the reagent and enclosure temperature.
bad stability
& WBC
Check the right lyse tubing connection to the WBC bath.
Check the valve number 9.
OK
Perform a back flush cycle and then a bleach cycle if unsuccessful.
Check the valves number 12, 13, 16 & 17.
Check the reagent and enclosure temperature.
Check the preamp connection wires.
Check the results on blood smear.
Check the bath wires.
Perform a cleaning cycle and then a bleach cycle if unsuccessful.
Perform a back flush and a cleaning cycle and then a bleach cycle if
unsuccessful.
Check the level bubble flow in the RBC bath during the run cycle.
Check the level bubble flow in the WBC bath during the first dilution.
Check if no bubble in the lyse tubing.
Check the reagents and enclosure temperature.
Check the level bubble flow in the WBC bath during the run cycle.
*
Perform a new Start Up cycle.
Perform a new Start Up cycle.