AXC 1050 (XC)
58
PHOENIX CONTACT 8482_en_03
• If a prompt appears asking whether you really want to restart the controller, confirm the
dialog with "Yes".
• In the "Settings Communication Path" dialog box, select the USB interface and confirm
with "OK".
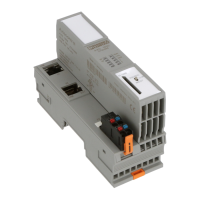
Successful execution of the service is displayed in the status window:
Figure 6-15 Activating the network settings: service executed successfully
Applying IP address set-
tings without a restart
If you have activated the function that immediately applies the IP address (see Section "Ap-
plying the IP address immediately" on page 86), then it is not necessary to perform a restart
(voltage reset) of the controller. This function is deactivated by default.
The IP address settings assigned to the AXC 1050 are now active.
Testing network settings Follow these steps to test the assigned network settings:
• Open the Bus Configuration Workspace.
• Select the controller in the "Bus Structure" window.
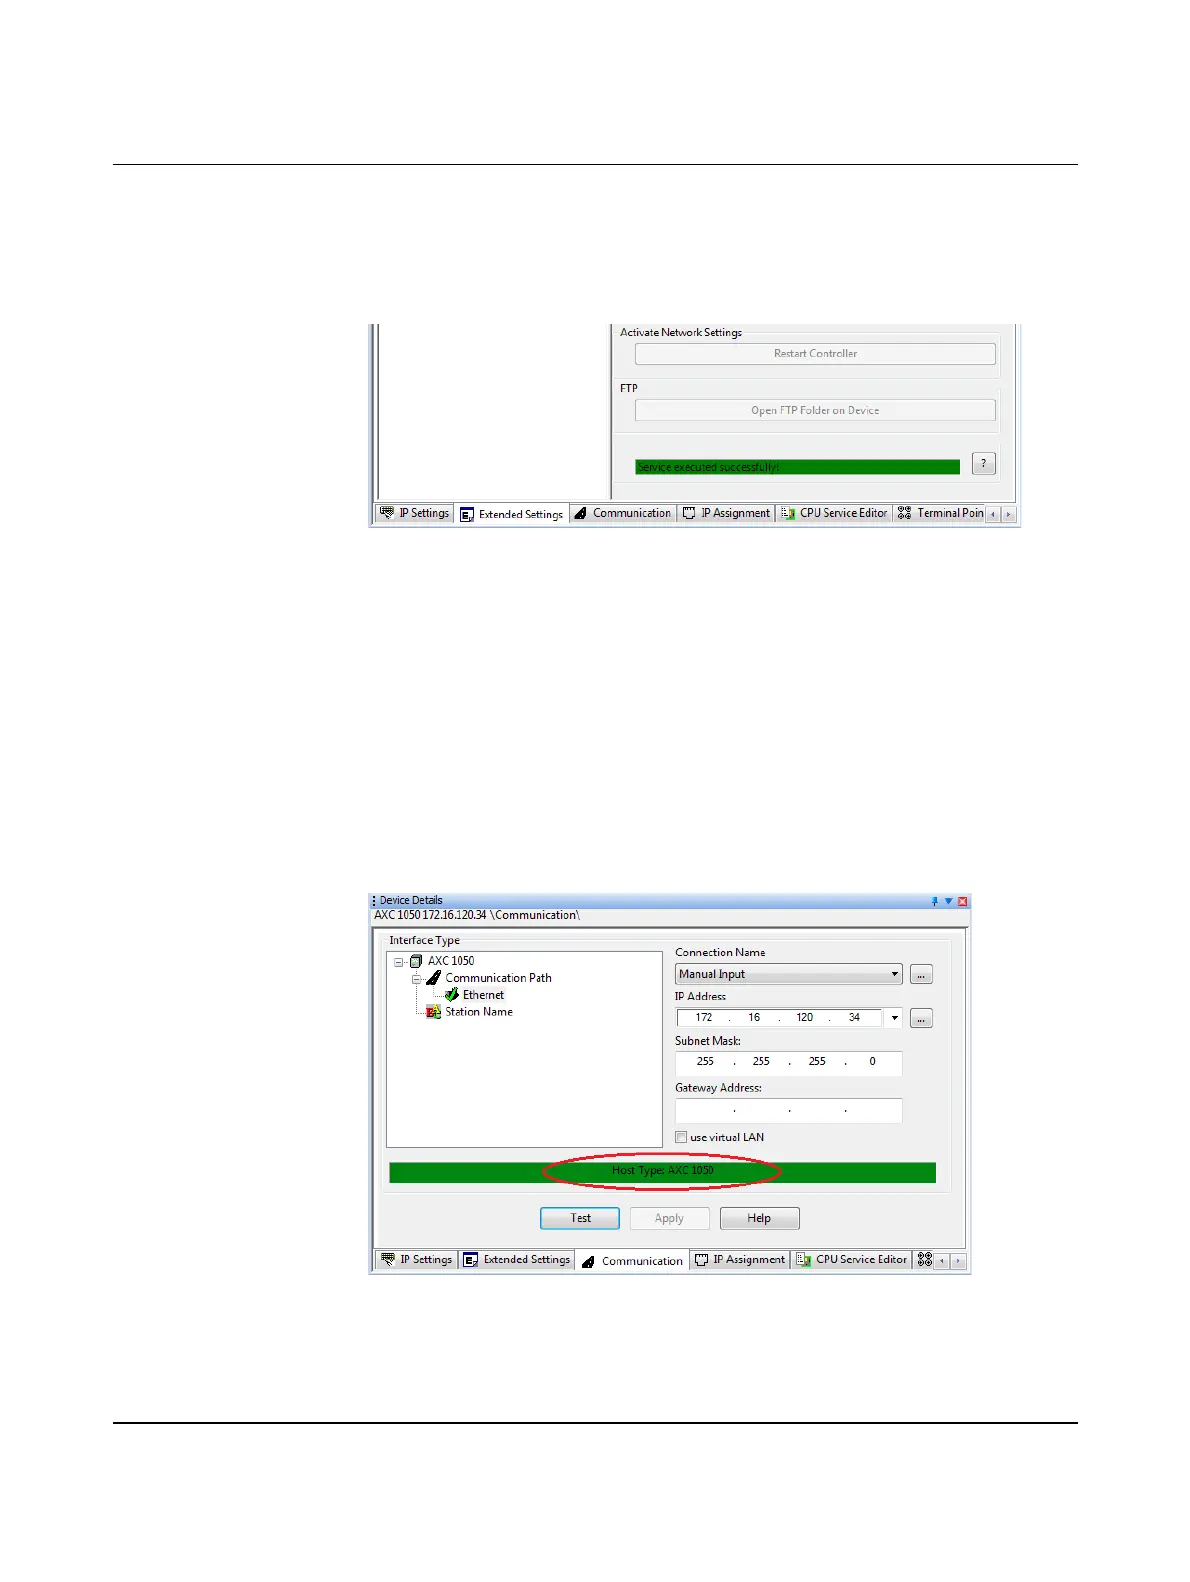
• In the "Device Details" window, select the "Communication" tab.
• Click the "Test" button to test the assigned network settings.
A successful communication test is indicated by the text "Host Type: AXC 1050" displayed
with a green background.
Figure 6-16 Successful communication path test
 Loading...