NOTE:
After connecting the battery, the system enables access using the default
code (5555) for 30 seconds only. If access does not occur during this time,
the process need be repeated from starters. If the battery is low, connect
the main voltage.
The process above is also useful for technician code (Default code 1234).
With the exception of technician code that starts with 0.
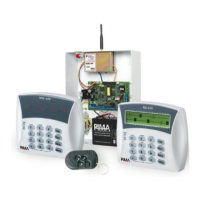
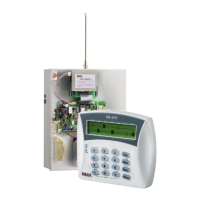
7.2 Displaying System Faults
In case of a Failure, the Failure LED on the keypad blinks. The description of
the failure appears on the first line of the LCD Keypad at the right side. The
possible failure indications are:
MESSAGE
DESCRIPTION
Clock Clock failure (clock not set)
Low Battery Low battery power, check the battery or charging voltage
Low DC Very low battery, appears before the battery is drained, usually
after prolonged power failures
AC Line No mains power
TAMPER 1 Tamper 1 is open
TAMPER 2 Tamper 2 is open
Zone Zone failure due to line cut or short.
Communic. Failure to communicate with the Monitoring Station.
Keypad not
connected
No communication between the keypad and HUNTER-PRO PCB
Telephone The system did not recognize a dial tone
Auxiliary
Power Failure
Detector power supply failure
When several keypads are connected simultaneously to the system, and one of
them is used for programming the system, the other keypads’ display will show
 Loading...