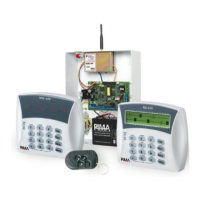
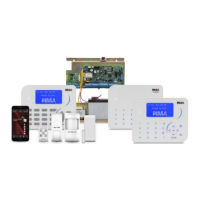
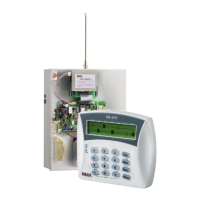
HUNTER-PRO 32 Intruder Alarm System - Installation Manual
13
1.4.1 Control Panel Fuses
Regular Fuses
(2)
F5 (5 Amp) - protects the battery from a short on the PCB.
F6 (5 Amp) - protects the AC from a short on the PCB.
Thermal Fuses for limiting current
(5)
F1 – Detector power supply (750mA)
F2, F3 – Siren1 and Siren2 (1.1A)
F4 – Keypad power supply (750mA)
F7 – Protection for long-range radio transmitter
1.4.2 The Control Panel’s Connections &
Terminals
①
AC – Voltage Input
14VAC input supplied by the transformer.
2
Connections to Backup Battery
Two wires connect the backup battery to the PCB. The red wire connects to the
positive (+) contact of the battery and the black wire connects to the negative
(–) contact of the battery.
IMPORTANT!
Ensure correct connection of battery polarity! Switching the polarity can
damage the PCB.
3
Z1–Z8 – Zone Inputs
Zone inputs can be connected to all types of detectors with dry contact
outputs. All zones can be connected with single or double EOL resistors
NOTE:
The number of zones can be doubled by connecting line/wireless expenders
(refer to section 3.2 for expending options in HUNTER-PRO 32.
 Loading...