Installation, continued
8
Preparing the Controller Cabinet for the
Power and Field Wires
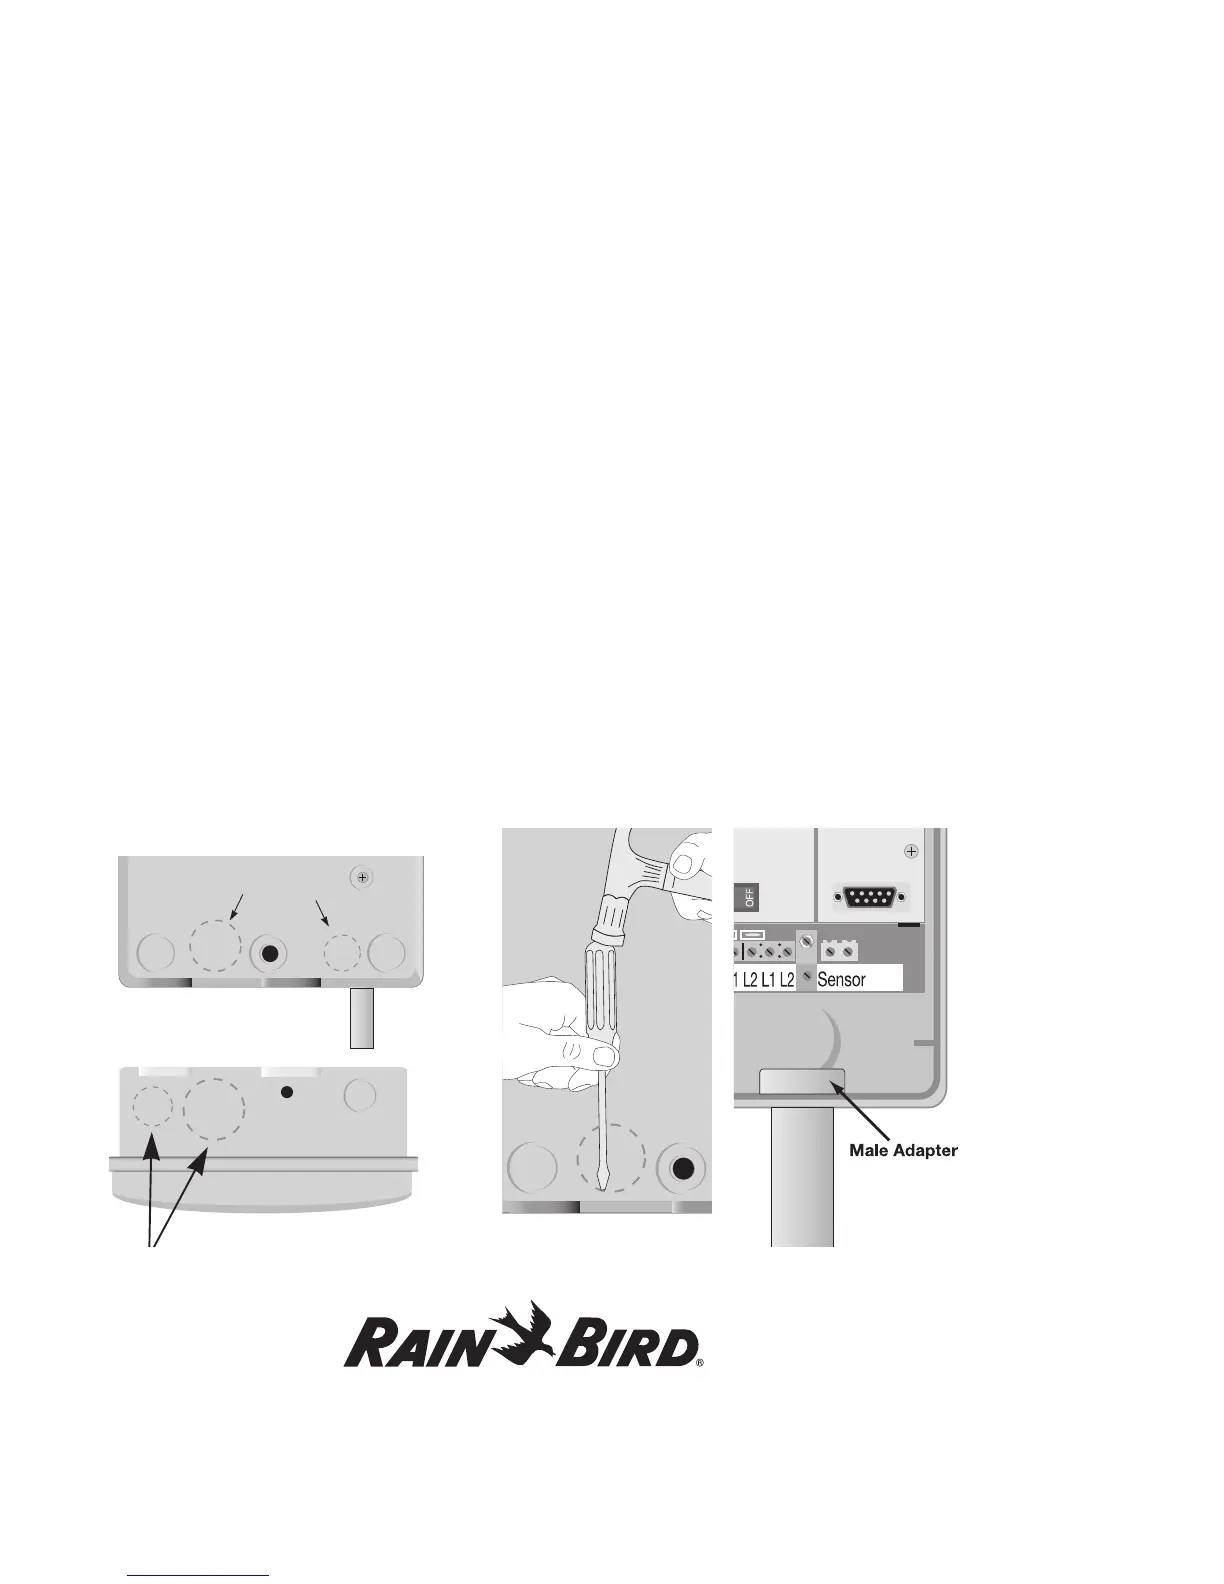
Note: You can remove four knockouts from the
controller cabinet making it easy to route the wires.
You will find two of these knockouts on the back
(for routing wires through a wall) and two on the
underside (for feeding wires through the cabinet’s
bottom).
To tap out a knockout, place the cabinet on a firm
surface with the groove facing you. Work your way
around the groove with a slotted screwdriver, firmly
tapping out the knockout.
A hole on the underside of the cabinet fits a 1”
(2.6 cm) PVC male adapter for installing PVC
conduit. You can increase its size to 1 1/4” (3.2 cm)
by tapping out the knockout around the hole. If you
are using #14 AWG wire, or larger, you may need the
larger hole. If you run the wires through the bottom
holes, you will need to install conduits. Slip the
conduit through the hole and secure it with a male
adapter or other conduit fittings.