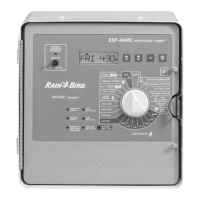
Programming and Operation, continued
23
3.
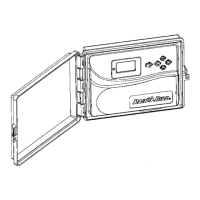
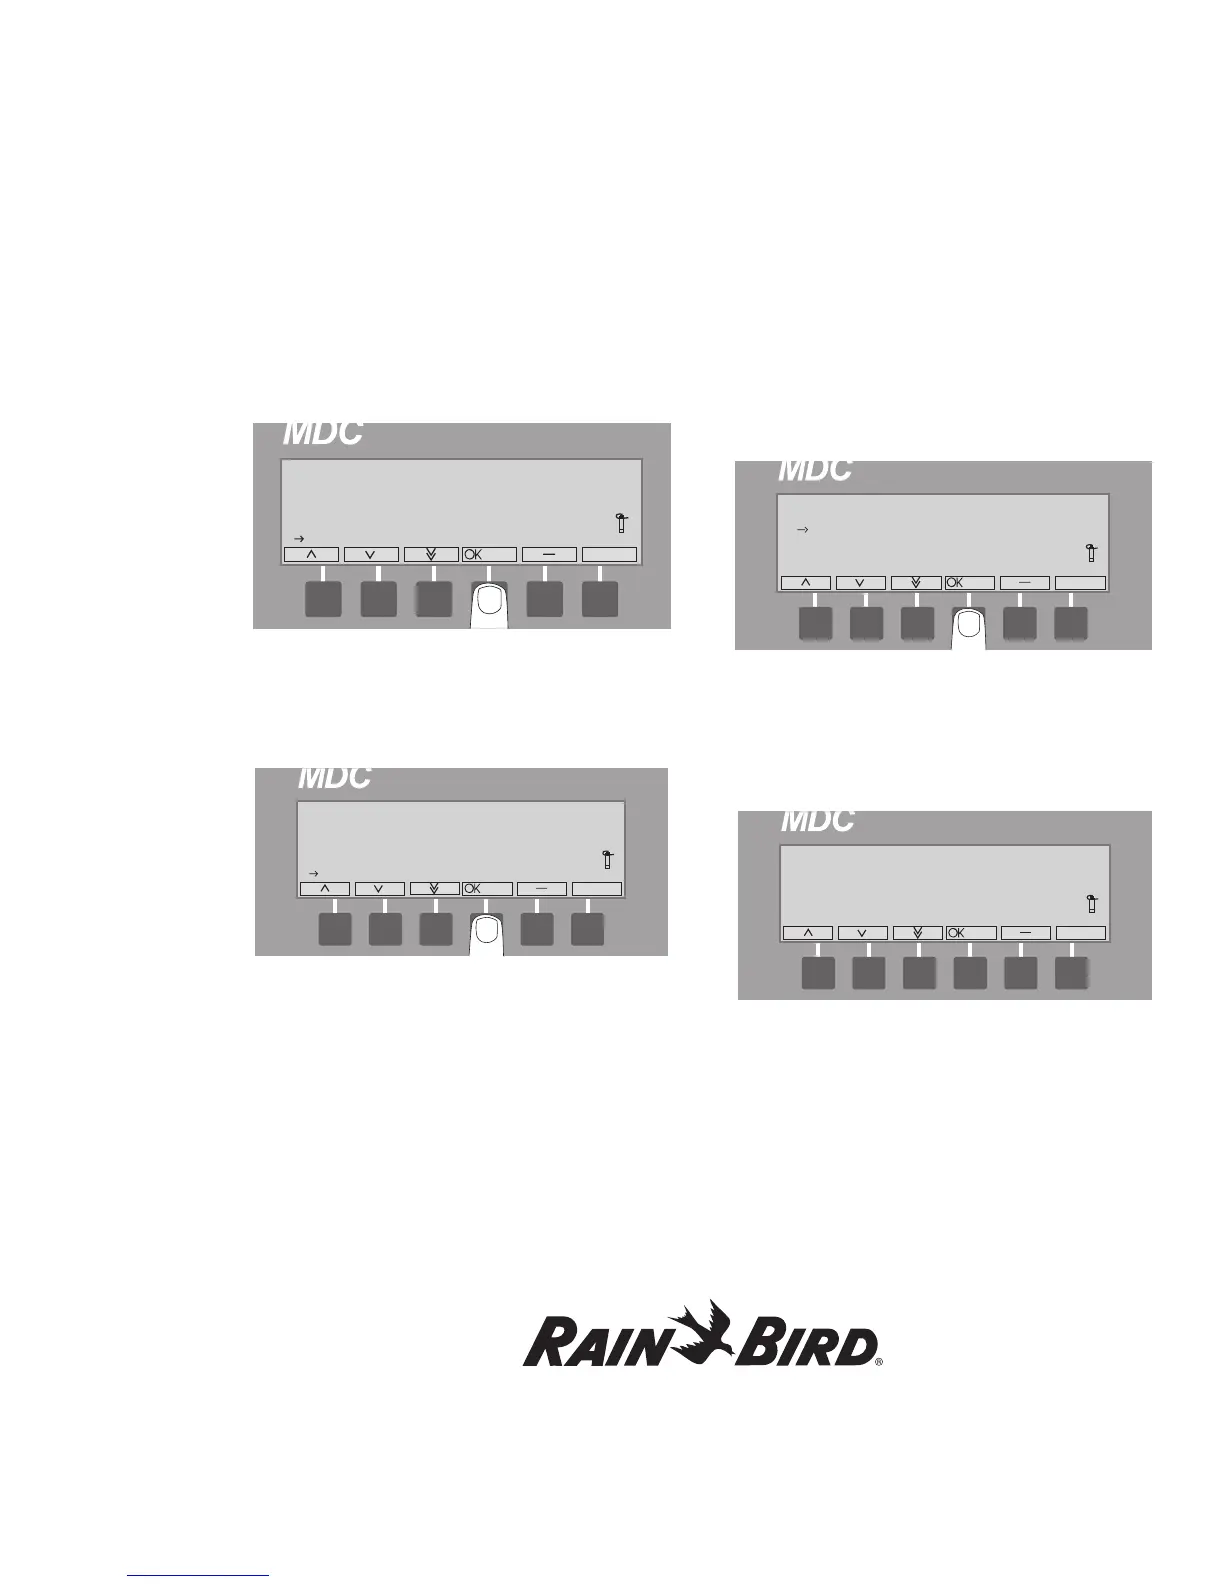
Move the indicating arrow to 10. Select Language
and press the button pointing to the OK label.
4. Using the buttons pointing to the up or down
arrow labels, scroll to the language you want
to read on the display and press the button
pointing to the OK label.
Note: It takes about five seconds for the controller
to change the text to the new language before
returning to the Set-up Data menu, displayed in
the language you selected.
Note: Wait until the new country is updated before
pressing any buttons. Otherwise, the country may
not update.
5. Using the button pointing to the Up arrow
label, scroll to 11. Return and press the button
pointing to the OK label, or select minus(-) to
return to the Main Menu.
Setting the Date/Time Formats
1. From the Main Menu, navigate to 2. Date/Time
Formats and select OK.
You will be taken to the Date/Time Formats
menu.
2. Select OK again. The first active field is the
Time Hours, which is indicated by alternating
blinking arrow markers.
3. Use the up and down arrows to change the
Hours format to be either Standard (12) or
Military Time (24) and select OK.
4. Use the down arrow to move to the Date
Format. The active field is the Date Format,
which is indicated by alternating blinking arrow
markers.
5. Use the up and down arrows to change the
Date Format and select OK.