Creating Irrigation Schedules, continued
43
5. Move to the next field and continue until you
select all the Step 1 decoders. You can select up
to 10 decoders for each Step.
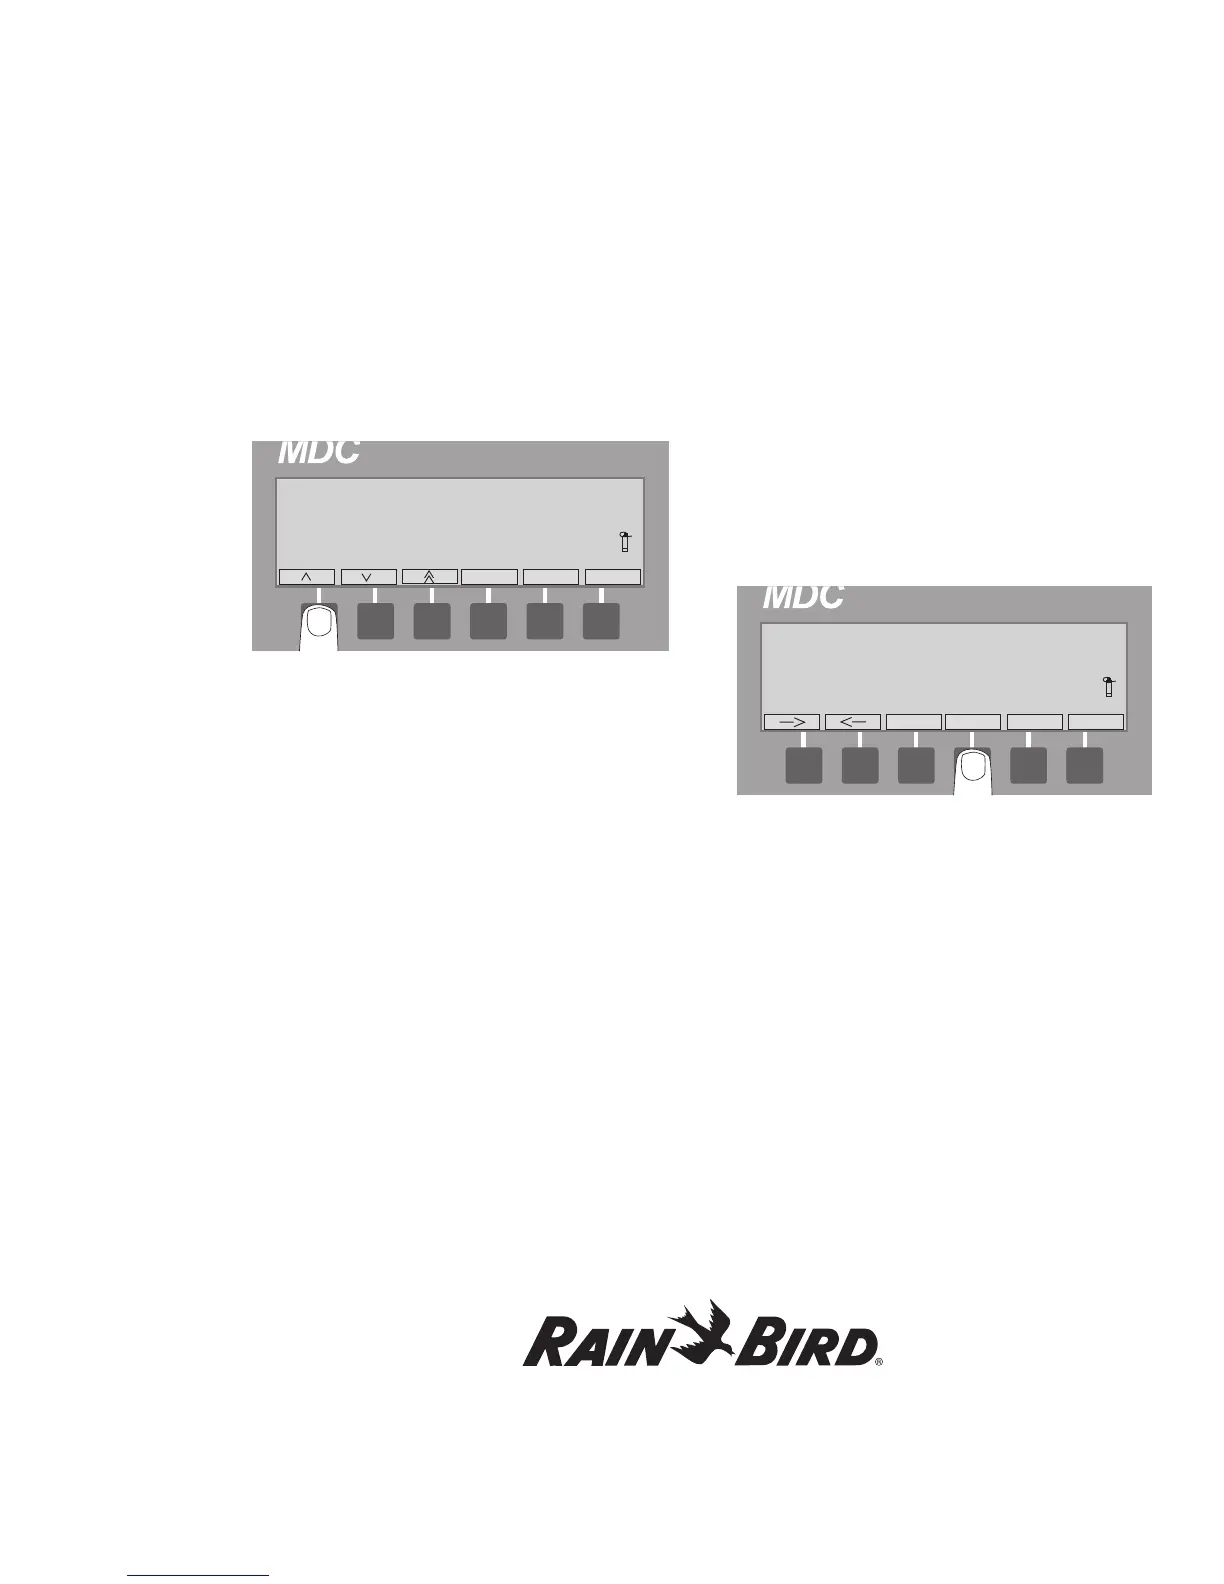
Note: Selecting the minus (-) label while in a
non-active decoder field (indicated with right
and left arrow labels) or an active Minute’s field
(indicated with up and down arrow labels) deletes
the information you programmed into that field.
6. Move to the Min field and select OK to
activate it.
7. Scroll up and down to select a run time or how
long (up to 999 minutes) you want the decoders
to open each valve.
8. Select OK to accept the minutes.
9. Move the markers to the OK field and select OK
to enter the Step into the Schedule. The Step
label is highlighted and the blinking markers
return to the beginning (Step 1) showing you the
complete Step on the display screen.
10. Scroll to the next Step (Step 2) and program it
the same way. You can program up to 100 Steps.
11. Once you finish setting each Step, press the
button pointing to the highlighted Step label to
return to the Schedule Set-up Screen.
Inserting a Step Between Two Steps
1. From the Main Operating Screen, select Sched
then Step.
2. Scroll up or down to the point you wish to insert
the Step. If you want to insert a Step between
Steps 3 and 4, scroll to Step 4.
3. Move the marker to the Insert field and
select OK.
4. Program the Step as you normally would
and select OK to enter the new Step into the
Schedule. The inserted Step moved Step 4, and
all successive Steps, up one. So Step 4 is now 5,
Step 5 is 6, and so on.
Note: Selecting the minus (-) label while in a
non-active Decoder field (indicated with right and
left arrow labels) or an active Minute’s field
(indicated with up and down arrow labels) deletes
the information you programmed into that field.
5. Select Step to return to the Schedule Set-up
Screen.