Installation, continued
13
Connecting an Optional Sensor
The MDC2 Controller allows you to connect an
optional sensor. The controller works with any open
or closed switch sensor.
Warning! The wires you use to connect the
controller to the sensor must be approved
for underground use. Rain Bird
®
recommends
using a two-wire #18 AWG (maximum gauge)
cable long enough to easily reach the
controller.
Warning! Install the sensor wire in the
same conduit you use for the two-wire
communications cable and ground wire.
The conduit for the power wires should
only contain the power wires.
To connect the sensor’s wires to the controller,
1. Remove about 6” of the cable’s outer sheathing
and strip about 5/8” of the insulation from the
ends of the two wires.
2. Using wire nuts, connect the two-wire cable to
the sensor wires inside a valve box.
3. Protect all underground splices with DBY
connections. Insert the wire nuts into the DBY
connectors and close the gap tightly. Place the
connectors inside the valve box.
4. Run the two-wire cable leading from the sensor
wires through a conduit and into the controller
cabinet. Use the same conduit you used for the
communications cable.
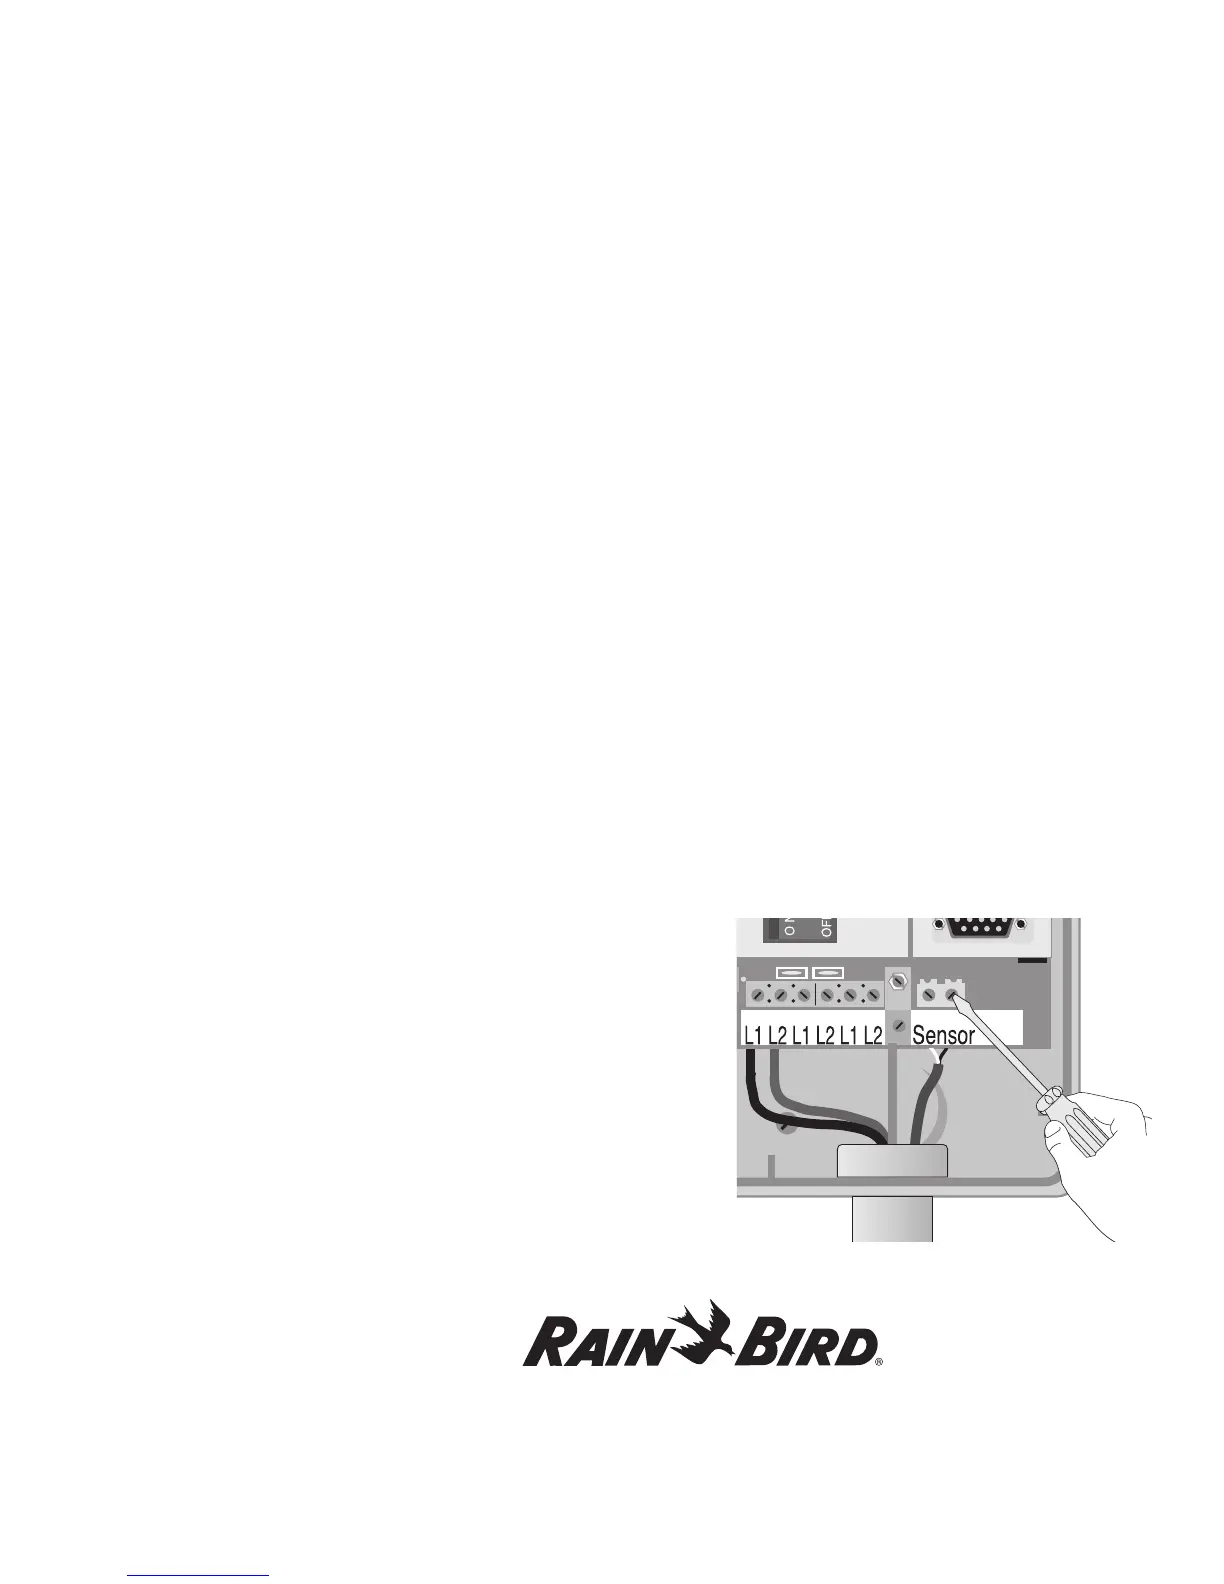
5. Using a thin blade screwdriver, connect
the sensor cable wires to SENSOR terminal 1
and SENSOR terminal 2 inside the controller.
Tug on the wires to make sure the connections
are secure.
You have now completed mounting and wiring your
new MDC2 Controller.