28
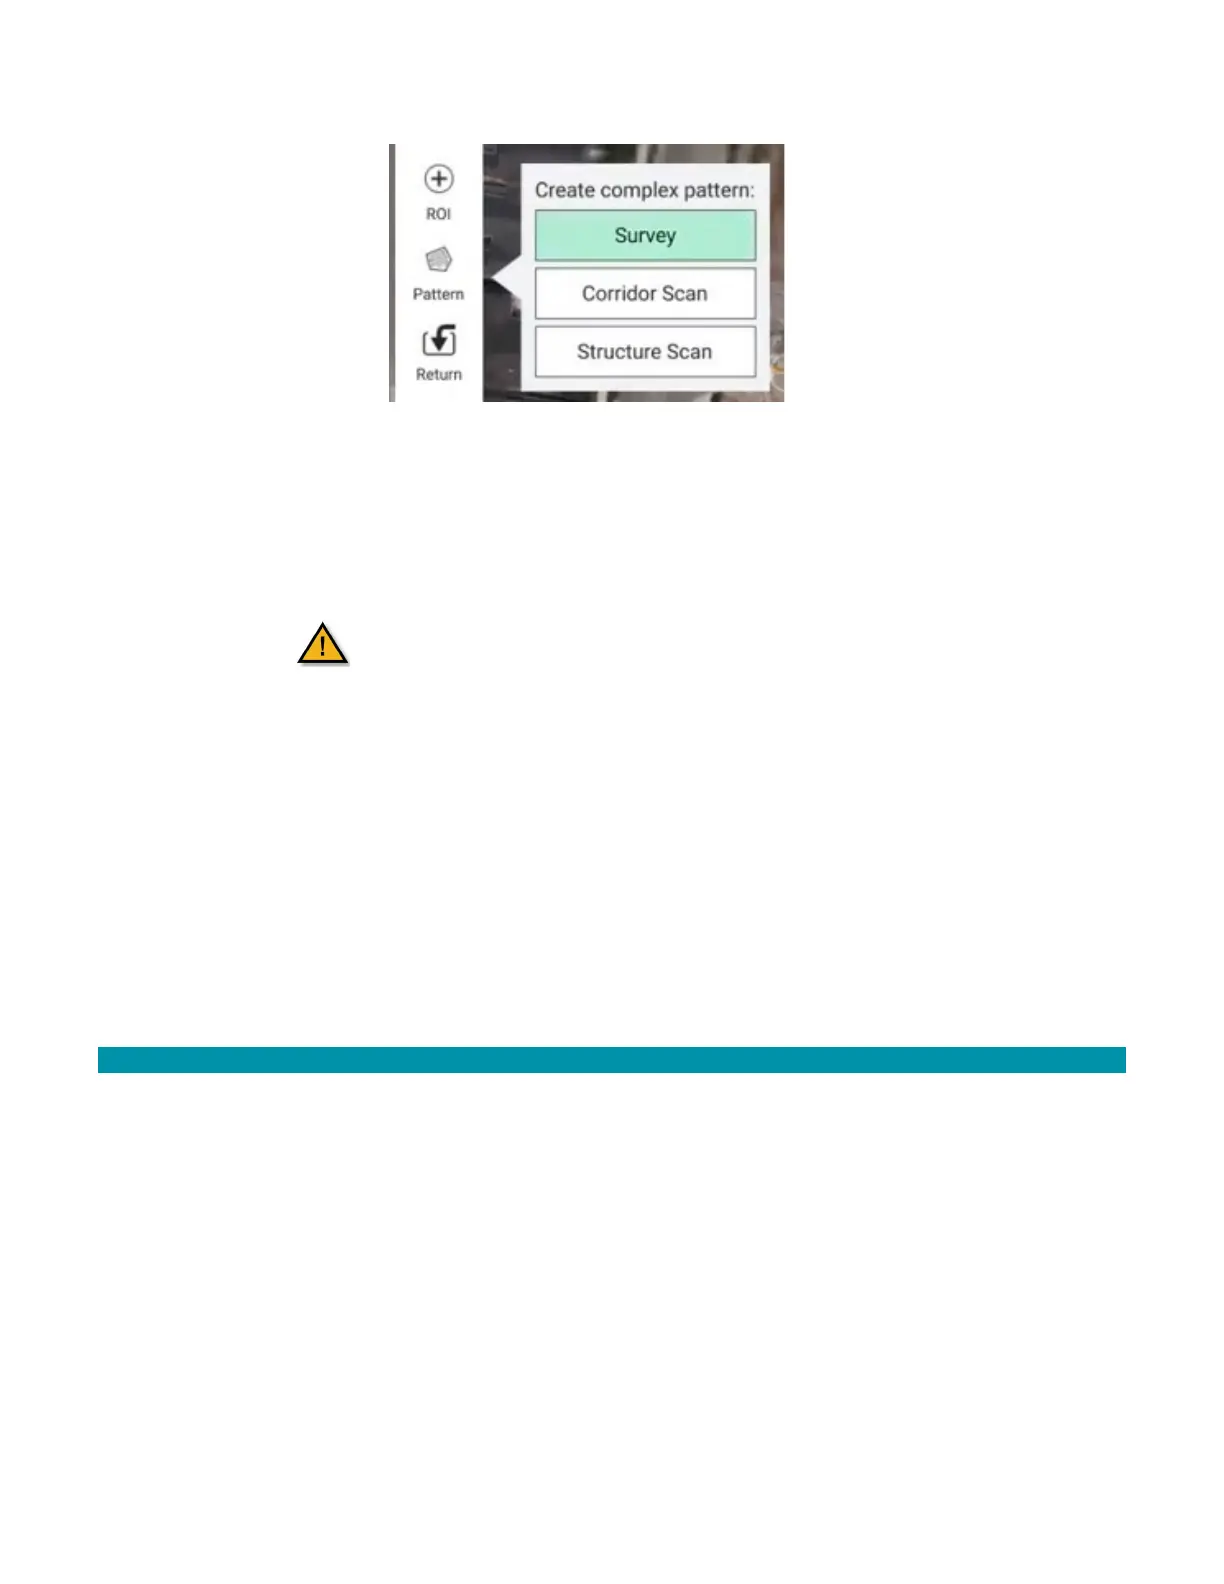
11. Select Pattern then Survey to create a survey area and pattern.
12. Adjust the survey size and location for mission needs.
13. Select Done with Polygon when finished.
14. Select the camera that you would like to use from the drop-down menu.
15. Adjust the percentage of overlap or ground resolution, if needed.
Make sure to verify the altitude when adjusting
the ground resolution settings.
16. Go to the Grid window to adjust the angle of the survey to minimize turns, altitudes,
and entry points to adjust the length of the flight.
17. Select Waypoint.
18. Add one additional waypoint toward the exit point of the survey pattern.
19. Set the gimbal to 0°.
20. Select Return.
21. This will create the RTL point. This can be any location but is usually the same as the
take-off point.
22. Select either Upload Required to load the mission onto the AV or select File to save
the mission and upload at a later time.
3.6.2 PROGRAMMING A GEOFENCE
Use this option to setup a Geofence within a mission. Note that a Geofence can also be
programmed separately from a mission in the Safety Settings page by following the
instructions in the following Vehicle Setup section.
1. Select Fence in the Mission Plan window.
2. Select the desired geofence perimeter shape and then select the area on the map, or
select the free-form option and create the desired perimeter on the map.
3. Select Done.
4. Select either Upload Required to load the mission onto the AV or select File to save
the mission and upload at a later time.