53
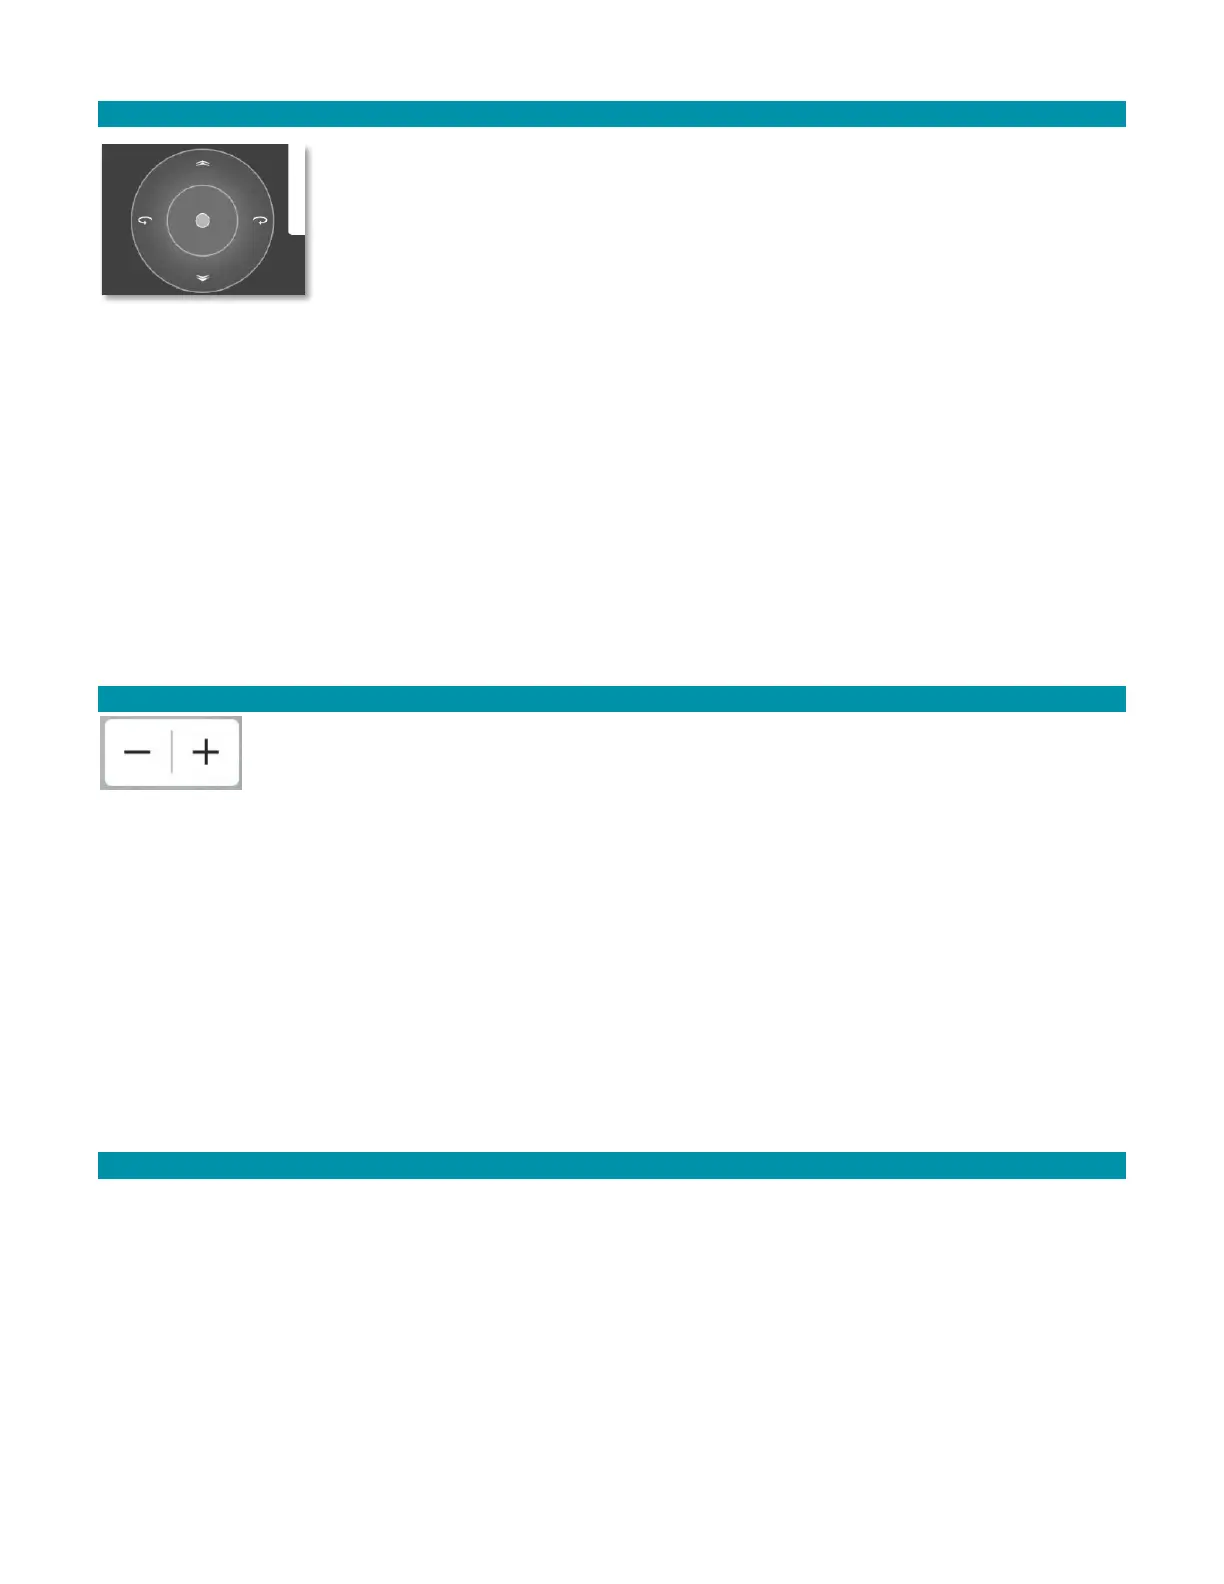
6.5.1 GIMBAL CONTROL CIRCLE
The Gimbal Control Circle is only visible when the Video view is
selected. It disappears in Map view. This control provides an
alternate and more intuitive way to control the gimbal’s pitch.
1. Touch the bullseye to change the pitch and yaw of the gimbal.
2. The up/down directions control the pitch.
3. Release to stop the movement of the gimbal at that current position.
Alternatively, press or tap the upper right switch button on the rear-panel of the GCS to
continuously rotate the camera angle up until the button is released or until it reaches its
maximum up position. Momentary taps of this button rotate the camera angle up by about
7-8° per tap.
Alternatively, press or tap the lower right switch button on the rear-panel of the GCS to
rotate the camera angle until the button is released or until it reaches its maximum down
position. Momentary taps of this button rotate the camera angle down by about 7-8° per
tap.
6.5.2 ZOOM IN / ZOOM OUT CONTROLS
Below the camera and gimbal control panels are the zoom in and zoom out
controls. The EO camera has 12 levels of digital zoom, the default being the
fully zoomed-out level. The IR camera has 11 levels of digital zoom. Each “+”
or “-” button press changes the zoom by one level.
Alternatively, move the front right 4-position switch on the GCS to the left to zoom in
and to the right to zoom out.
6.6 PHOTOS SCREEN
All photo functions must be enabled before flight or else the media will not be stored
locally on the GCS and will not be transferrable after the mission.
However, the tradeoff to having the media stored locally on the GCS during flight is a
reduction of bandwidth which could degrade the quality of the media seen on the GCS fly
view during the mission.
6.6.1 ENABLE PHOTO SETTINGS INSTRUCTIONS
If possible, we recommend storing media on the SD card, but realize some security
protocols will not allow this.
1. Touch the Main menu icon.
2. Select Settings at the bottom of the screen.