102
17.3.1 ARM REPLACEMENT INSTRUCTIONS
1. Place the AV on its back on a table or workspace. Hang the antenna off the edge of
the table to prevent damage.
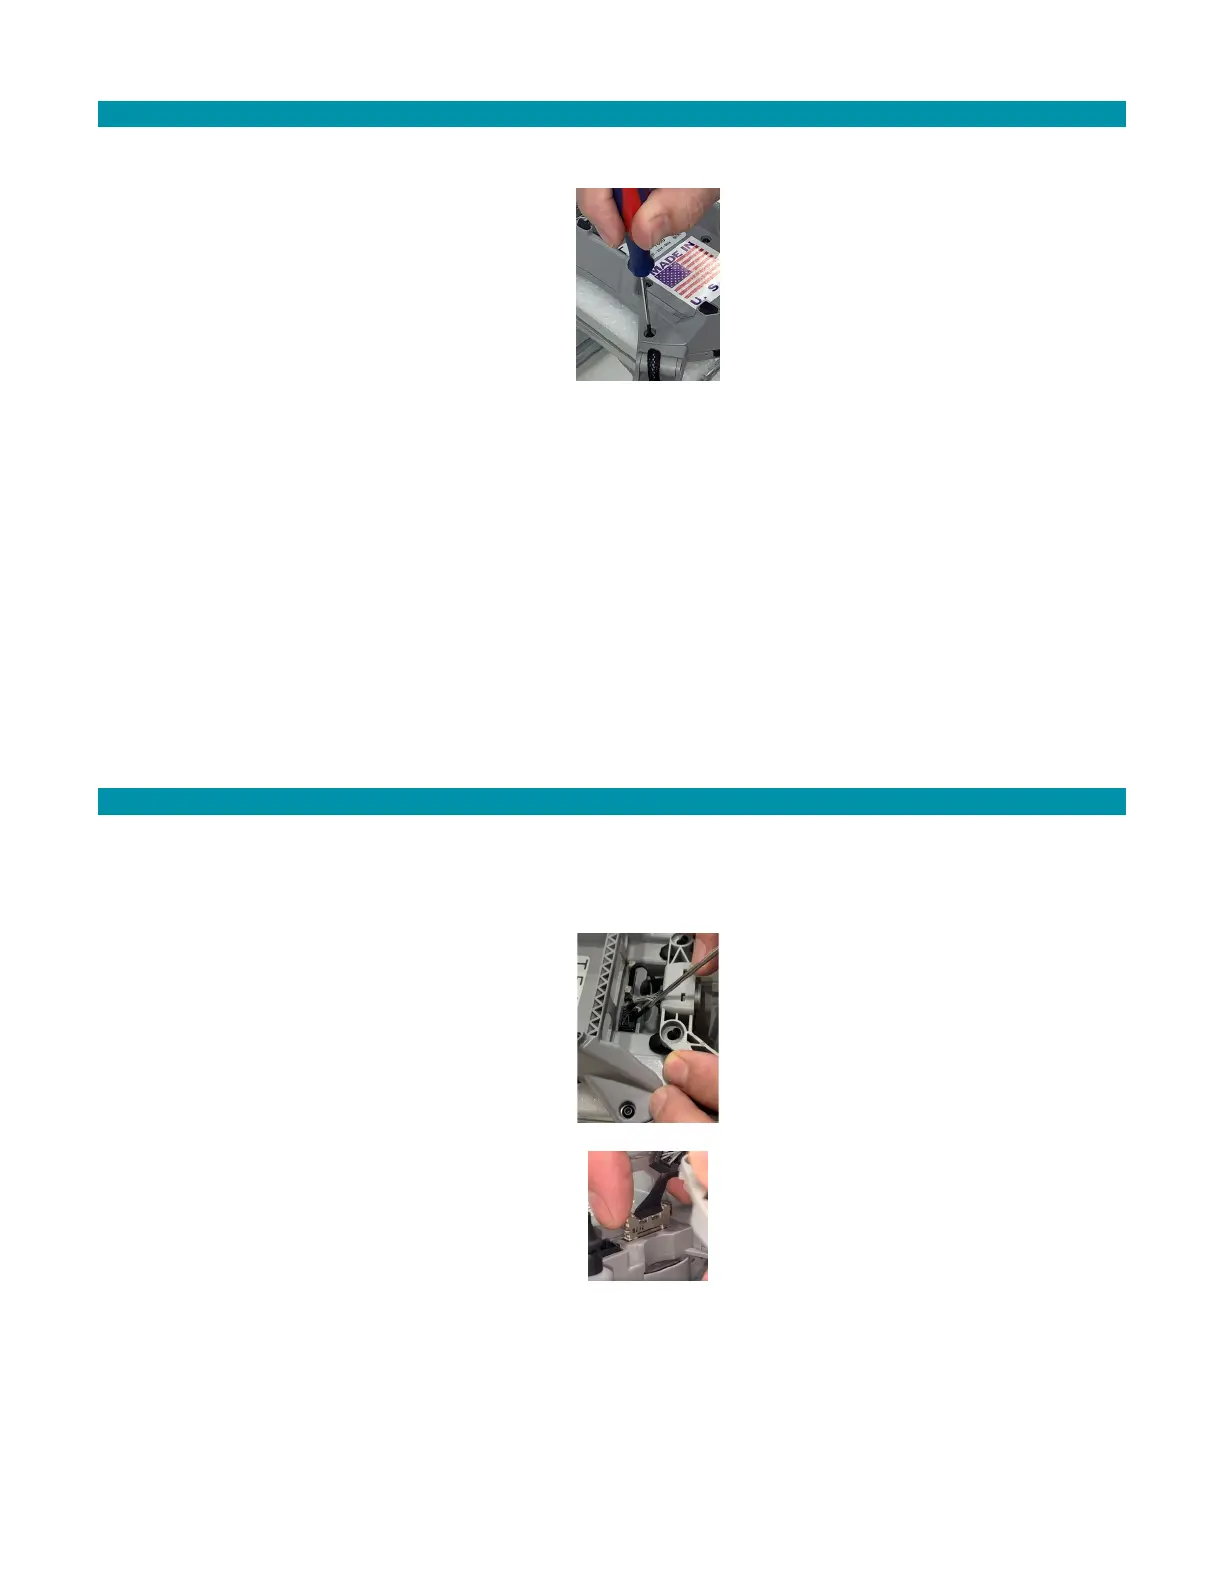
2. Remove the single T8 Torx screw on the motor arm with the T8 Torx screwdriver.
3. Set the screw aside for re-use.
4. Pull the arm straight out of the socket.
5. Insert the new arm into the airframe. Push firmly until the screw holes on the arm
and frame align.
6. Use the Torx T8 screwdriver to tighten the screw and secure the arm into place.
7. Test the motor to ensure it functions properly for the next flight.
17.4 CAMERA AND GIMBAL PAYLOAD REPLACEMENT
Both the FLIR Hadron EO/IR camera and gimbal are replaceable in the field. Use the
specific tools to prevent damaging parts in the repair process.
17.4.1 CAMERA & GIMBAL REPLACEMENT INSTRUCTIONS
1. Place the AV on its back on a table or workspace. Hang the antenna off the edge of the
table to prevent damage.
2. Remove the four rubber grommets on the gimbal brackets. Use a screwdriver to push
the grommets through the hole.
3. Use your fingernail or a screwdriver to press the tab on the motor cable connector.
4. Pull the connector straight up to disconnect it from the socket.
5. Pull the connector straight up to disconnect it from the socket.
6. Squeeze the side latches of the camera data cable connector to release it.
7. Pull the connector straight up to disconnect it from the socket.