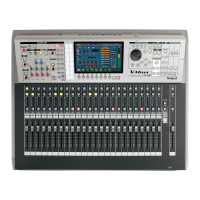
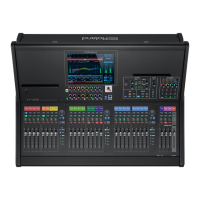
Part Names and Functions
33
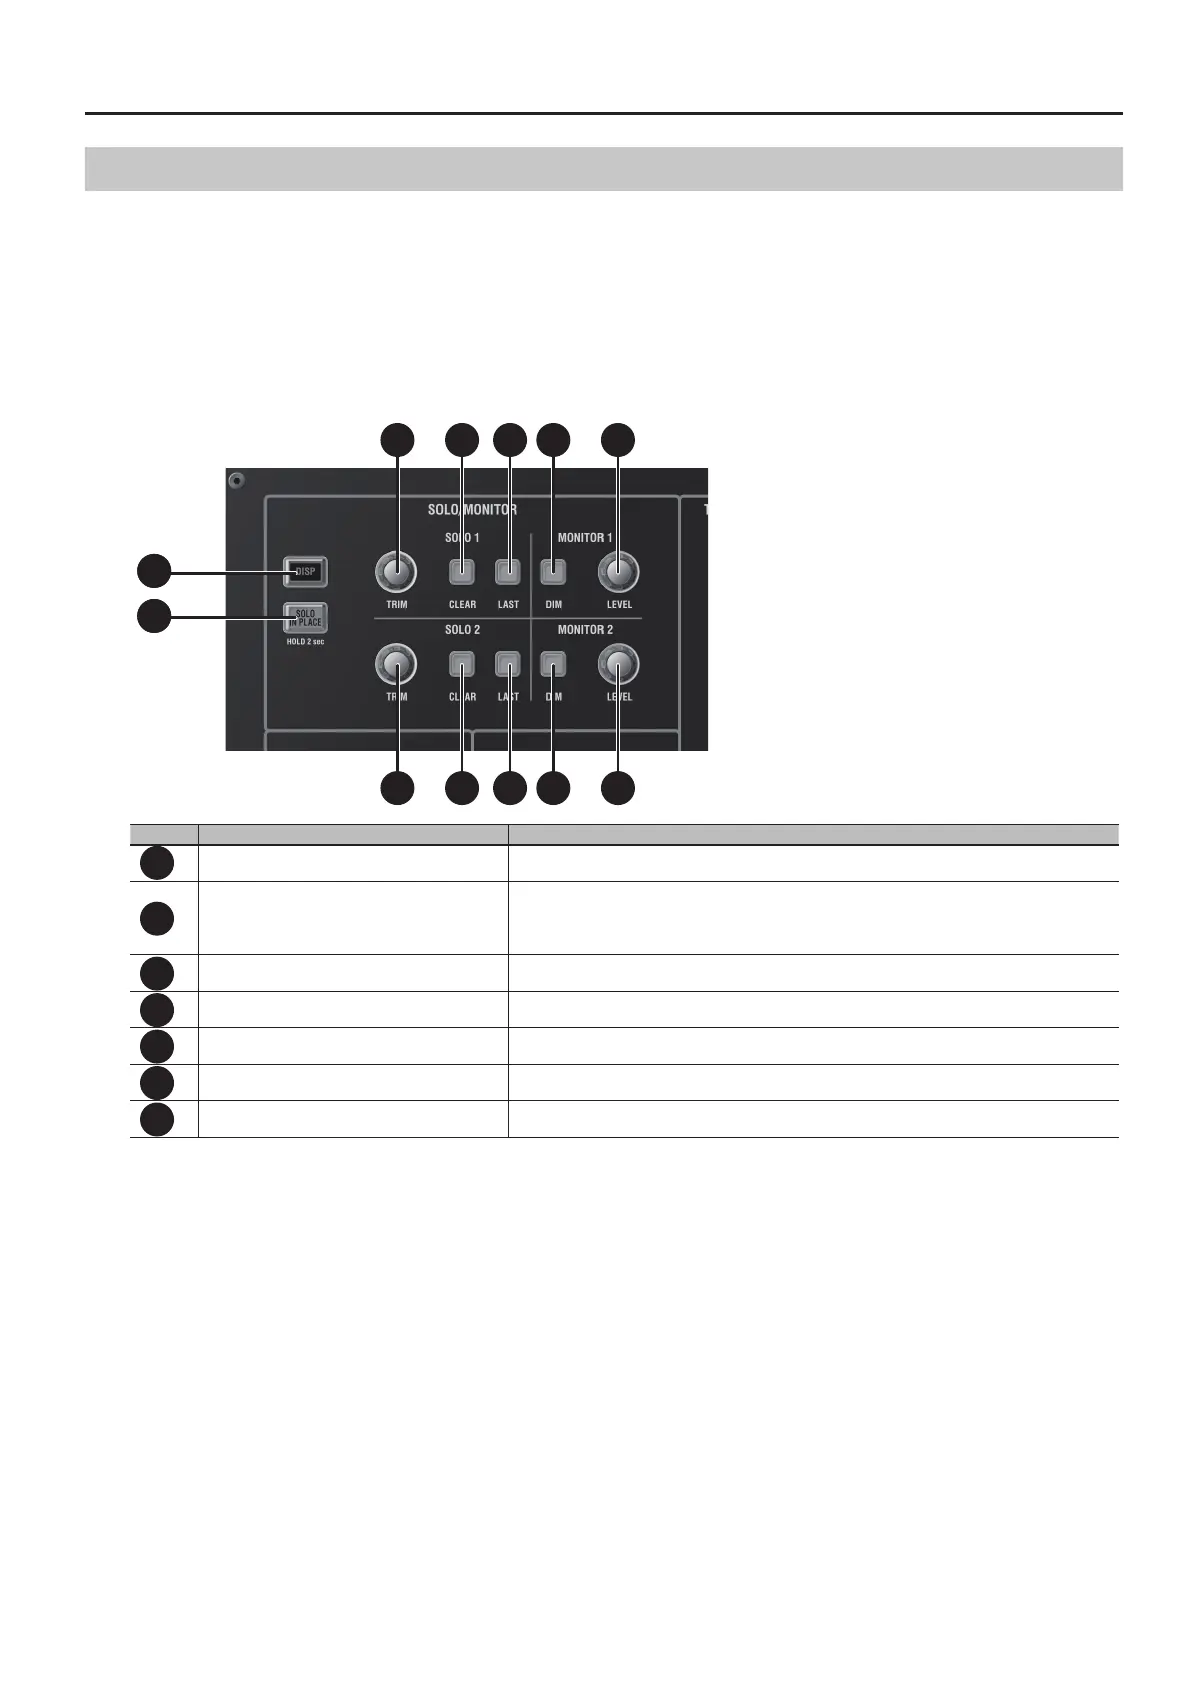
Monitor Section
This section is for working with monitor functions.
This unit is provided with two monitor systems.
The available selections for MONITOR 1 are 5.1, STEREO, and NONE (no assignment), and the available selections for MONITOR 2 are STEREO and
NONE (no assignment).
The unit is also provided with two solo systems. These are SOLO 1 for MONITOR 1 and SOLO 2 for MONITOR 2.
The input channel or output bus selected using [SOLO] on the top panel is sent to the monitor.
For details, refer to the "Monitor" section in the Reference Manual (PDF).
1 1
2 2
3
3
4
4
5
5
6
6
7
7
Number Name Description
1
[DISP] button This displays the MONITOR window.
2
[SOLO IN PLACE] button
This turns Solo in Place on and o. To turn on Solo in Place, press and hold this button for 2 seconds. It
ashes when on.
* When Solo in Place is on, a solo signal is sent to the output buses. Note that input channels where
solo is turned o are not output.
3
SOLO 1 / SOLO 2 [TRIM] knob This adjusts the level of SOLO 1 or 2.
4
SOLO 1 / SOLO 2 [CLEAR] button This clears SOLO 1 or 2. It ashes when a channel is currently soloed.
5
SOLO 1 / SOLO 2 [LAST] button This turns the LAST mode on and o for SOLO 1 or 2.
6
MONITOR 1 / MONITOR 2 [DIM] button This turns the dimmer on and o for MONITOR 1 or 2.
7
MONITOR 1 / MONITOR 2 [LEVEL] button This adjusts the level of MONITOR 1 or 2.
 Loading...