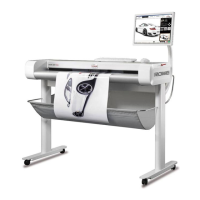
2.11 Calibration of Scanner
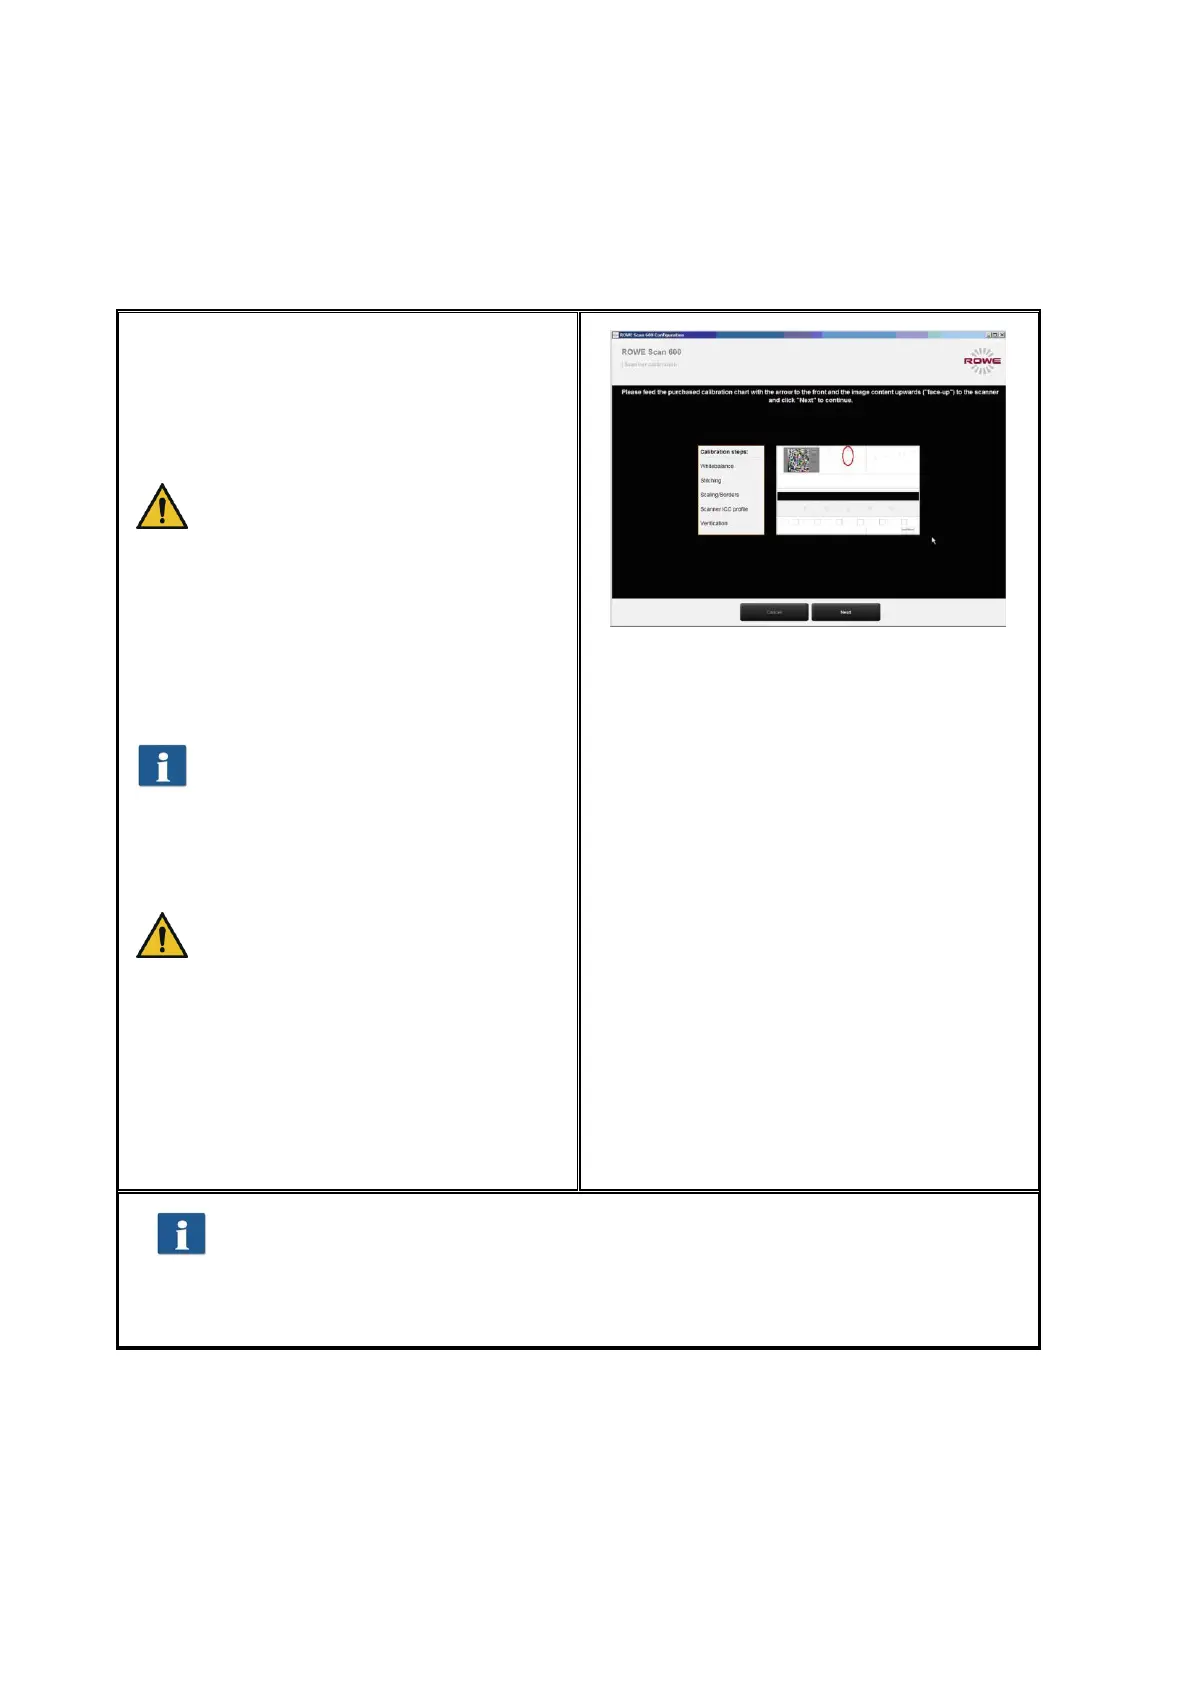
Now, the scanner needs to be calibrated to
obtain perfect scan results.
For this purpose, place the supplied
calibration chart in the paper feed of the
scanner.
The calibration chart has to be
placed with the printed side facing
up and with the depicted arrow
facing the front because the
calibration process cannot be
effected correctly otherwise.
Press "Next“ afterwards. The calibration
process is started and will take some time.
Any remaining time is depicted.
Should the wizard detect soiling and
/ or dust during the calibration
process, a message pops up. In this
case, check and clean the glass
plate. Afterwards, you can repeat
the process.
Please handle the calibration chart
with care. After calibration put it
back into the provided cardboard
box (always fold the printed side to
the inside).
After completion of calibration, the scanner
is in working order and ready for use. For
this purpose, read chapter "Simple Scan“
and / or "Introduction to ROWE
ScanManager“.
Figure 2.21: Calibration of scanner
In general, the Scan 600 software on the supplied data carrier is the most
recent version. However, it may also occur that a more recent version is
already available. The latter can now be downloaded and installed if you
intend to do so. Press the Update button in ConfigManager (see Chapter 6).
For this purpose, read Chapter 6.7.
2.12 Using External USB Data Carriers
The scanner is fitted with an additional USB slot in the right side box (see Figure 1.3, No.
6). This slot is provided for use of external USB drives (e.g. USB flash drive) to directly
save as file originals scanned with the device. In addition to the USB slot of your scanner,
you need another free USB slot on your PC which needs to be connected to the USB slot
on the rear side of the scanner (see Figure 1.3, No. 5).