Installing the Access Point
Step 1: Preconfigure the Access Point
ZoneFlex Indoor Access Point 9.8.1 User Guide, 800-70601-001 Rev C 87
1 Connect one end of an Ethernet cable to an Ethernet port on the Access Point,
and then connect the other end to the administrative computer’s Ethernet port.
2 Provide power to the AP using either an AC adapter or a PoE injector or switch.
3. Log Into the Access Point’s Web Interface
1 On the administrative computer, open a Web browser window.
2 In the address or location bar, type the following address:
https://192.168.0.1
3 Press <Enter> on the keyboard to connect to the Access Point’s Web interface.
A security alert message appears.
4 Click Yes or OK or Proceed Anyway (depending on the browser) to continue.
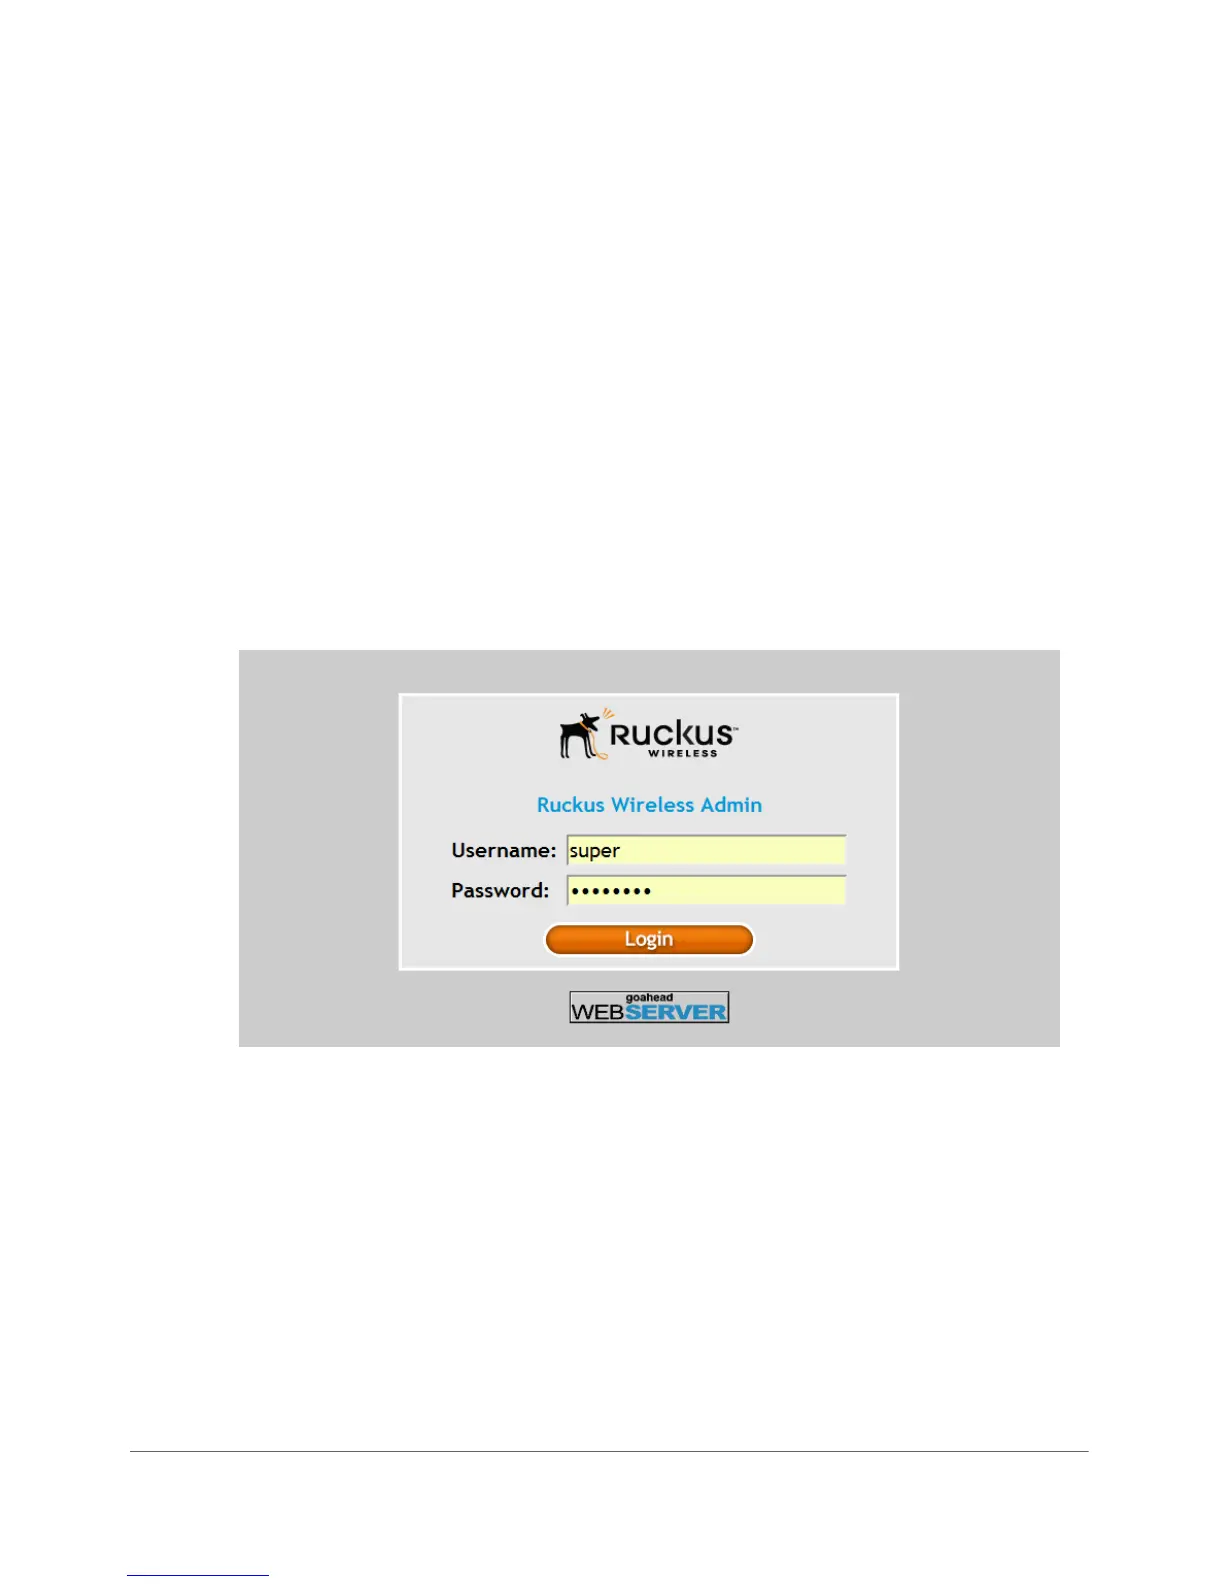
The Access Point’s login page appears.
Figure 41. The ZoneFlex Access Point login page
5 In User name, type super.
6 In Password, type sp-admin.
7 Click Login. The Web interface appears, displaying the Status > Device page.
8 Continue to “4. Configure the Wireless Settings” below.
4. Configure the Wireless Settings
To complete this step, configure the settings on the Common tab and at least one
Wireless # tab. These are the essential wireless settings that enable wireless
devices on the network to associate with the Access Point.