Using the EM 6000
91
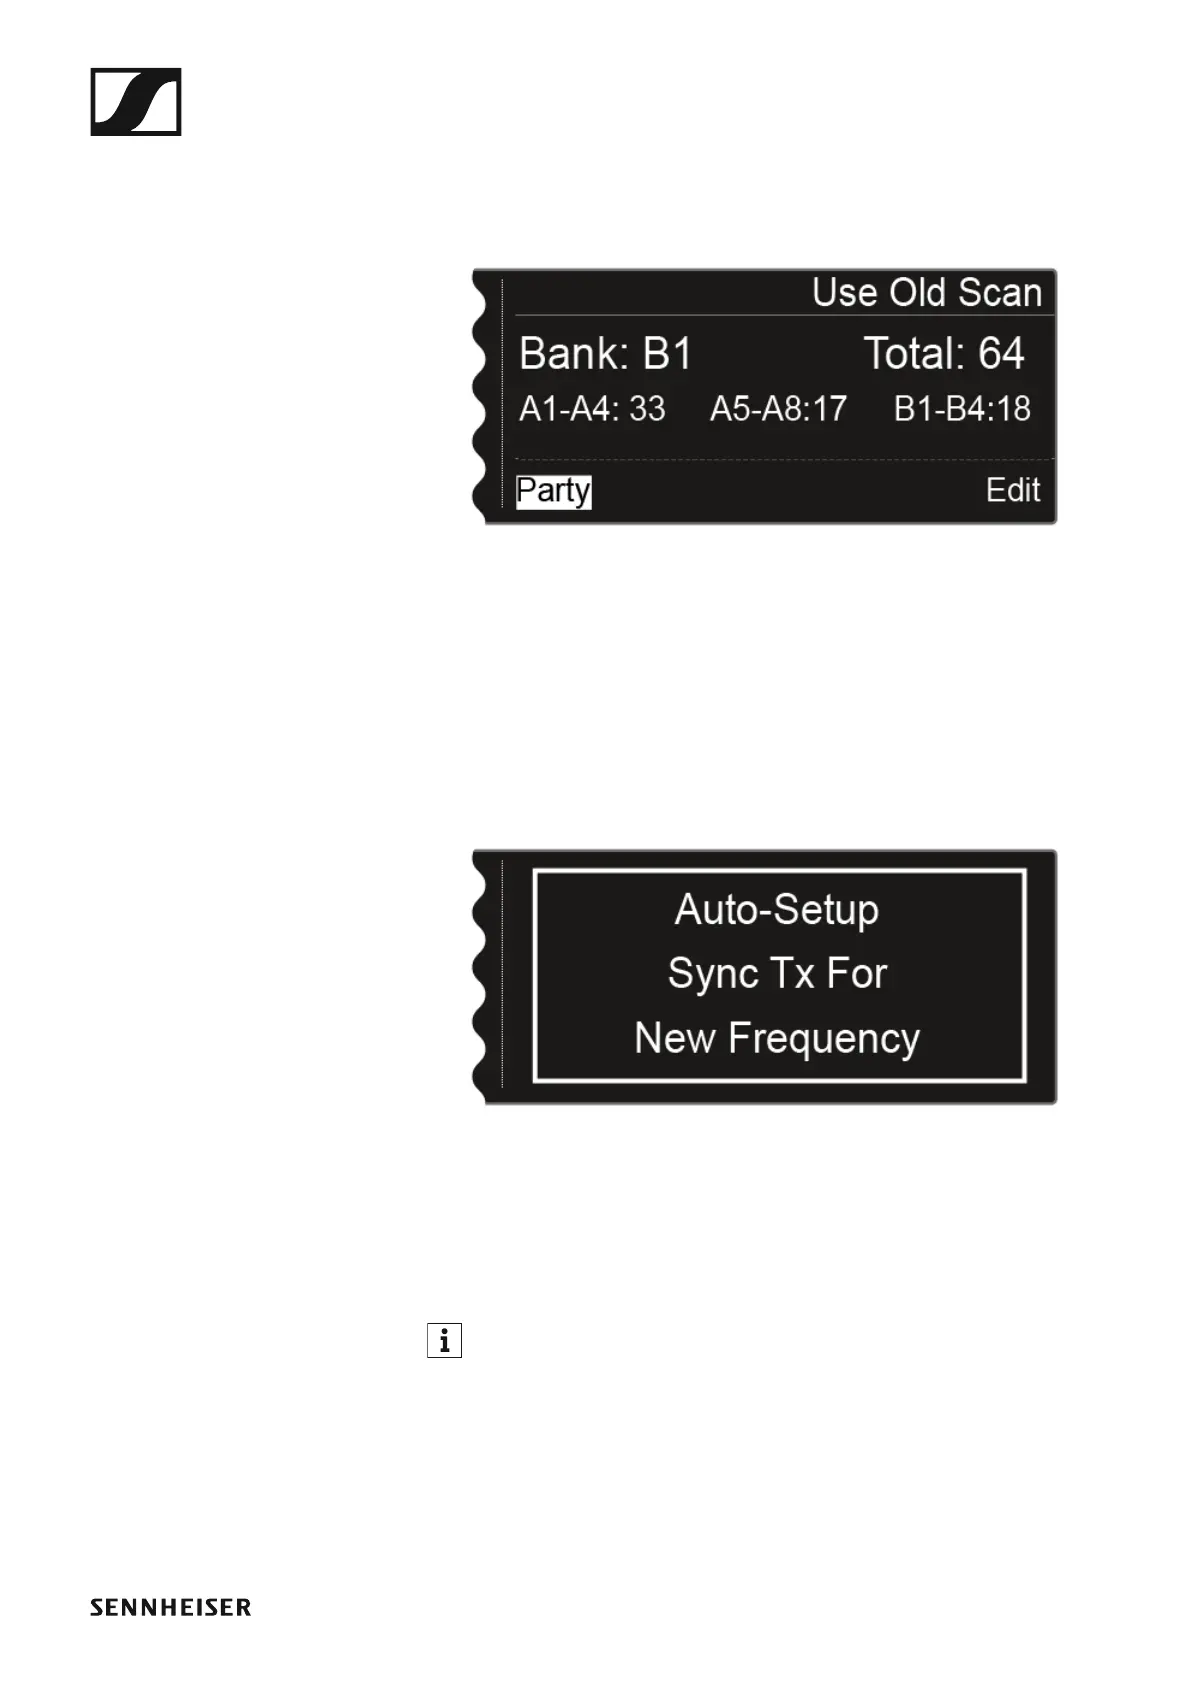
Step 3: Starting the automatic frequency setup
If you have performed the scan and edited the frequencies, you can start
the automatic frequency setup.
►
On the display, the Party option must be highlighted in white.
▷ Press the jog dial to start the automatic frequency setup.
The setup is performed for all receivers that are available in the net-
work. Note that the Auto-Setup option in the System menu item must
be activated for all of the receivers.
After the setup is performed, the following message is displayed.
►
This message is displayed on all of the displays of all of the receiver chan-
nels.
▷ Synchronize all of the channels and the corresponding transmitters us-
ing the Sync function.
For information about the Sync function, see “Synchronizing devices”.
If you press the ESC button for a channel, the sync is canceled for both
channels of the particular EM 6000 unit. However, if you press the ESC
button for the channel in which you started the auto-setup function, the
sync is canceled for all of the channels in the network. The EM 6000 on
which you perform the auto-setup function is defined as the master device
in the network. The other devices adopt the slave function.