PVA-3000 Reference Manual
December 2, 2019 Sifos Technologies
3.5. Navigating PVA Instruments and Test Ports
Navigating between PVA test ports and instruments is achieved using 2 menus:
1. Slot-Port Select menu
8. Chassis Select sub-menu
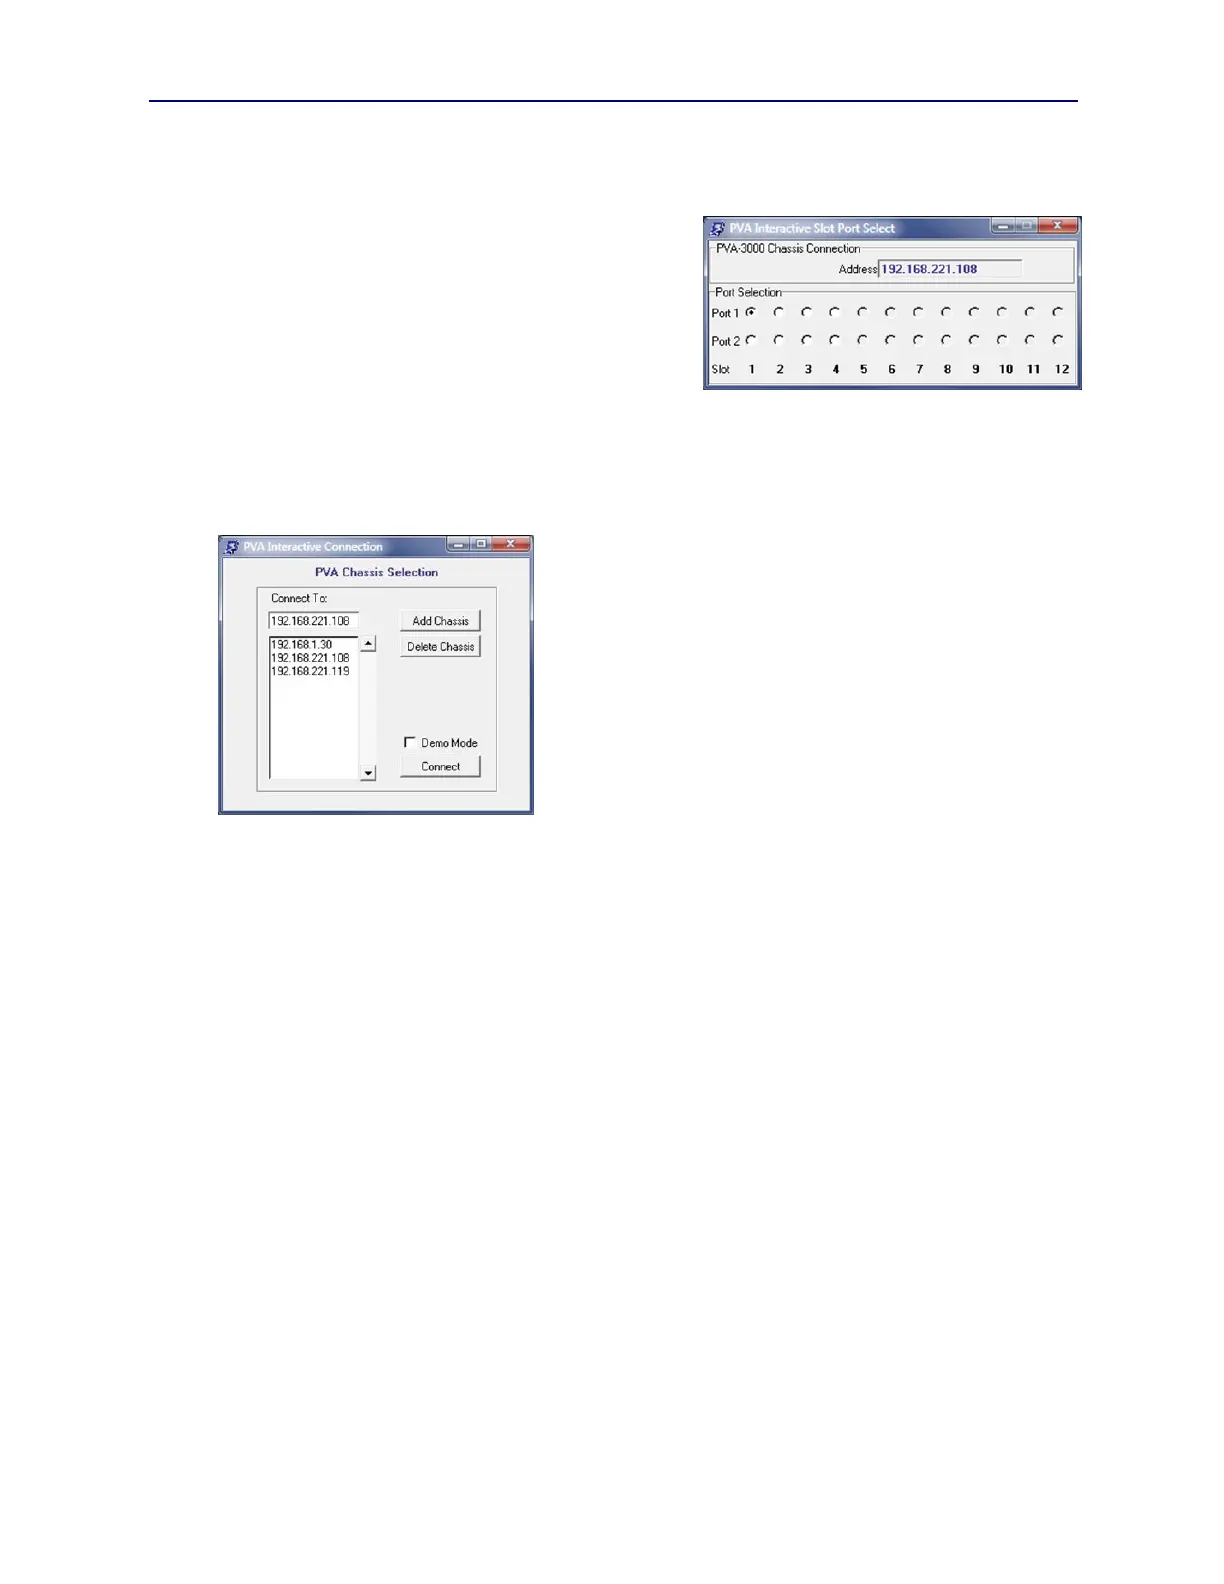
The Slot-Port Select menu (see Figure 3.7) appears when PVA
Interactive opens initially and always remains present and
distinct from the Main Menu. This menu will convey the
currently connected PVA instrument Address and the inventory
of available PhyView Analyzer test ports within that instrument.
Within the Port Selection frame, there are two rows of radio buttons, one for Port 1 in each test slot and one for Port 2
in each test slot. These radio buttons will be disabled (greyed out) in any slots that are not populated with PhyView
Analyzer test blades. When connected to a PVA-3002 Compact PVA, only Slot 1 is populated meaning Slots 2-12 are
disabled. Port 1 and Port 2 are as labeled on the PVA-3102 test blade and PVA-3002 front panels.
Selecting any enabled radio button will immediately update the
addressable test port for all operations in the PVA Interactive Main
Menu. It will also cause configuration information displayed in the
current tab sub-menu to update to the newly selected test port.
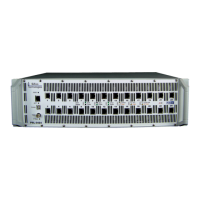
To select a new or different PVA instrument to manage from PVA
Interactive, the Select Chassis button in the Main Menu is pressed.
This opens a new window (see Figure 3.8) with a scrolled list of all
“known” PVA instrument IP addresses on the LAN. The list of chassis
addresses initially comes from the local environment file (see Section
2.3.4). The list of known or available chassis’ is updated whenever PVA
Interactive is opened. It will also be updated if a selected address is
found not to exist on the network when a connection is attempted.
Users may add a new instrument to the list by entering the associated IP
address in the Connect To: entry field, then pressing Add Chassis. If
the entered address is discovered on the network, it will be added to the list and become available for future selection.
It must then be selected from the list before pressing Connect to effect the PSA Interactive connection change. If the
entered address is not discovered, it will not be added to the address list and connection will be prohibited.
The Delete Chassis button may be used to remove an instrument address from the list of known addresses. This
change will also be retained in the local environment file.
Once a PVA instrument is selected and appears in the entry field, pressing Connect will complete the connection from
PVA Interactive to that instrument address. If a problem develops while attempting to connect, the menu will notify
the user of a connection problem and will abort the new connection. Common reasons for a connection problem at this
stage include duplicate network addresses or network firewalls that might block telnet protocol to/from the host
computer.
The PVA Chassis Selection menu also offers a checkbox for enabling or disabling Demo Mode. Demo Mode allows
connections to a virtual instrument and is discussed later in Section 3.14.
3.6. Port Configuration Menu
Port Configuration (Port Config) is the first tab menu within the PVA Interactive Main Menu (see Figure 3.9). This
menu enables interactive control of port configuration and impairment resources discussed previously in Sections 2.1
and 2.2.7. It consists of four framed sub-menus:
Port Connection
Port Impairments
Active Impairments
(Selected) Actions
Figure 3.7 Slot-Port Selection Menu
Figure 3.8 Select Chassis Menu