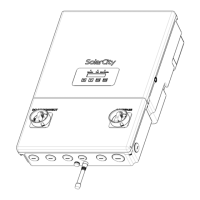
H6 Hybrid Inverter - Installation & Operation Guide
x
Copyright 2017 SolarCity Corporation. All rights reserved.
Figure 4-2: Hanging the SolarCity H6 inverter on the mounting bracket ...........................53
Figure 5-1: SolarCity H6 installation wiring diagram (1 of 2) .............................................. 57
Figure 5-2: SolarCity H6 installation wiring diagram (2 of 2) .............................................58
Figure 5-3: Removing the wiring box cover and close-up of screw head...........................60
Figure 5-4: Rain-tight compression connector ................................................................61
Figure 5-5: Using the spring clamp connectors ...............................................................63
Figure 5-6: Fireman Switch ............................................................................................. 71
Figure 6-1: SolarCity H6 inverter LEDs, LCD display, and buttons ..................................... 73
Figure 6-2: Interpreting the SolarCity H6 inverter LEDs ................................................... 75
Figure 9-1: Temperature de-rating graph ........................................................................96
Figure 9-2: AC Output power vs. PV input voltage range .................................................. 97
Figure 9-3: CEC Efficiency vs. PV input voltage ............................................................... 98
Figure 9-4: Battery pack charging efficiency ...................................................................99
Figure 9-5: Battery pack discharging efficiency...............................................................99
Figure 10-1: Removing the SolarCity H6 inverter top section ........................................... 110
Figure 10-2: Wires from inverter top section to wiring box ............................................. 112
Figure 10-3: Internal components (with separate PLC, top; with integrated PLC, bottom) 113
Figure 10-4: ZigBee chip with circuit breaker cover removed.......................................... 119
Figure 10-5: 9-Volt Battery (unit with separate PLC, top; with integrated PLC, bottom) ...120
Figure B-1: SMART RSS dimensions ................................................................................128
Figure B-2: Minimum SMART RSD clearances..................................................................129
Figure B-3: Installing the SMART RSS (below).................................................................. 131
Figure B-4: Removing the SMART RSS ............................................................................132