134
OVEN TEMPERATURE CONTROL
Oven modeling temperature is determined by the material type (model and support) loaded within the printer. It
is controlled by the printer’s software and cannot be modified; however, you do have control of some oven
temperature functions.
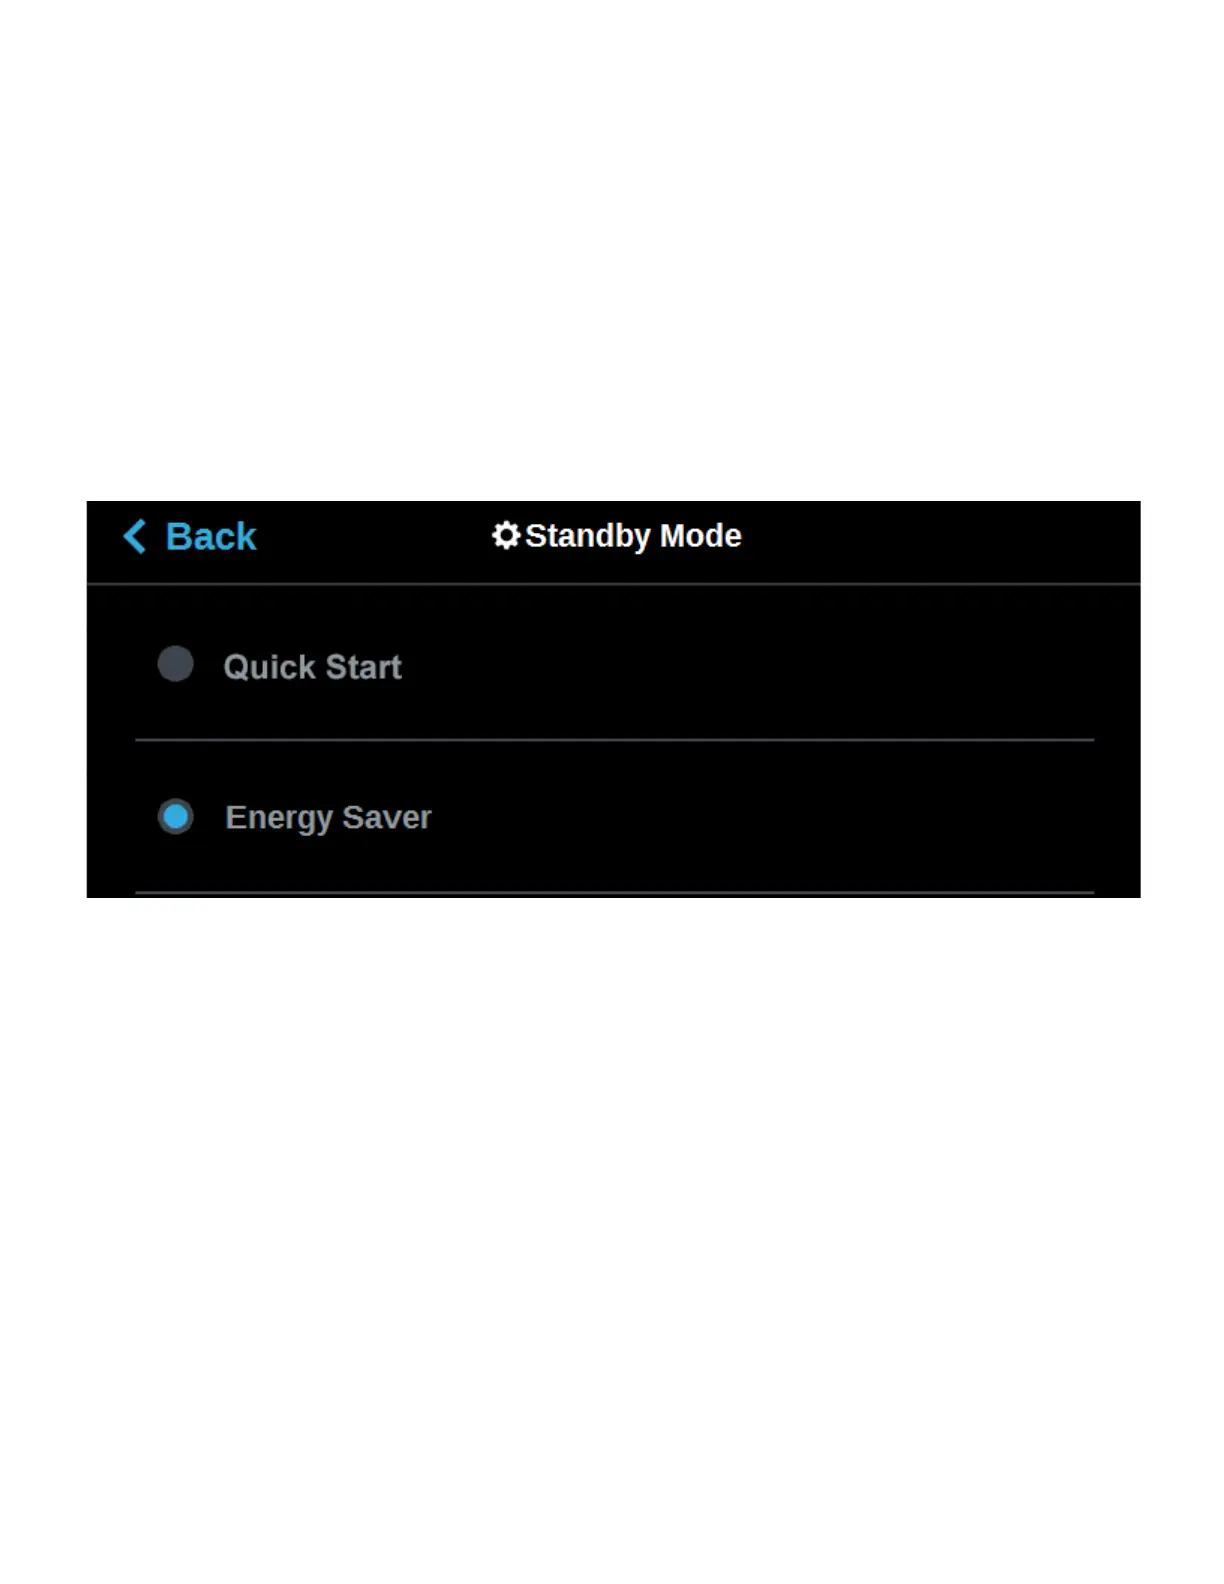
The Standby Mode setting gives the ability to put the printer into an energy saving state after the completion of
a build (see “Standby Mode” on page 84). When the Energy Saver option is selected (i.e. Standby Mode is
turned On) the printer’s oven will automatically shut off 2 hours after the completion of a build, thus saving
energy. When the Quick Start radio button is selected (i.e. Standby Modes is turned Off) the printer’s oven will
remain On for 60 hours after the completion of a build and oven temperature will stay at the material’s build
temperature.
To configure this setting, press anywhere within the Standby Mode row; the Standby Mode page will be
displayed. Use the radio buttons within this page to turn the Energy Saver option On and Off.
Figure 5-23: Configure Standby Mode
TOUCHSCREEN DISPLAY BRIGHTNESS
The Screen Brightness setting allows you to adjust the brightness of the touchscreen display (see “Screen
Brightness” on page 86). By default, the touchscreen display is configured to be at approximately 80%
brightness.
To configure this setting, press anywhere within the Screen Brightness row; the Screen Brightness page will be
displayed. Use the slider graphic to adjust brightness as needed; sliding to the right will increase brightness,
while sliding to the left will dim brightness. Please note that you cannot set screen brightness to 0% (completely
dim). After exiting the Screen Brightness page the configured brightness will be displayed as a percentage
within the Screen Brightness row.
Figure 5-24: Adjust Screen Brightness