175
3.3/5/12 VDC ATX POWER SUPPLY
Required Tools
• 3mm hex wrench
Removing the 3.3/5/12 VDC ATX Power Supply
1. Power OFF the printer, see “Powering Off” on page 169.
2. Remove the rear panel, see “Removing the Rear Panel” on page 170.
3. Disconnect the input power cable from the power supply.
4. Disconnect the power supply cables from the I/O board (J16, J19, J20, J29).
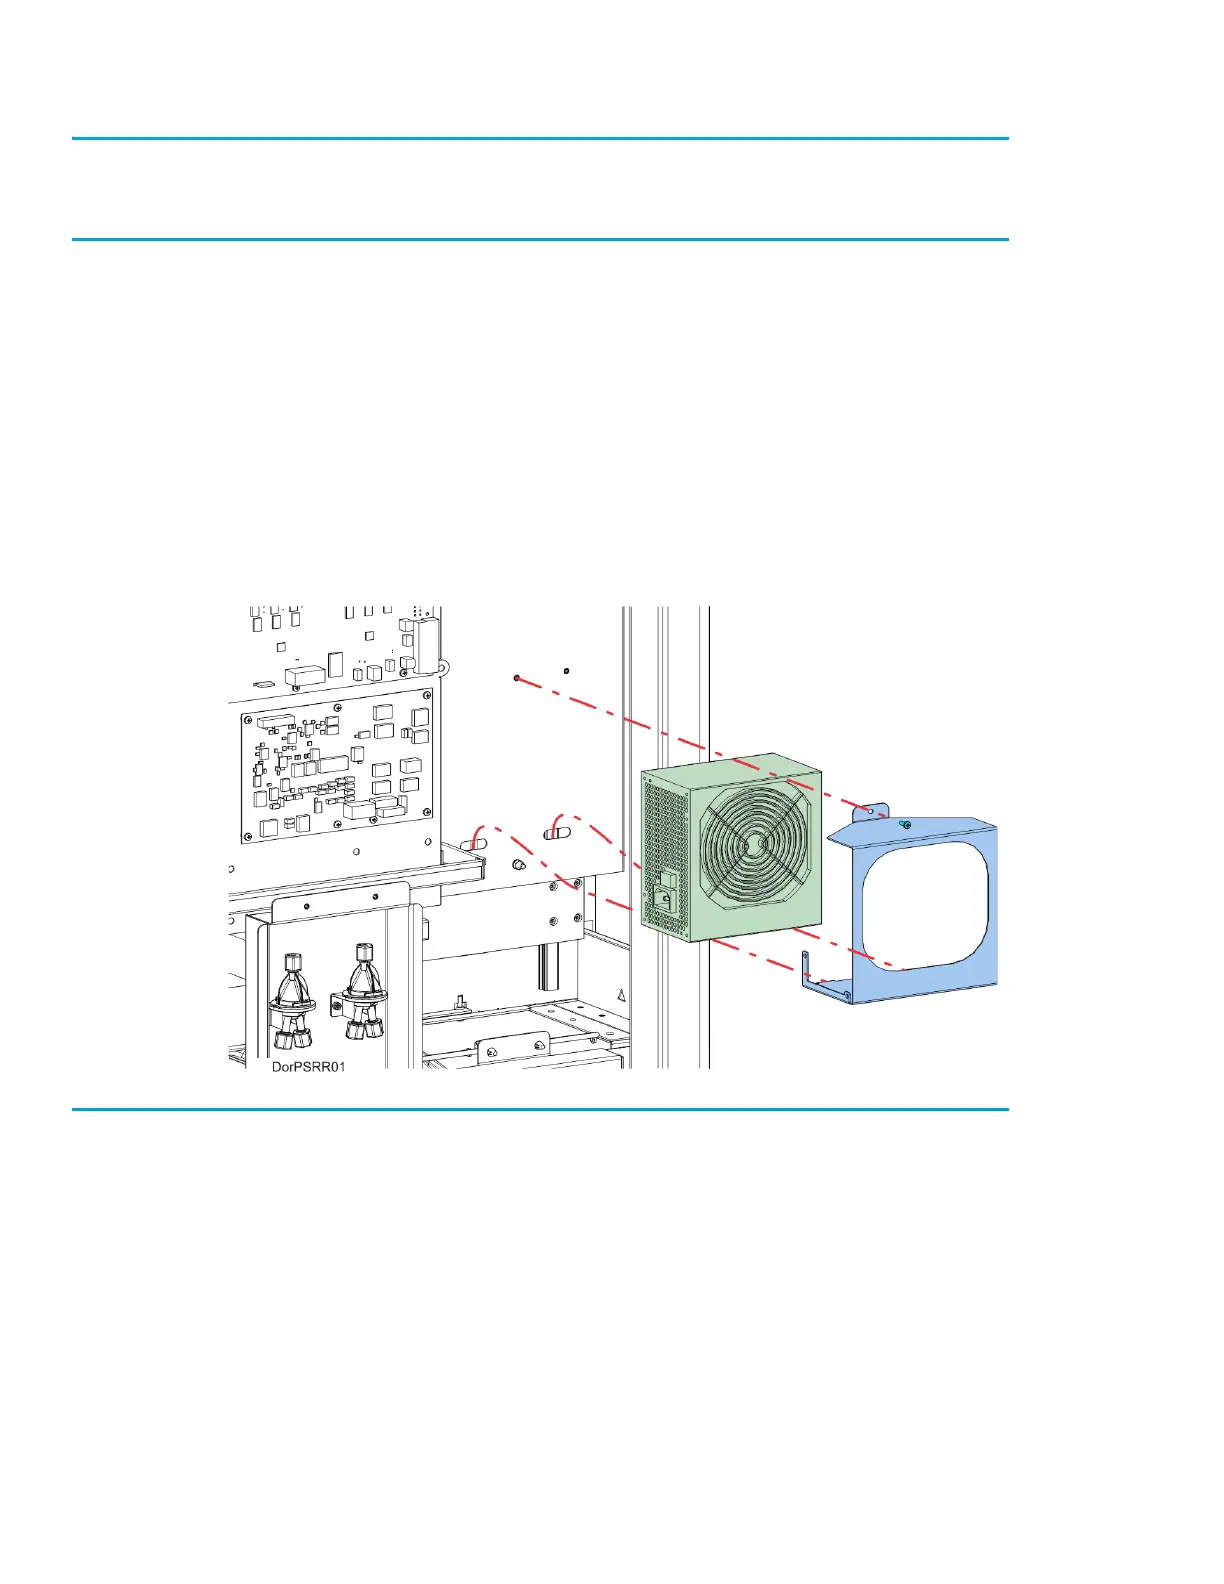
5. Using a 3mm hex wrench, remove the power supply bracket mounting screw. See Figure 7-16.
6. Pivot and lift the bracket slightly to remove the power supply from the electronics bay.
7. Remove the power supply from the bracket.
Figure 7-16: 3.3/5/12 VDC ATX Power Supply Mounting Location
Installing the 3.3/5/12 VDC ATX Power Supply
1. Transfer the mounting bracket to the new power supply.
2. Insert the bottom tabs of the power supply bracket into the slotted holes of the electronics bay panel.
Pivot the power supply to its mounting orientation.
3. Use a 3mm hex wrench to reinstall the single mounting screw on top of the power supply bracket.
4. Connect the power supply cables to the I/O board (J16, J19, J20, J29).
5. Reconnect the input power cable to the 3.3/5/12 VDC ATX power supply.
6. Make sure that the switch on the power supply is in the ON position.
7. Reinstall the rear panel. See “Installing the Rear Panel” on page 170.