170
REAR PANEL
Required Tools
• 3 mm hex wrench
Removing the Rear Panel
1. Power OFF the printer, see “Powering Off” on page 169.
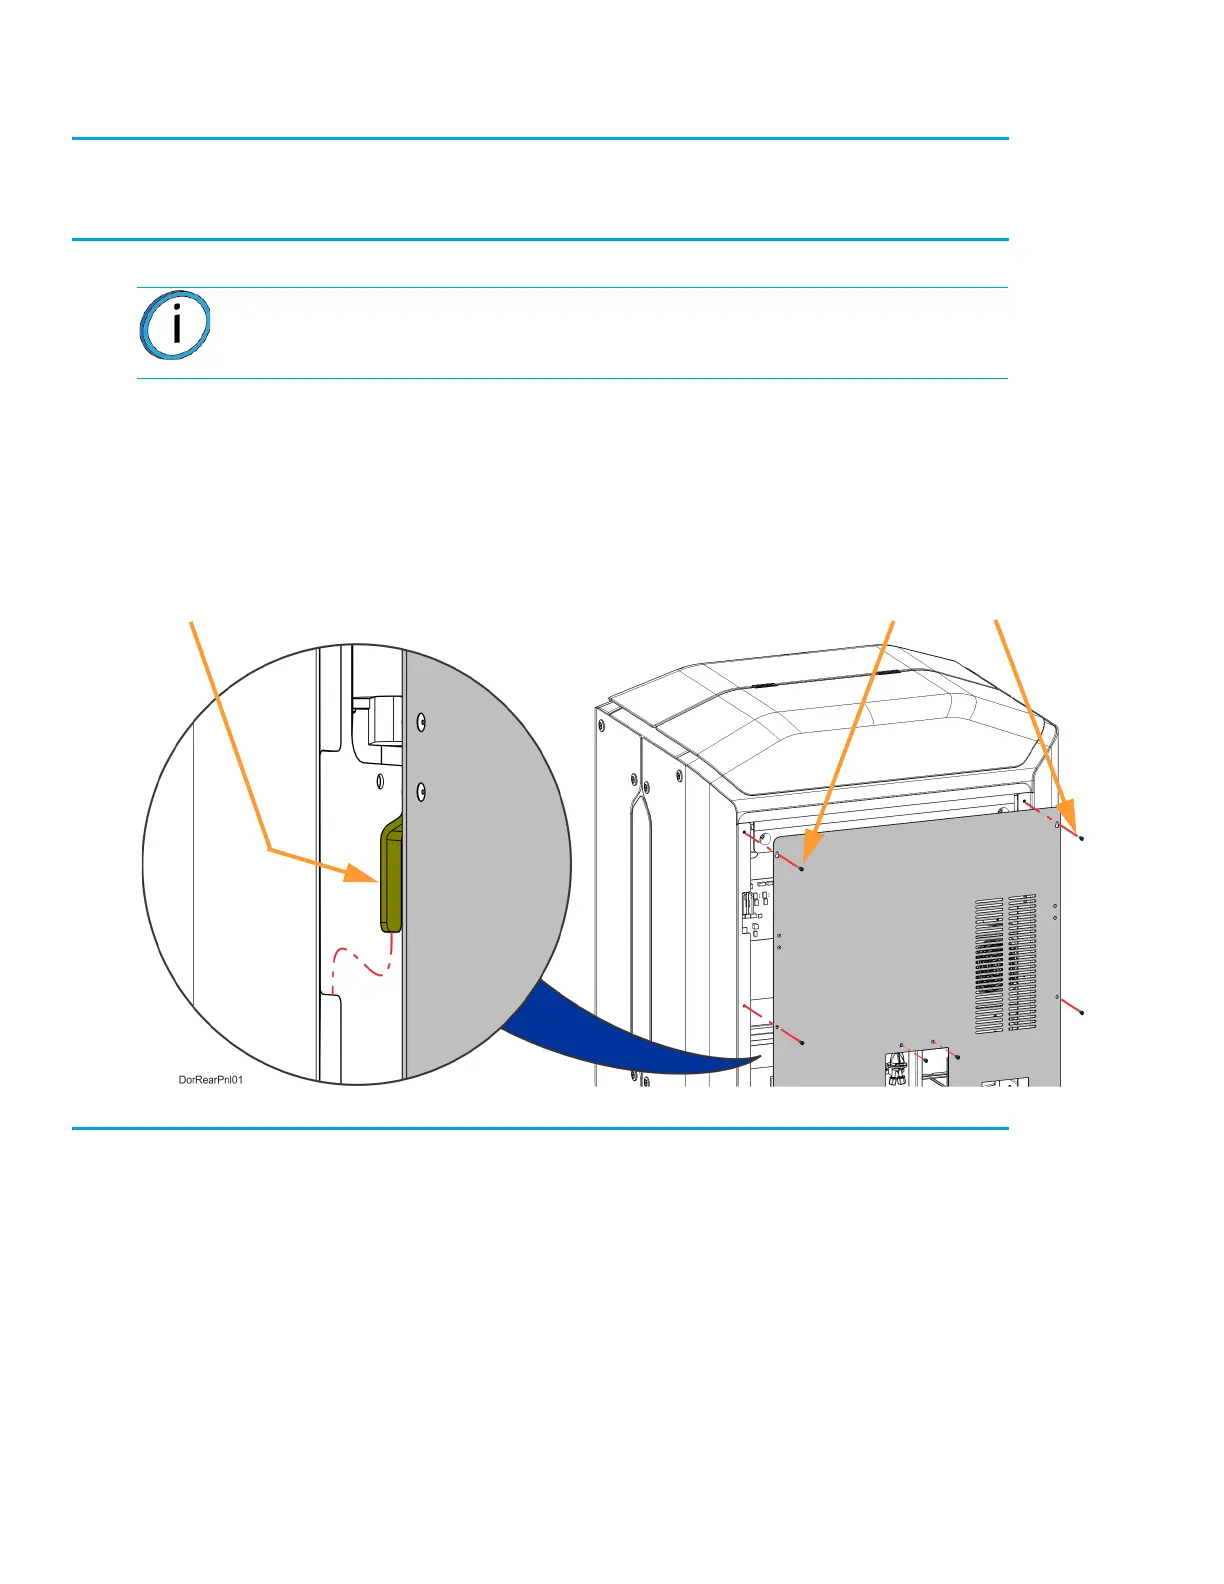
2. Using a 3 mm hex wrench, remove the rear panel mounting screws (16). See Figure 7-11.
3. The rear panel has brackets that allow it to hang on the printer frame. Remove the rear panel by
lifting upward and pulling away from the printer.
Figure 7-11: Rear Panel Mounting Screw Locations
Installing the Rear Panel
1. Insert the rear panel hanger brackets into the notches in the side panels. See Figure 7-11.
2. Align the rear panel with the mounting holes in the frame. See Figure 7-11.
3. Using a 3 mm hex wrench, loosely install the rear panel mounting screws (16). See Figure 7-11.
4. Tighten the rear panel mounting screws (16).
Removal of the rear panel requires the removal of the AC power cord. Do not
install the AC power cord with the back panel removed.
Mounting Screws
Hanging Bracket