176
OVEN THERMISTOR
Required Tools
• 3 mm hex wrench
Removing the Oven Thermistor
1. Power OFF the printer. See “Powering Off” on page 169.
2. Remove the rear panel. See “Removing the Rear Panel” on page 170.
3. Remove the right rear side panel. See “Right and Left Side Panels” on page 171.
4. Disconnect the thermistor cable from the I/O board (J36).
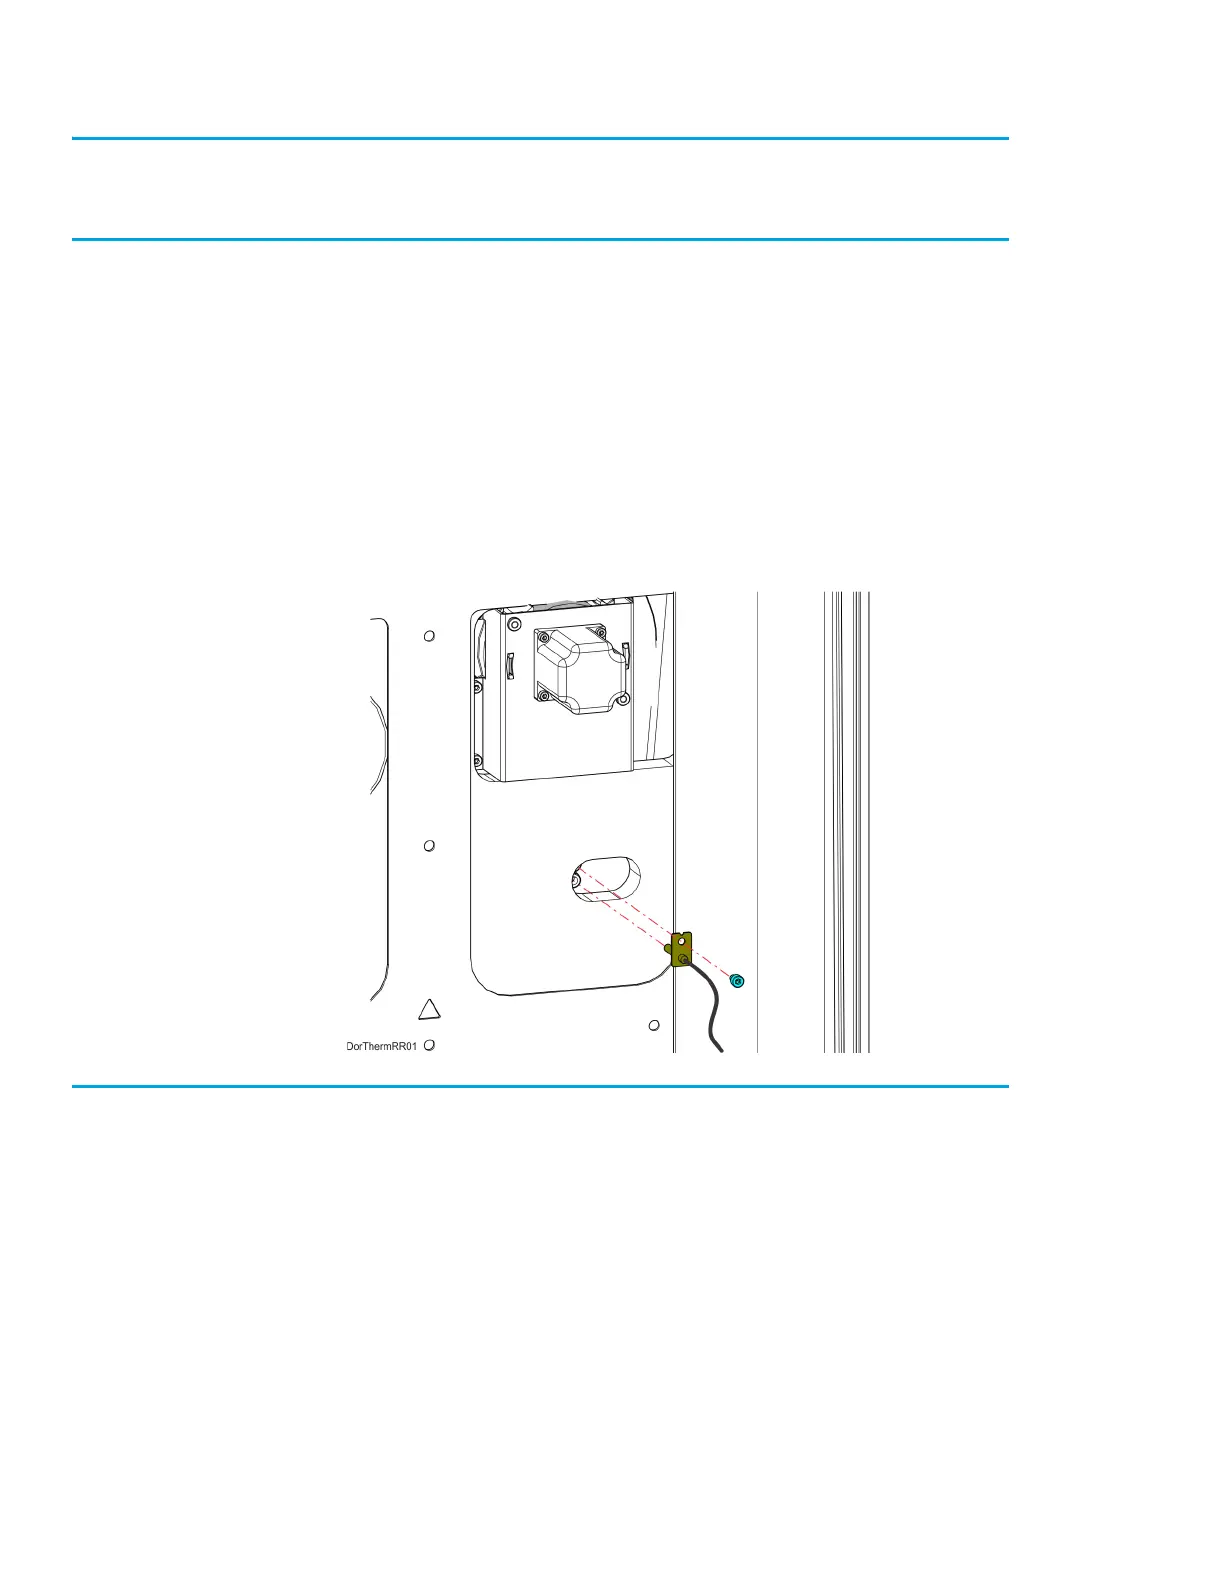
5. Use a 3mm hex wrench to remove the mounting screw (1) that secures the thermistor to the oven
wall. See Figure 7-17.
6. Remove the thermistor from the printer. See Figure 7-17.
Figure 7-17: Thermistor Detail
Installing the Oven Thermistor
1. Align the oven thermistor with its mounting location and use a 3 mm hex wrench to reinstall the
mounting screw (1). See Figure 7-17.
2. Route the oven thermistor wire through the printer and reconnect it to the I/O board (J36).
3. Reinstall the right rear side panel. See “Installing the Side Panels” on page 172.
4. Reinstall the rear panel. See “Installing the Rear Panel” on page 170.