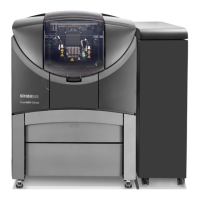
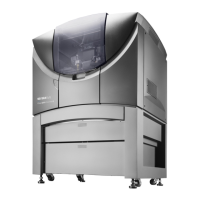
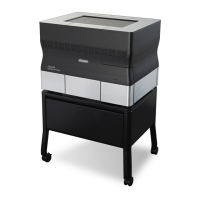
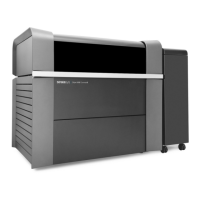
Operating & Maintaining the Objet24 3D Printer
6–52
DOC-34014 Rev. C
3. Makesurethatthebuildtrayisclear(empty).Confirmthisinthe
wizardscreenandclick
Next.
Thefollowingscreenappears.
Figure 6-72: Printer preparation
4. ExposetheUVsensorbyslidingitscovertotheright,andcheckthat
theglassisclean.
Figure 6-73: UV sensor exposed
5. Ifnecessary,cleantheglassovertheUVsensorwithacleaningcloth
andalcohol(IPA).
Donotusetheabrasivecleaningpadtocleantheglass.
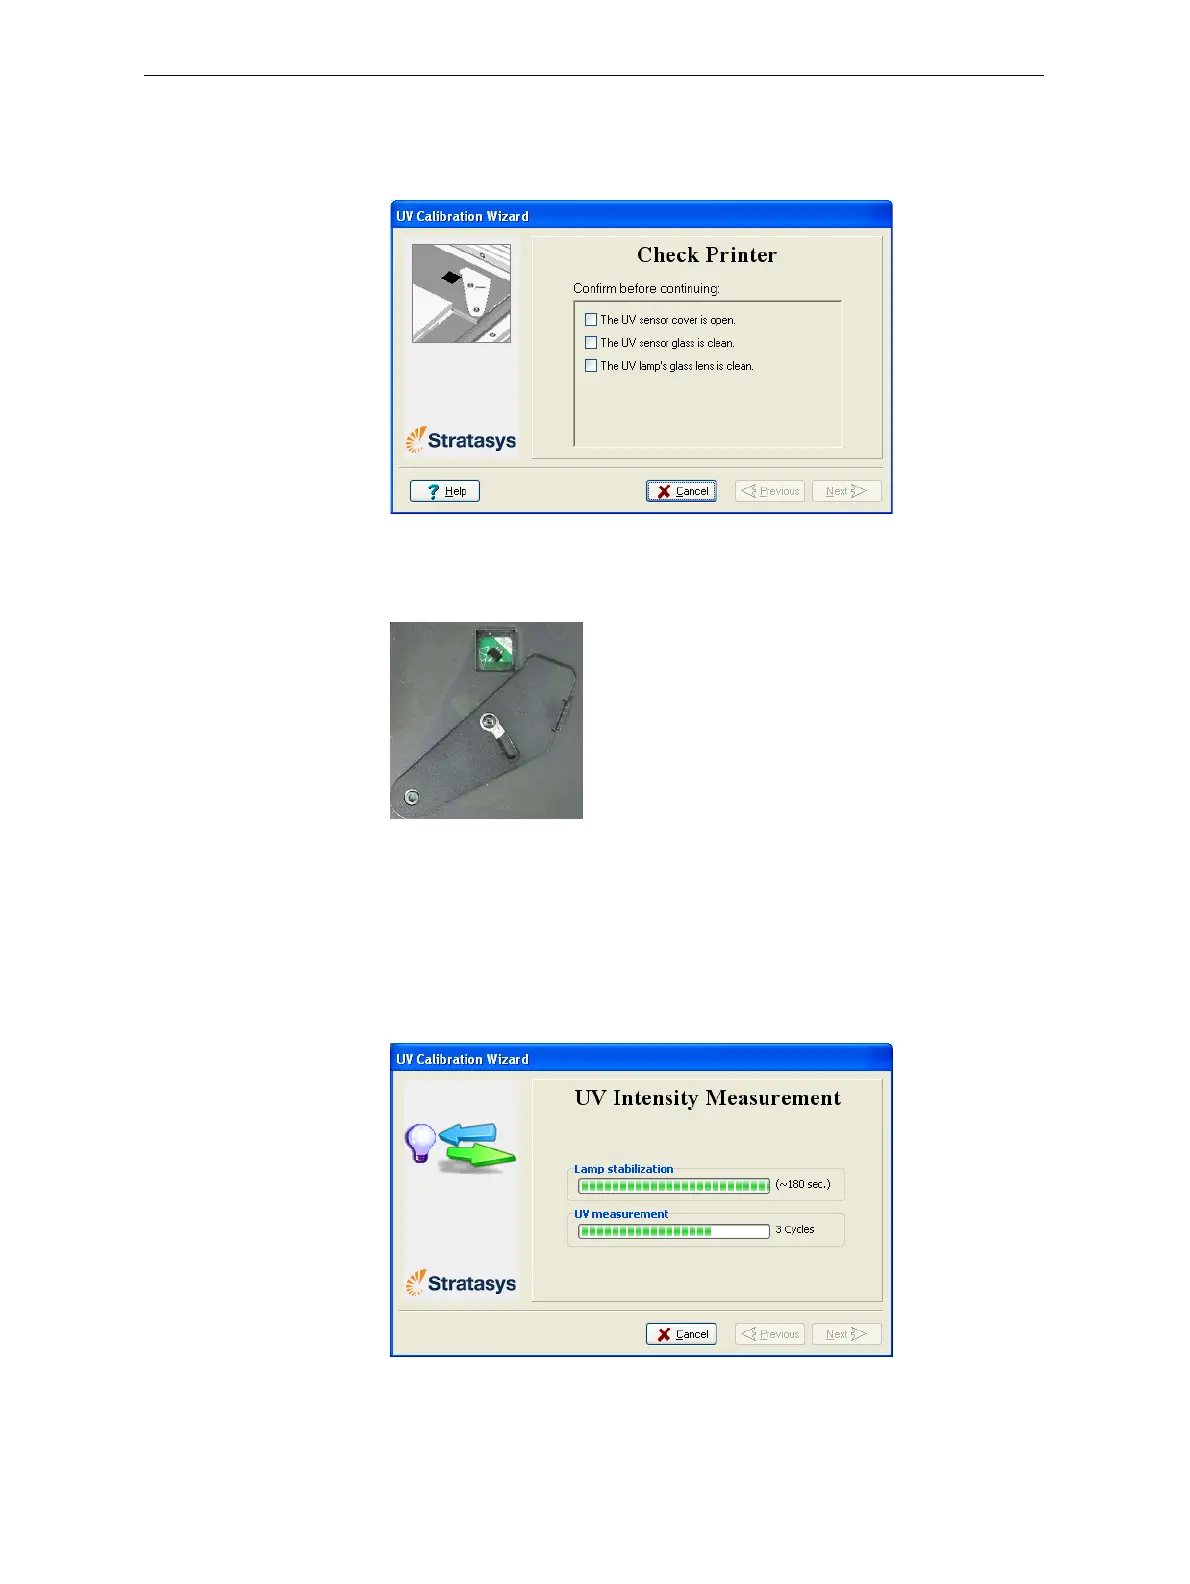
Whenyouclick
Next,theUVlamppowersupandstabilizes.(Thistakes
severalminutes.)Then,theprintblockpassesoverthesensorandthe
wizardcomparesthemeasuredradiationtotherecommendedlevel.
Figure 6-74: UV measurement progress
IftheUVlevelmeasuredisnotacceptable,thewizardcalibratestheUV
lampbyadjustingthecurrentsuppliedtoit,andthentestsitagain.
 Loading...