S CLASS™ cutter User’s Manual
Setup 1-4
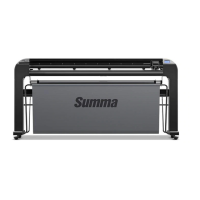
8. Make sure the linen basket is guided under the horizontal panel. Take the last large c-
shaped tube and feed it through the rear hem in the linen basket. Then put the tube on
the two rear tubes that stick out of the feet. Make sure the holes are oriented right-side
up so that the tube clicks securely on the tubes. The finished stand should look like the
stand in the picture below (Figure 1-8).
FIG 1-8
1-8 STAND FOR THE S CLASS™ CUTTER COMPLETELY ASSEMBLED
9. The right leg has a hole in the foot and a cutout in the leg to guide the power cable and
data cable. If you plan to use these cable guides, then put the cables in place before
mounting the cutter on the stand.
1.1.3 Mounting the cutter on the stand
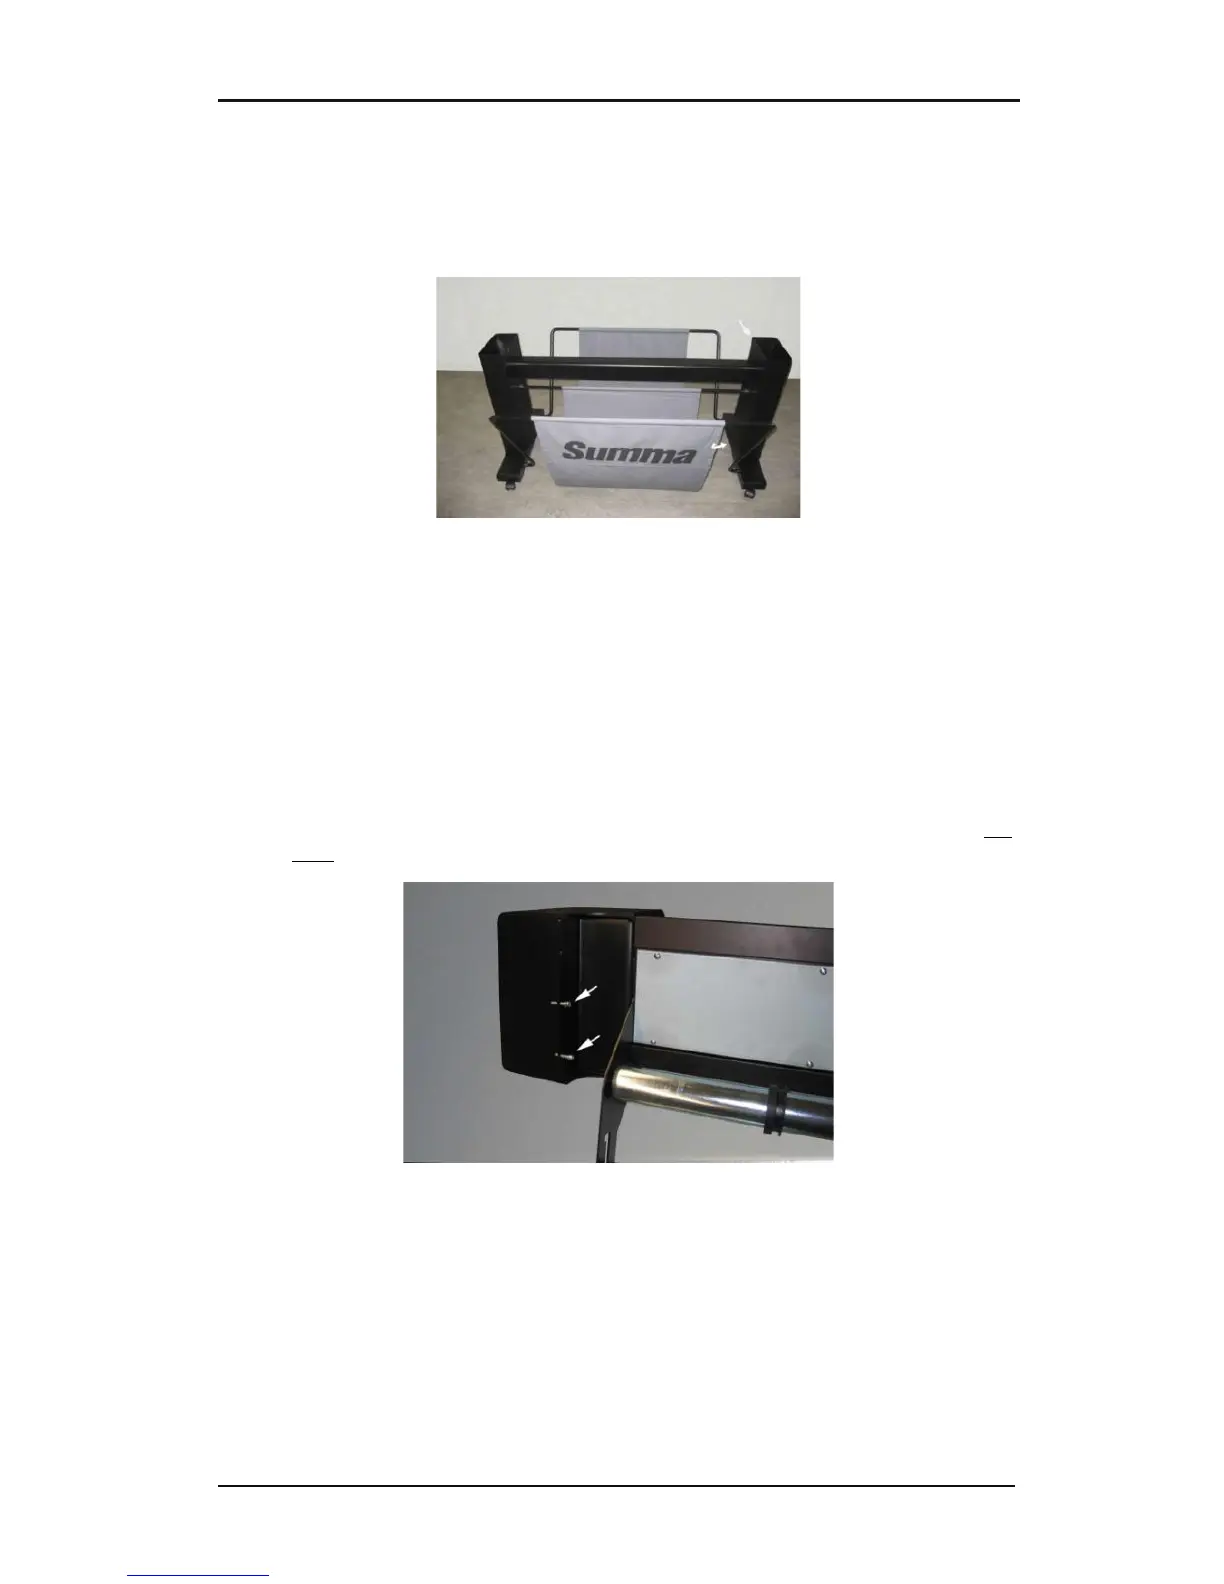
1. Carefully take the cutter out of the box and lay it on its back (first spread out the
cardboard of the stand box, and then rest the cutter on that cardboard). Then insert left
and right two screws and turn them 3 turns in. Do not put a screw in at the front.
FIG 1-9
1-9 POSITION OF THE SCREWS
2. Put the cutter on its stand. Put in the two extra screws in . Then secure all six screws.
3. Loosen the cutting head. Raise the pinch rollers to remove the protection strip from
underneath the pinch roller assemblies.