For each power source, there is a different view presented in the Battery window of the Instrument list.
When the instrument is powered from internal batteries, the “Battery” icon is presented on the top line
of the display. When voltage of the batteries is too low for reliable measurements, the icon is red or
during attempt to switch the instrument on, the Low Battery! message occurs on the display for
2 seconds and the instrument switches off by itself. The fully charged set of 4 batteries ensures more
than 12 hours of continuous operation of the instrument (with Dim LCD switched on). The battery
condition can be checked with the Battery function. It is also presented continuously on the top line of
the display by means of the “battery” icon.
When there is a connection to the USB interface (USB Device socket is connected by the SC 156 cable
to a PC), the “Computer” icon is presented on the top of the display and in the Battery window, there
is the USB Power: Voltage: 5.00V message.
Note: In the case when “Battery” icon is red, it is strongly recommended to use USB
interface as soon as possible to ensure reliable operation. If no suitable external power source
is provided the instrument will be switched off automatically after a short time!
Prolonging the internal source of the instrument’s power can be achieved by means of the LCD screen
Dim Mode. The settings of power saver function (Dim Mode) may be selected in the Screen Set.
window (path: <Menu> / Display / Screen Set.).
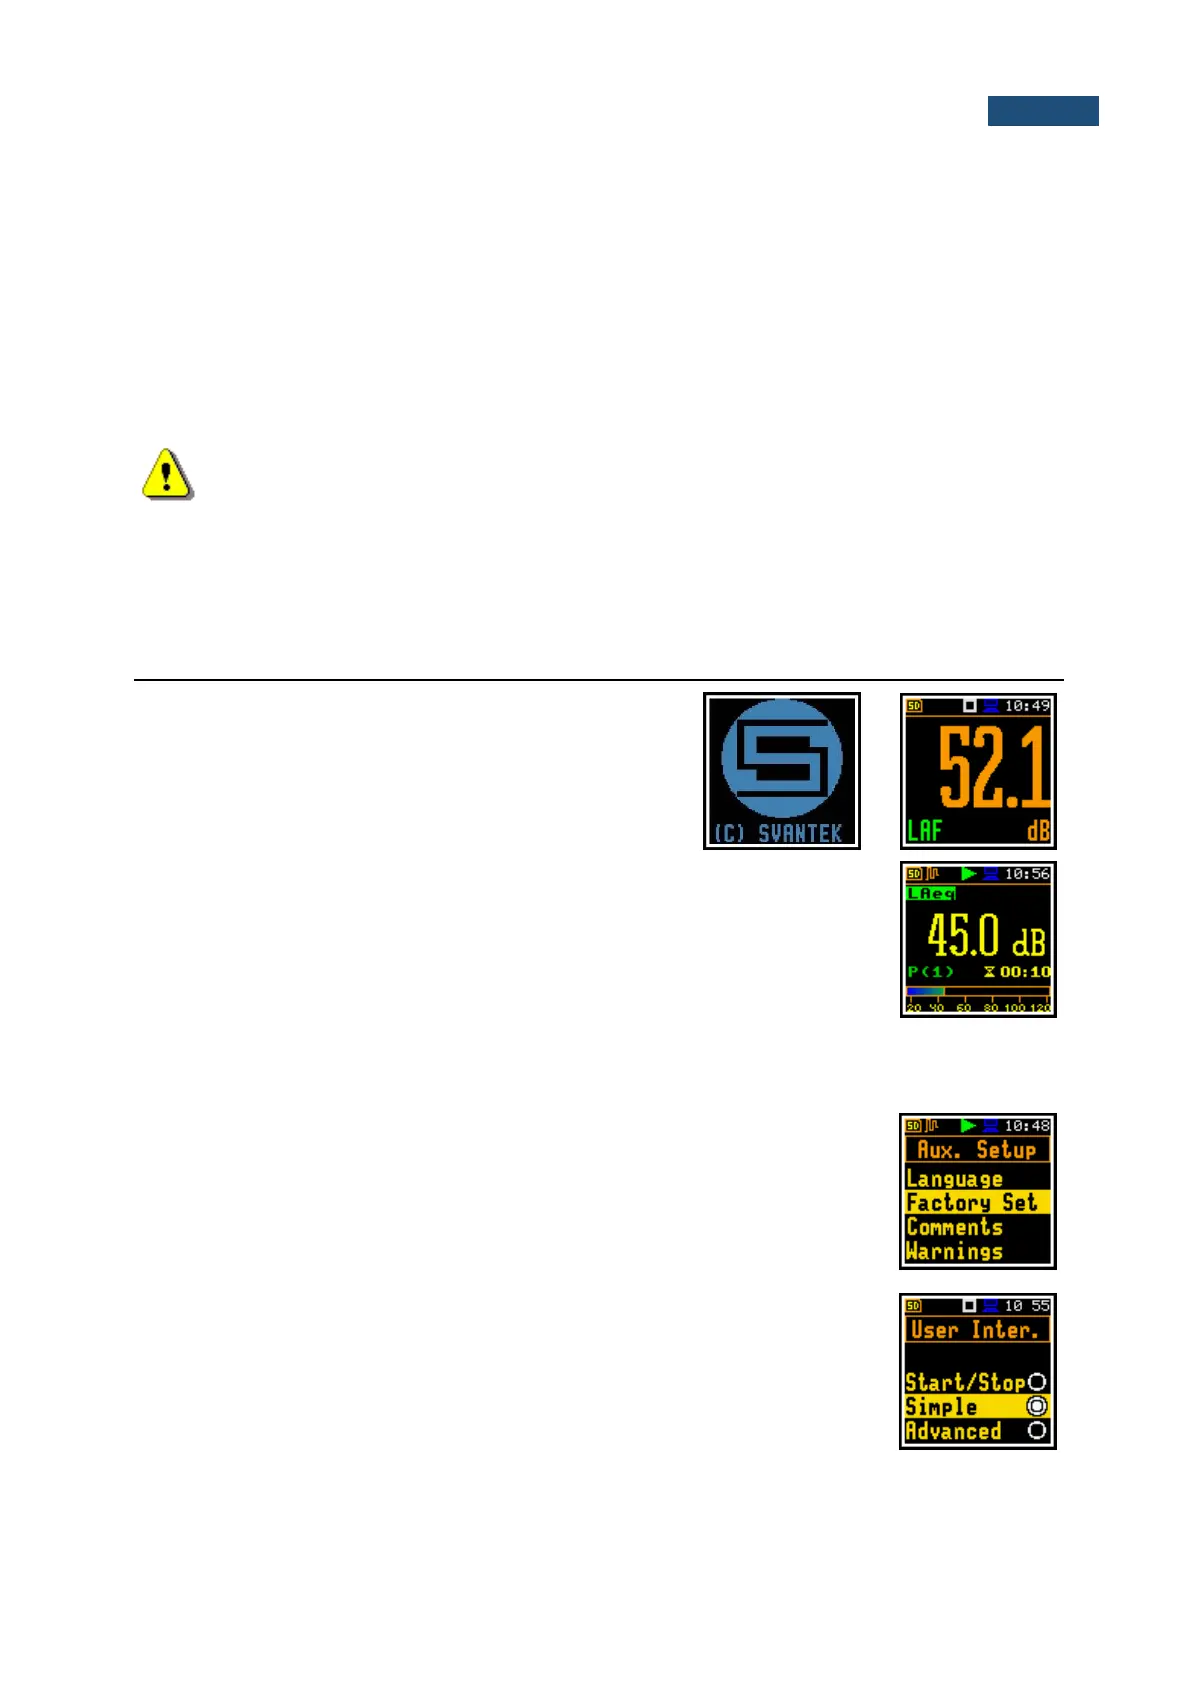
Turning the instrument on
To switch the power on, press the <Shift> and
<Start/Stop> keys simultaneously. The instrument goes
through the self-test routine (in this time the
manufacturer's logo and the name of the instrument is
displayed) and then it enters the basic SPL view mode.
Starting measurements
To start a measurement, press the <Start/Stop> key. Results of the
measurement are displayed in the view mode that was active before turning the
instrument off. As an example, screen with one profile mode is presented.
One profile mode is always available for most Functions of the instrument. The measurement results can
also be presented in other display modes, which you may control - switch them on or off and adjust to
your needs.
Setting up measurement parameters
The instrument as sold has default settings which you may change, but always
return to them with the use of the Factory Settings option in the Auxiliary Setup
menu.
Next chapters of the manual will describe in detail what each parameter means
and how to change the instrument settings.
Main default settings
With default settings, the instrument has a Simple user interface and is configured
as a Sound Level Meter (Measurement Function: Level Meter) to measure
sound pressure level by three virtual meters, so called profiles, with 1 second
delay from the <Start> key pressure, infinite integration time (Integration Period:
Inf), linear Leq integration (LEQ Integration: Linear), compensation of
microphone internal noise (Compensation Filter: Microphone), active logging
of the selected results (Lpeak, Lmax, Lmin and Leq) with 1 second step for all