HYDROSTATIC POWER TRAIN
4252490-Rev A 5-47
5
22. Stop engine, apply park brake, and return flow lock
tool to the neutral position.
23. Calculate left front wheel motor leakage.
(Step 12– Step 21 / Step 12 x 100 = Leak
Percentage)
Is left front wheel motor leakage 10% or less?
YES The left front wheel motor is good. Proceed
to step 24.
NO Proceed to next question.
Is left front wheel motor leakage 11–20%?
YES The left front wheel motor is marginal.
Proceed to step 24.
NO Proceed to next question.
Is left front wheel motor leakage 21% or more?
YES Repair or replace left front wheel motor. See
“Wheel Motors” on page 5-57, then proceed
to step 24.
24. Lower rear of machine to the ground.
25. Remove front wheel restraints.
26. For 3WD models, proceed to step 30.
27. For 2WD models, testing is complete. Disconnect
and remove test equipment. Install all hoses and
fittings as noted prior to removal.
28. Check hydraulic oil level and add if necessary. (Refer
to “Parts and Maintenance Manual” for correct oil
specifications.).
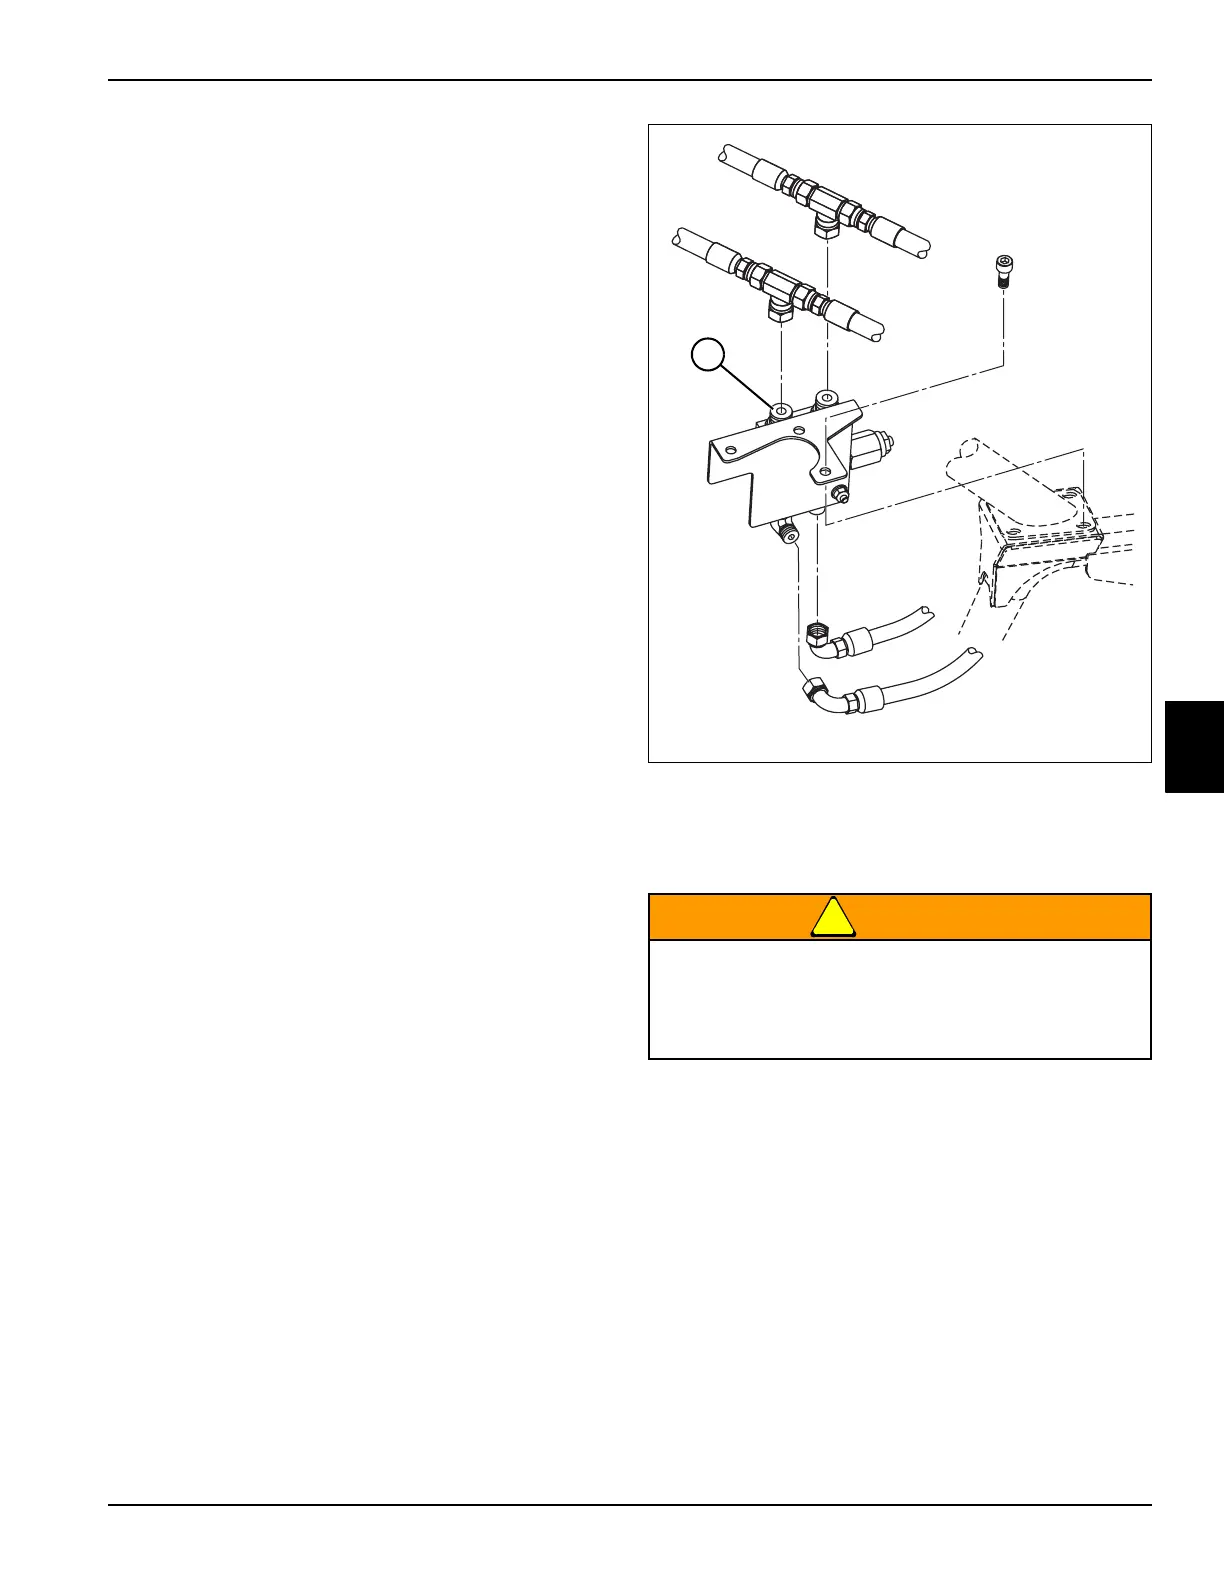
Figure 5-44
29. Install blocking disk at location (3) to block oil to port
“RW1” of flushing valve.
30. Install wheel restraint to rear wheel.
!
WARNING
31. Lift and support front of machine.
32. Open flow meter valve completely before starting
engine.
Prevent personal injury. Use properly rated lifting
devices. Always be sure load is balanced before
lifting.
Support the machine properly using jackstands.
TN3915
3

 Loading...


