CUTTING UNITS
4252490-Rev A 8-37
8
8. Install counterweight (3), two lock washers (2), and
screws (1).
9. Lubricate grease fitting (11) with grease that meets
or exceeds NLGI Grade 2 LB specifications. Clean
grease fitting before lubricating and apply grease to
the fitting with a hand grease gun only. Pump the gun
slowly until a slight amount of pressure is felt, then
stop—do not over-grease. Do not use compressed
air gun.
10. Install grass shield. (See “Grass Shield” on
page 8-32.)
11. Adjust bedknife-to-reel clearance. (See
“Bedknife-to-Reel Clearance Adjustment” on
page 8-17.)
12. Install cutting unit to mower. (See “Cutting Unit” on
page 8-22.)
Reel Assembly
Removal and Installation
See Figure 8-43.
1. Park the mower safely. (See “Park Mower Safely” on
page 1-6.)
2. Remove cutting unit from mower. (See “Cutting Unit”
on page 8-22.)
3. Remove bedknife backing assembly. (See “Bedknife
Backing Assembly” on page 8-32.)
4. Remove front roller. (See “Front Roller” on
page 8-38.)
5. Remove grass shield. (See “Grass Shield” on
page 8-32.)
6. Remove drive side reel bearing housing assembly.
(See “Reel Assembly” on page 8-37.)
7. Remove non-drive side reel bearing housing
assembly. (See “Reel Assembly” on page 8-37.)
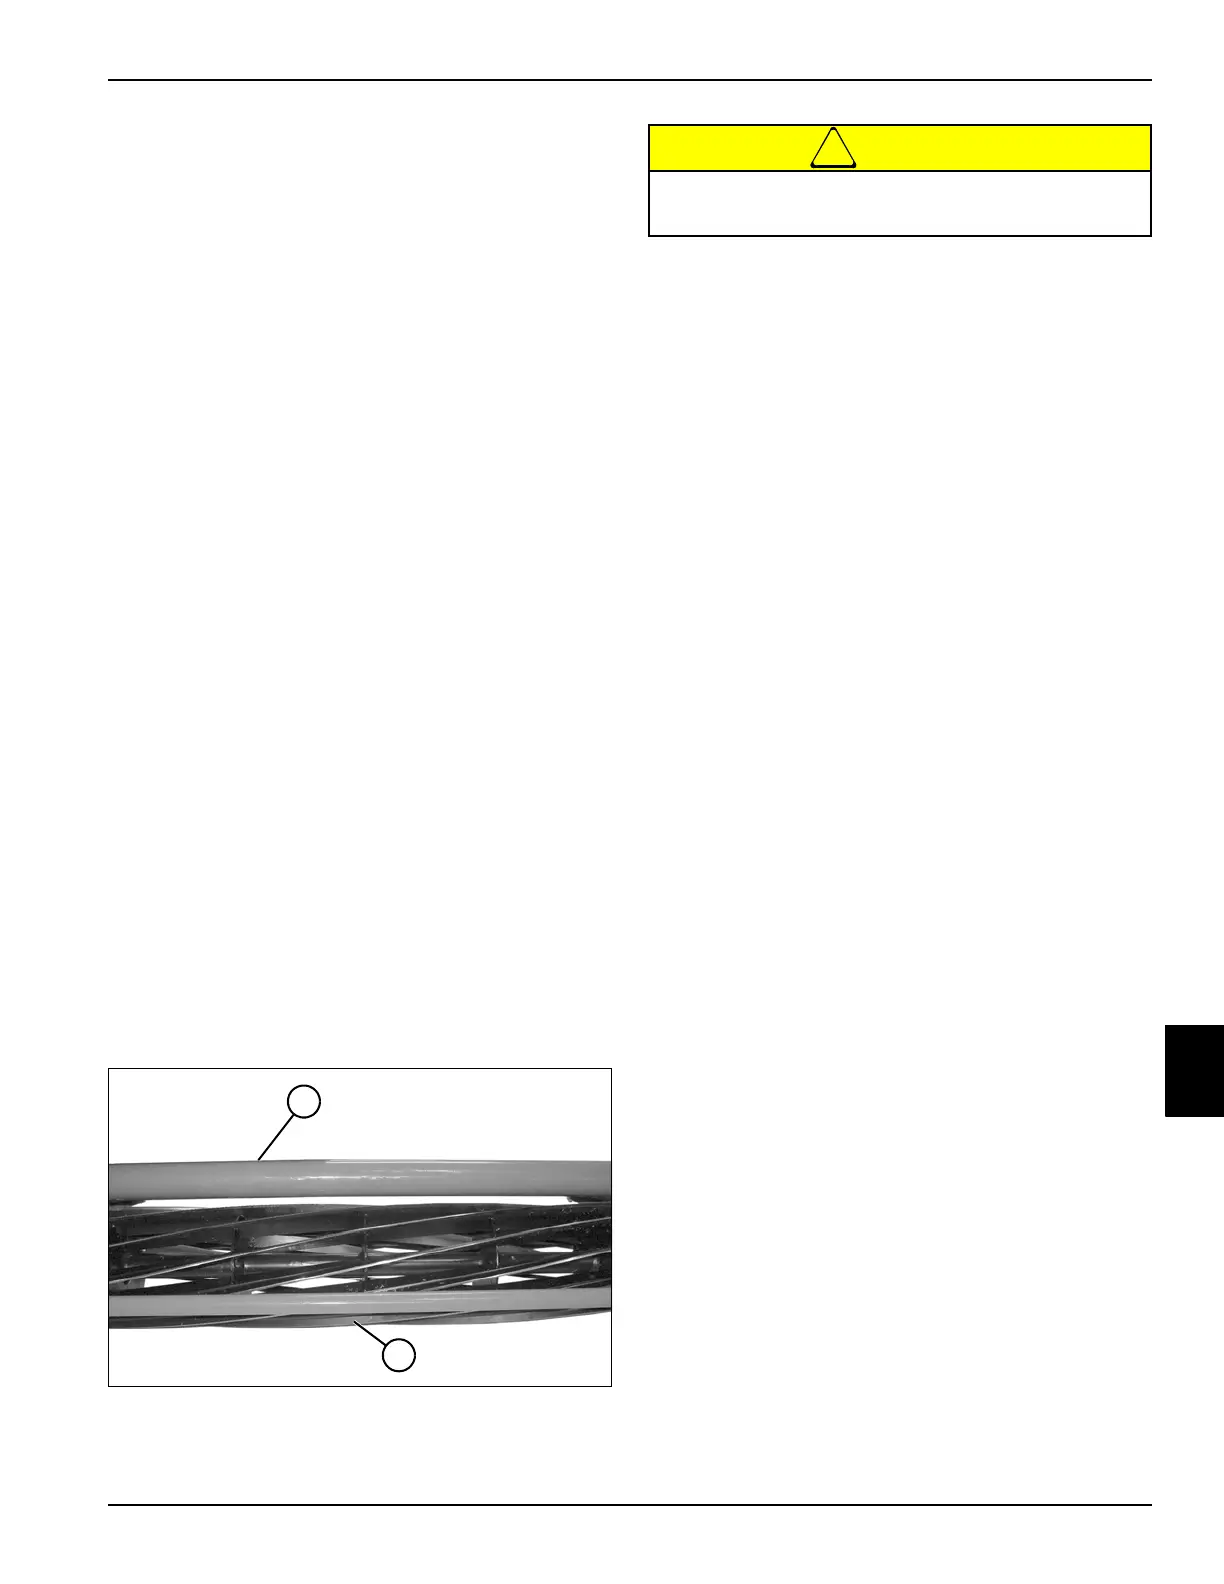
Figure 8-43
!
CAUTION
8. Remove reel (2) from frame (1).
Installation Notes
• Install reel assembly by reversing the order of
removal.
• Adjust reel bearing pre-load. (See “Reel Bearing
Pre-Load Adjustment” on page 8-19.)
• Adjust grass shield. (See “Grass Shield Adjustment”
on page 8-18.)
• Adjust bedknife-to-reel clearance. (See
“Bedknife-to-Reel Clearance Adjustment” on
page 8-17.)
• Check height-of-cut adjustment. (See “Height-of-Cut
(HOC) Adjustment” on page 8-18.)
TN2655
1
2
To prevent personal injury and damage to the
cutting edges, handle the reel with extreme care.

 Loading...


