4-18 Videojet DataFlex 6530 Service Manual - Rev AA
Installation
The available Usage options are:
• Print Sensor 1: Using a 24 V PNP input to trigger the printer to start printing
• Print Sensor 2: Using a 24 V PNP input to trigger the printer to start printing
Note: The printer supports the use of two print sensor options. Only one may be in use at a given
time. The purpose of this is to accommodate two different methods of print triggering, for
example a registration mark on printed film and a cam proximity sensor for use on unprinted
film.
• Print Input Select: Uses an input to determine if Print Sensor 1 or Print Sensor 2 is the
active print sensor for this print job.
• External error: Using a 24 V PNP input to inform the printer that the host packaging
machine or line has an error and the printer should not run.
• Clear print queue: Using a 24 V PNP input to inform the printer that the job
allocation queue should be cleared.
•Product Ready
• IP Address Reset
Repeat the steps 1 to 5 for all the three inputs and then download the parameters to the printer to
apply these new settings.
4.8.2 Configuring the Outputs
To configure the outputs, proceed as follows:
1. Connect the CLARiTY Configuration manager to the printer and upload the parameters.
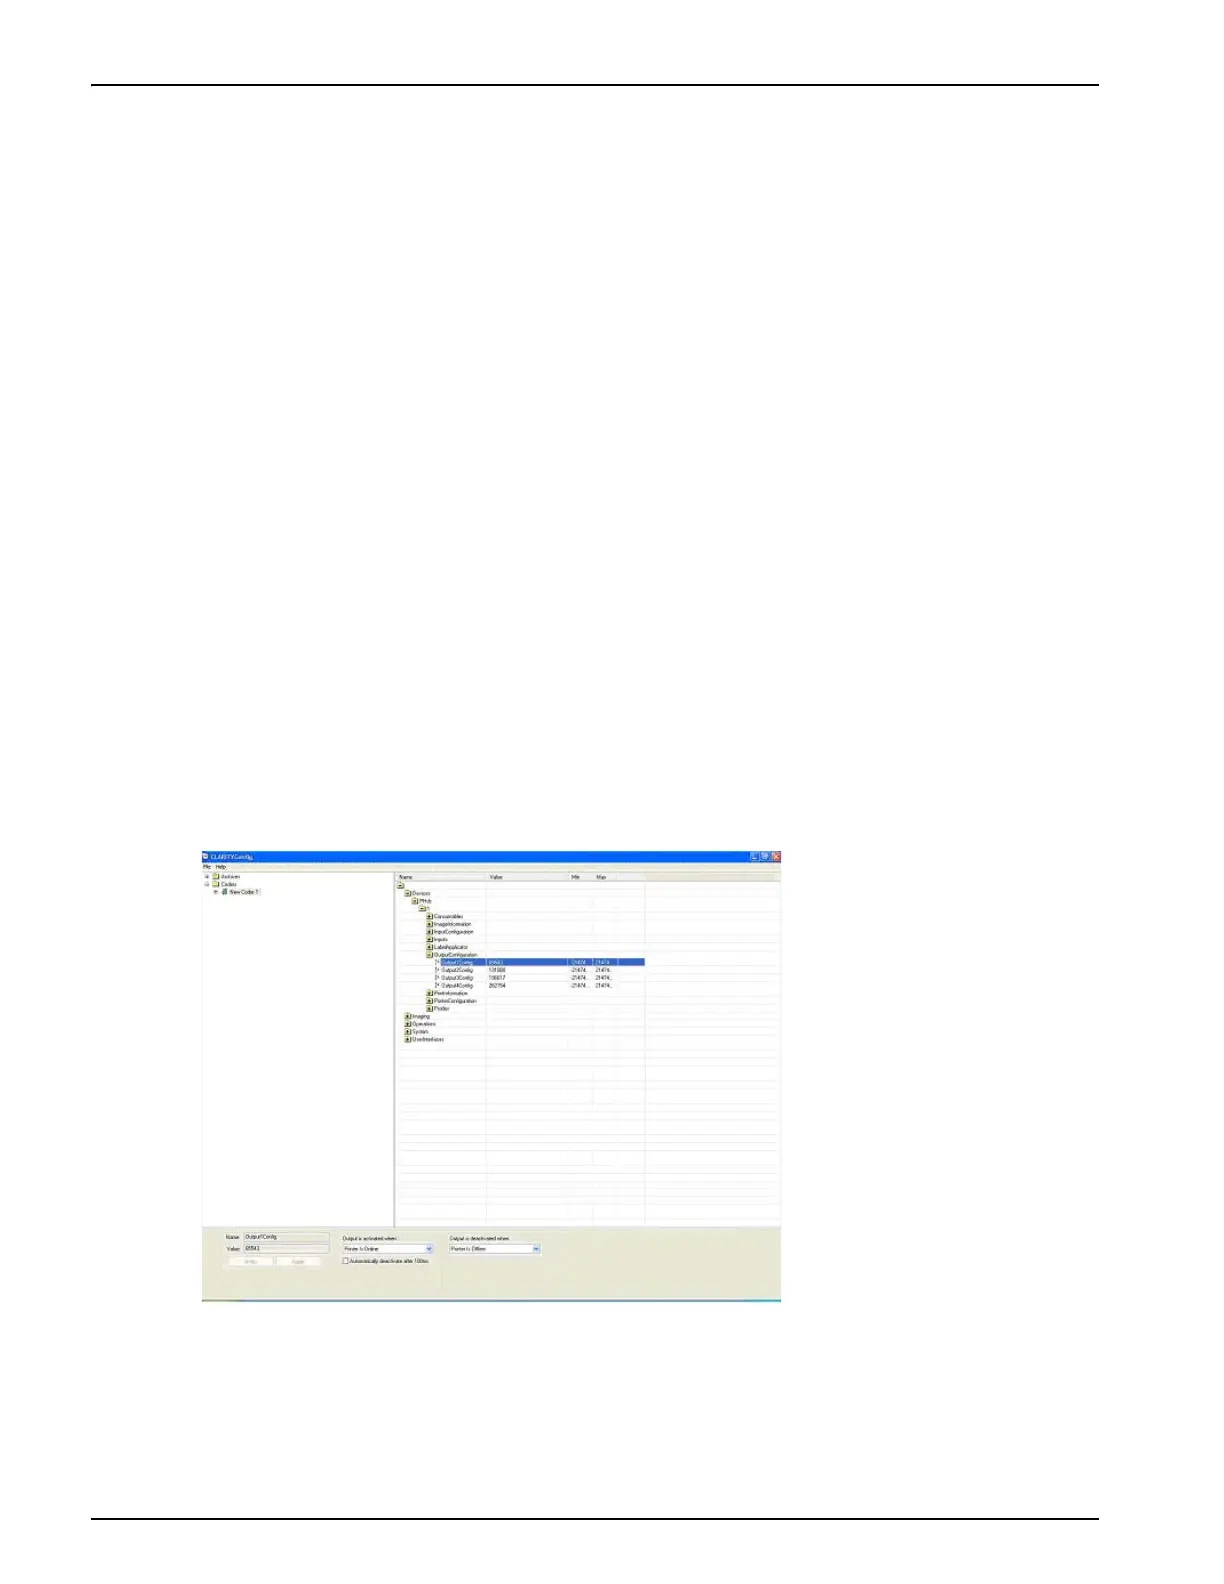
2. Open the output configuration folder.
3. Click on the output you wish to configure. The logical conditions that activate or deactivate
the output are viewed in the lower area of the screen.
Figure 4-19: Output Configuration Window