Maintenance3403−4/A1
Winterthur Gas & Diesel Ltd.
2/ 2
3. Procedure − Piston
Installed
WARNING
Injury Hazard: Before you
operate the turning gear,
make sure that no
personnel are near the
flywheel, or inside the
engine.
1) Operate the turning gear to move the
piston to BDC.
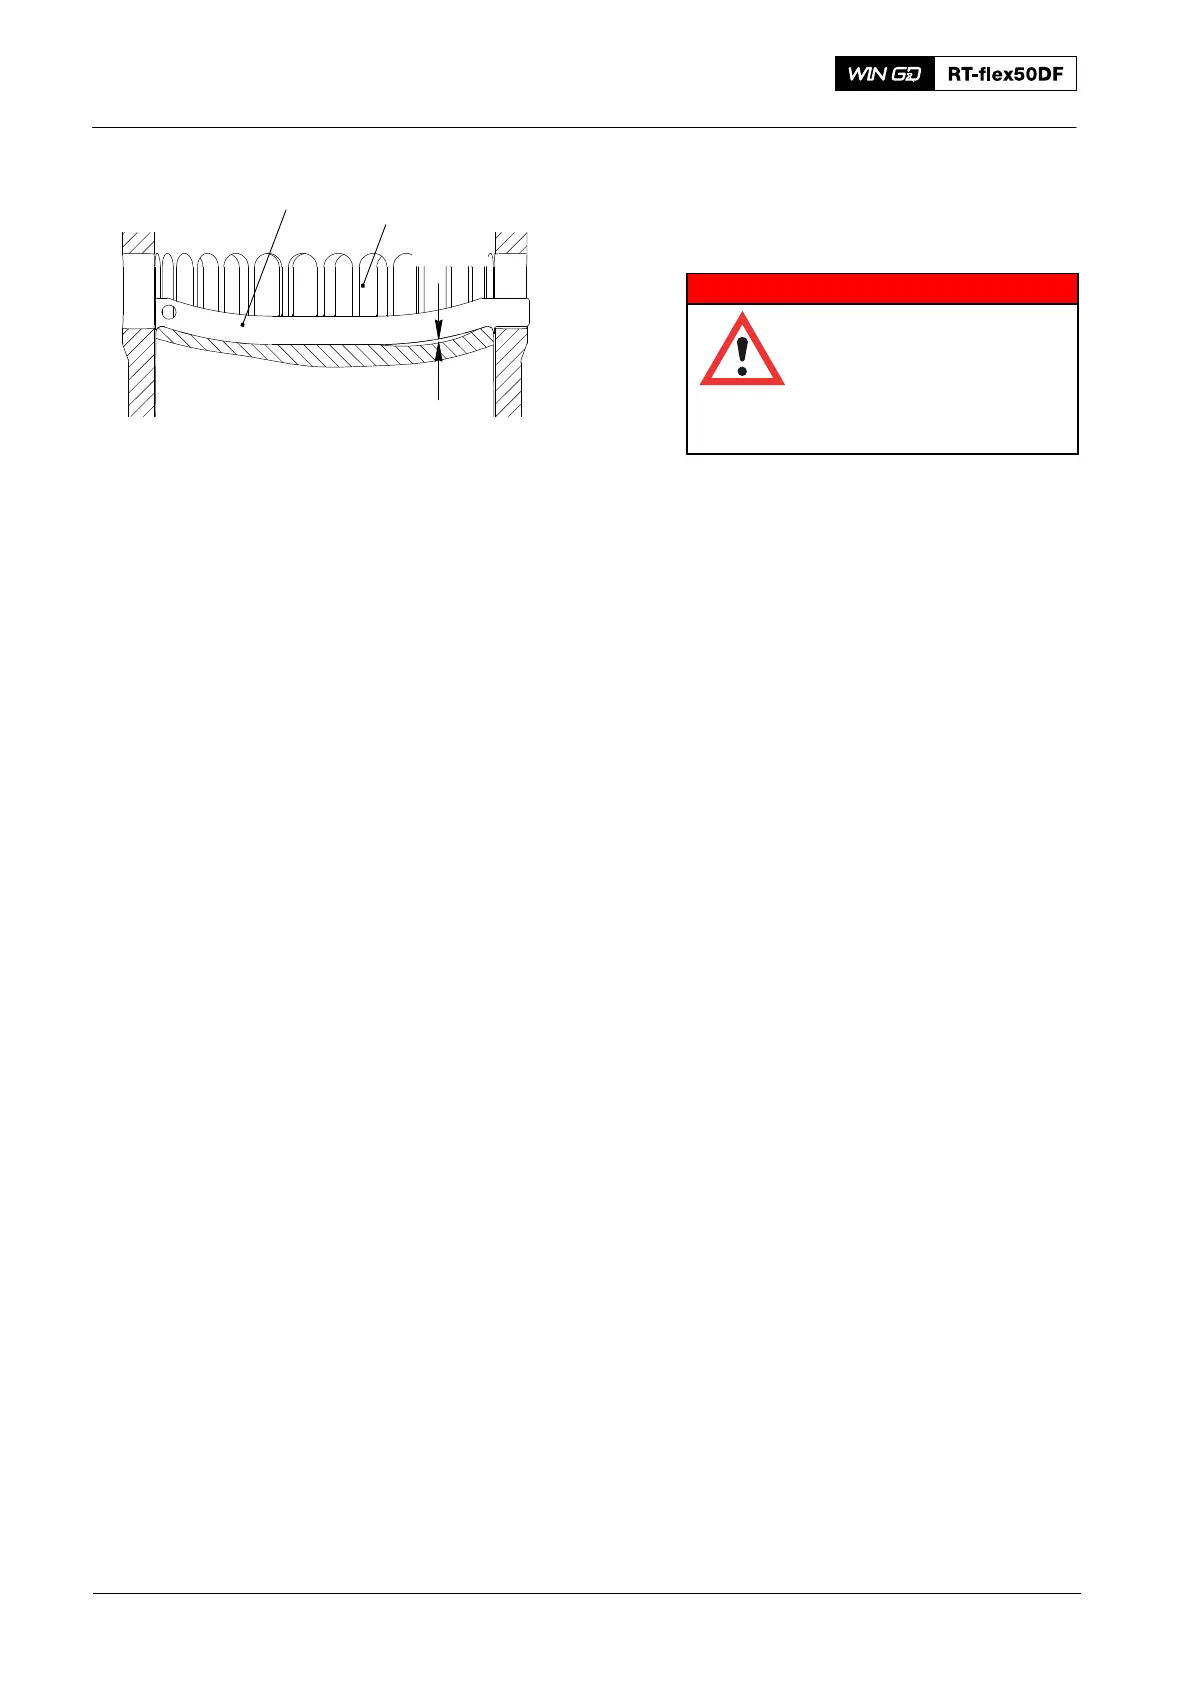
2) Look at the piston head through the
scavenge ports (1, Fig. 2) to find burn
scars.
3) Put the template (94366A) through the
related scavenge port.
4) Use the feeler gauge 94122 to
measure the depth of the scar(s).
Note: You can also use a depth gauge to
measure the depth of the burn
scar(s).
5) Remove the template (94366A).
6) If there are more burn scars, put the
template (94366A) through the related
scavenge port (1) and do step 2) to
step 4) again:
7) If the burn scars are less than 10 mm,
do step a) and step b):
a) Use an applicable tool to grind the
burn scars.
b) Use emery paper to make sharp
edges smooth.
8) If the burn scars are more than 10 mm,
do step a) to step d):
a) Remove the piston, refer to
3403−1 paragraph 1 and
paragraph 2.
b) Remove the piston head, refer to
3403−3, paragraph 1 and
paragraph 2.
c) Do the procedure to surface weld
and repair the piston head to its
original thickness.
d) Assemble the piston (refer to
3403−3, paragraph 3).
Note: Before you start the engine, find
the cause of the burn scars.
Piston − Top Surface Check
2016
94366A
10 mm
009.901/02
Fig. 2
1