Maintenance6708−1/A1
Winterthur Gas & Diesel Ltd.
8/ 10
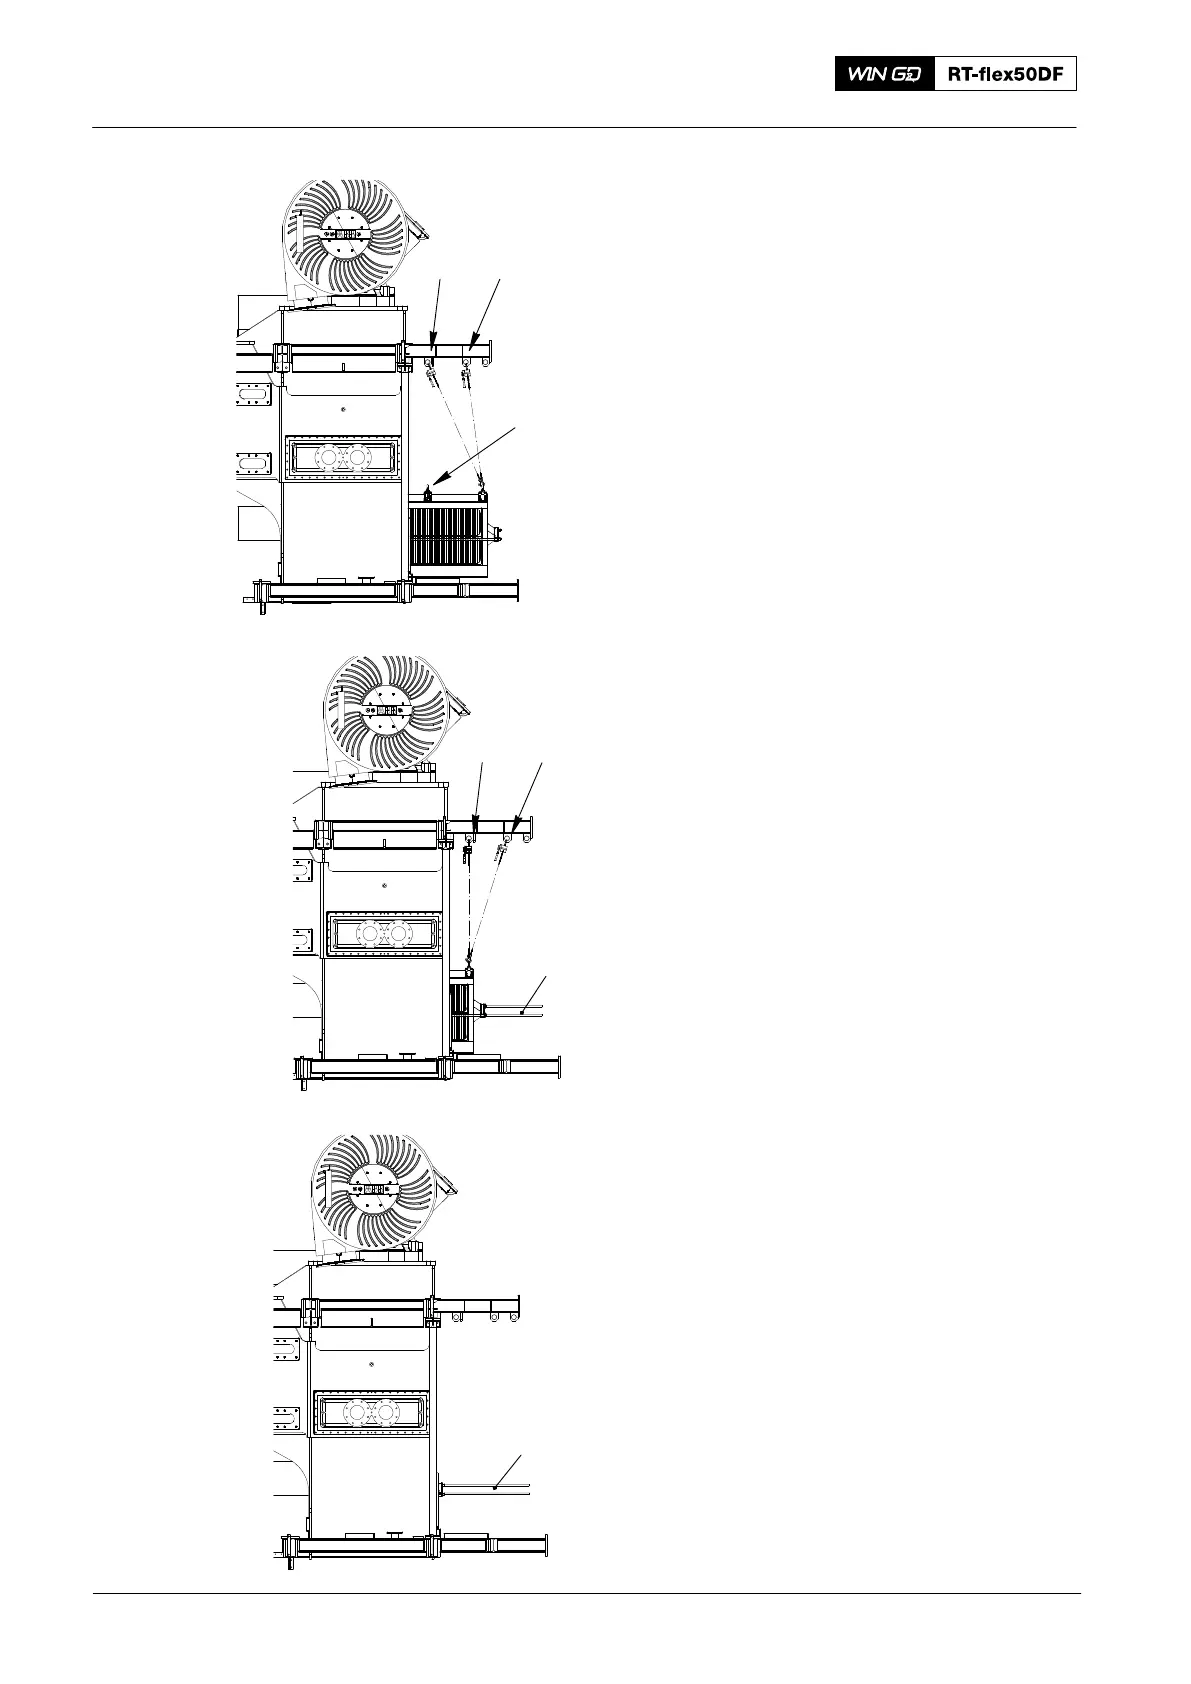
21) Remove the manual ratchet (H2) and
attach it to the shackle (S2). as shown
in Fig. 13.
22) Remove the shackle (S1) and the plate
(94667).
Note: During step 23), operate the
manual ratchets (H1, H2) to keep
tension on the manual ratchets
(H1, H2).
23) Use the tool (94667D, Fig. 14) to push
the water separator to the position
shown.
24) Remove the manual ratchets (H1, H2).
25) Remove the shackle (S1) and the plate
(94667).
26) Use the tool (94667D, Fig. 15) to push
fully in the water separator.
27) Remove the support (94667D).
2016
Water Separator: Removal and Installation
Fig. 13
Fig. 14
WCH00709
H1 H2
94667
S1
H1 H2
94667D
WCH00709
Fig. 15
94667D
WCH00709