CHAPTER FIVE
5-12
Assigning Standards to a Project
The project standard field is used to assign standards that exist
in the database to the selected project. Standards can be shared
between projects. A total of 300 standards can be assigned to
one project.
To assign standards to a project:
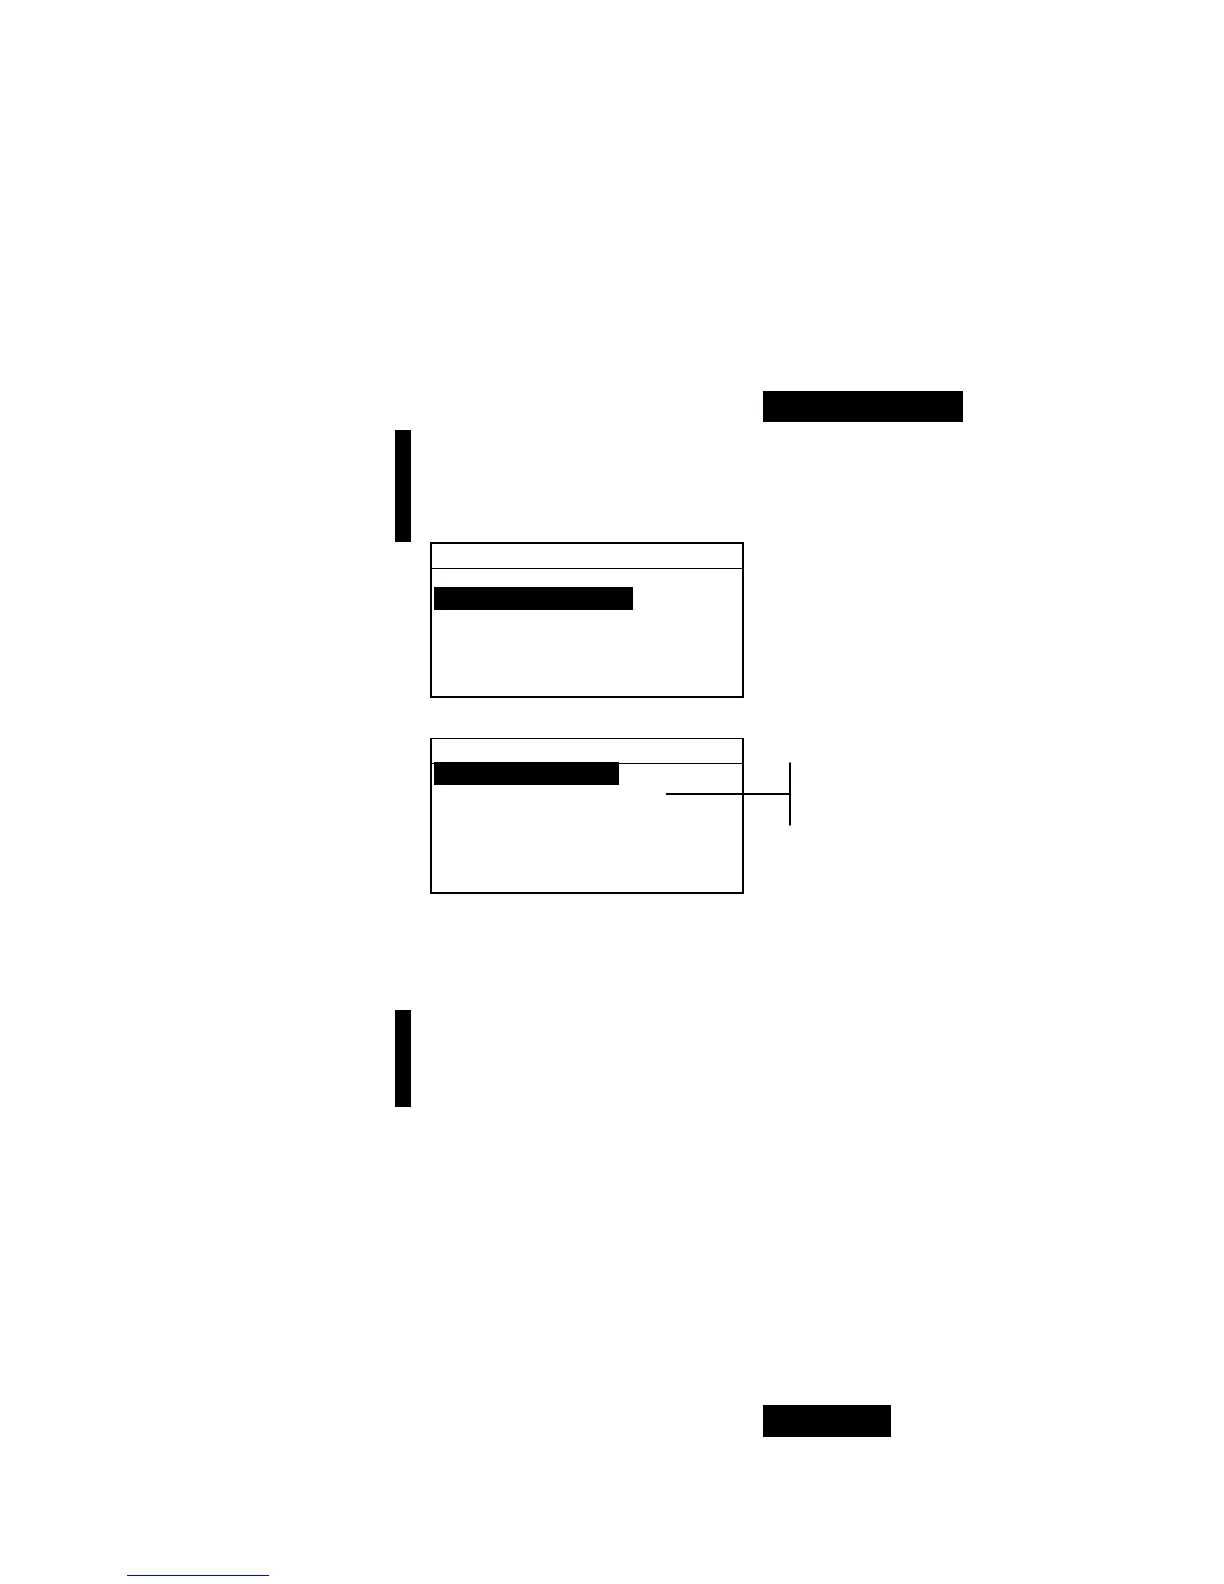
1. Use the Tab keys $@ to highlight Proj Standards.
NOTE: If no standards are assigned to the current project, the “No
stds in this project. Using all standards” message
appears. Press any key to clear the message and continue with
assigning standards.
View Project : 1
Proj Standards
Proj Name:
Proj Lock: Unlocked
Add New Project
Delete This Project
2. Press the Enter key # to access the Select Standards menu.
Select Standards
1: Standard A
> 2: Standard B
3: Standard C
> 4: Standard D
5: Standard E
6: Standard F
3. Use the Tab keys $@ to highlight the standard to assign.
4. Press the Enter key # to toggle the standard active or
inactive. The “>” indicates the standard is assigned.
NOTE: “Project is Locked” appears in the display when
attempting to change the status of a standard when the project is
locked. Refer to Locking/Unlocking Projects later in this section for
additional information. Press the Enter key # to clear this if it occurs.
5. Continue with additional standard selections.
6. After selections are complete, press the Escape key ! to
save and exit.
Entering Project Name
The project name can consist of up to 20 characters with the first
10 displaying in the View Project menu. The name is entered
using the alphanumeric editor.
To access project name menu:
1. Use the Tab keys $@ to highlight Proj Name.