CHAPTER FIVE
5-20
Measurement Averaging
When the averaging function is activated, all modes (except
calibration) require multiple measurements per sample. The
number of measurements is set in the instrument configuration.
Measurements are typically taken at various locations on a
sample to achieve average data values. Averaging should be
used when measuring non-uniform samples, textured materials,
and any dark or high chroma colors.
To perform an averaging measurement sequence:
1. Select project location (if used) as discussed earlier.
2. Select the standard location if the auto standard selection is
not activated in configuration.
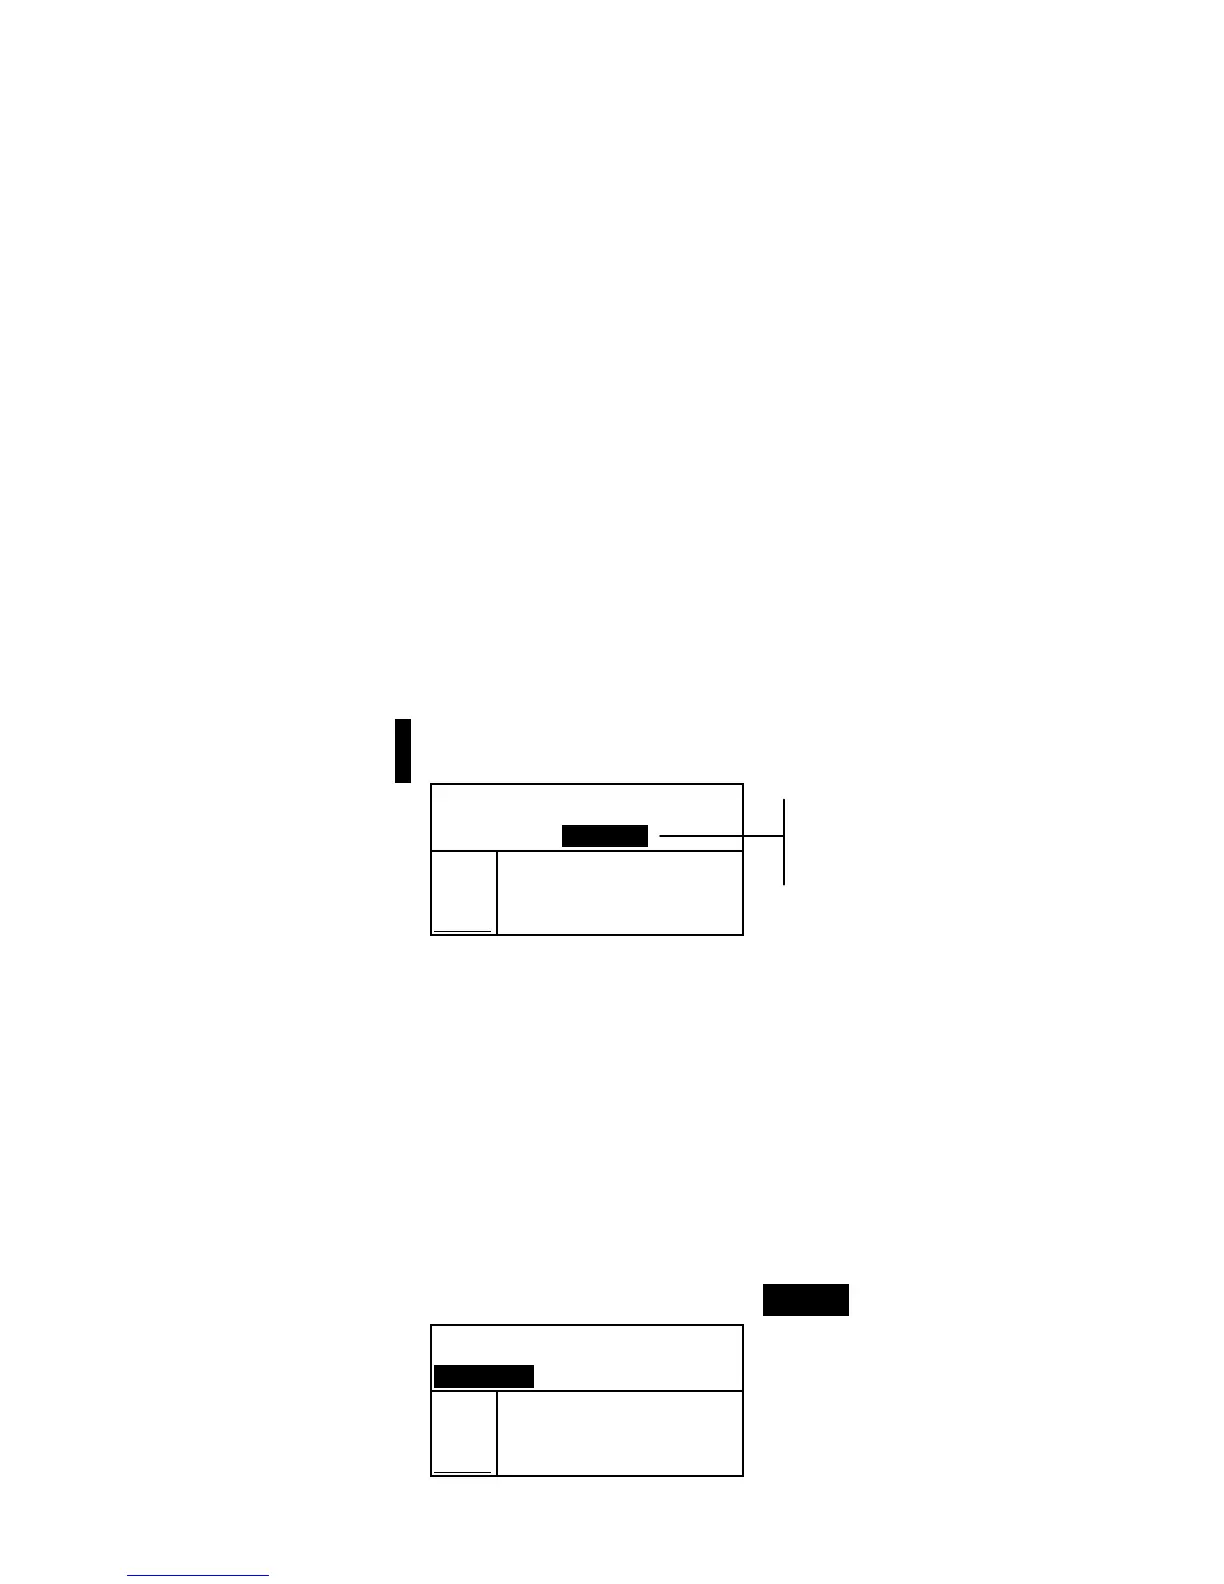
3. Position the instrument on the first area of the sample and
take measurement. Sample data appears when the
instrument is held down and averaged data appears when
the instrument is lifted.
NOTE: Pressing the Escape key ! during averaging aborts the
sequence and removes all measurements averaged to that point.
Proj 1: PROJECT A
Std 2: STANDARD B
Average: 1 of 3
L*a*b*
D65/10
.
.
..
.
.
.
...
ΔL* +0.35
L* 94.10 Δa* –0.15
a* +0.91 Δb* +0.15
b* –3.59 ΔE 0.41
4. Continue with additional measurements as required to
fulfill averaging sequence.
Sample Database Tools
The Sample Database Tools menu allows you to transmit data
to a computer or printer and delete stored sample data. If the
storage feature is not used, only the current sample can be
transmitted from this menu.
To access the tools menu:
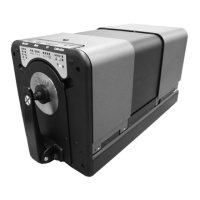
1. Select the project location (if used) and store sample as
discussed earlier.
2. Use the Tab keys $@ to highlight Sample.
Proj 1: PROJECT A
Std 1: STANDARD A
Sample: #9 9:51
L*a*b*
D65/10
.
.
..
.
.
.
...
ΔL* +0.05
L* 88.25 Δa* —0.03
a* —4.71 Δb* —0.14
b*+36.64 ΔE* 0.16
Indicates the first
measurement of three
required