104 Installation, Operation, and Maintenance
Part 2, Operation
5 Syringes and Needles
7 Move the plunger carrier loop down and tighten the plunger screw until it
stops.
8 Move the plunger carrier loop up and down. If the syringe plunger does not
move along with the carrier, repeat the previous steps. Be sure the plunger
screw is tight.
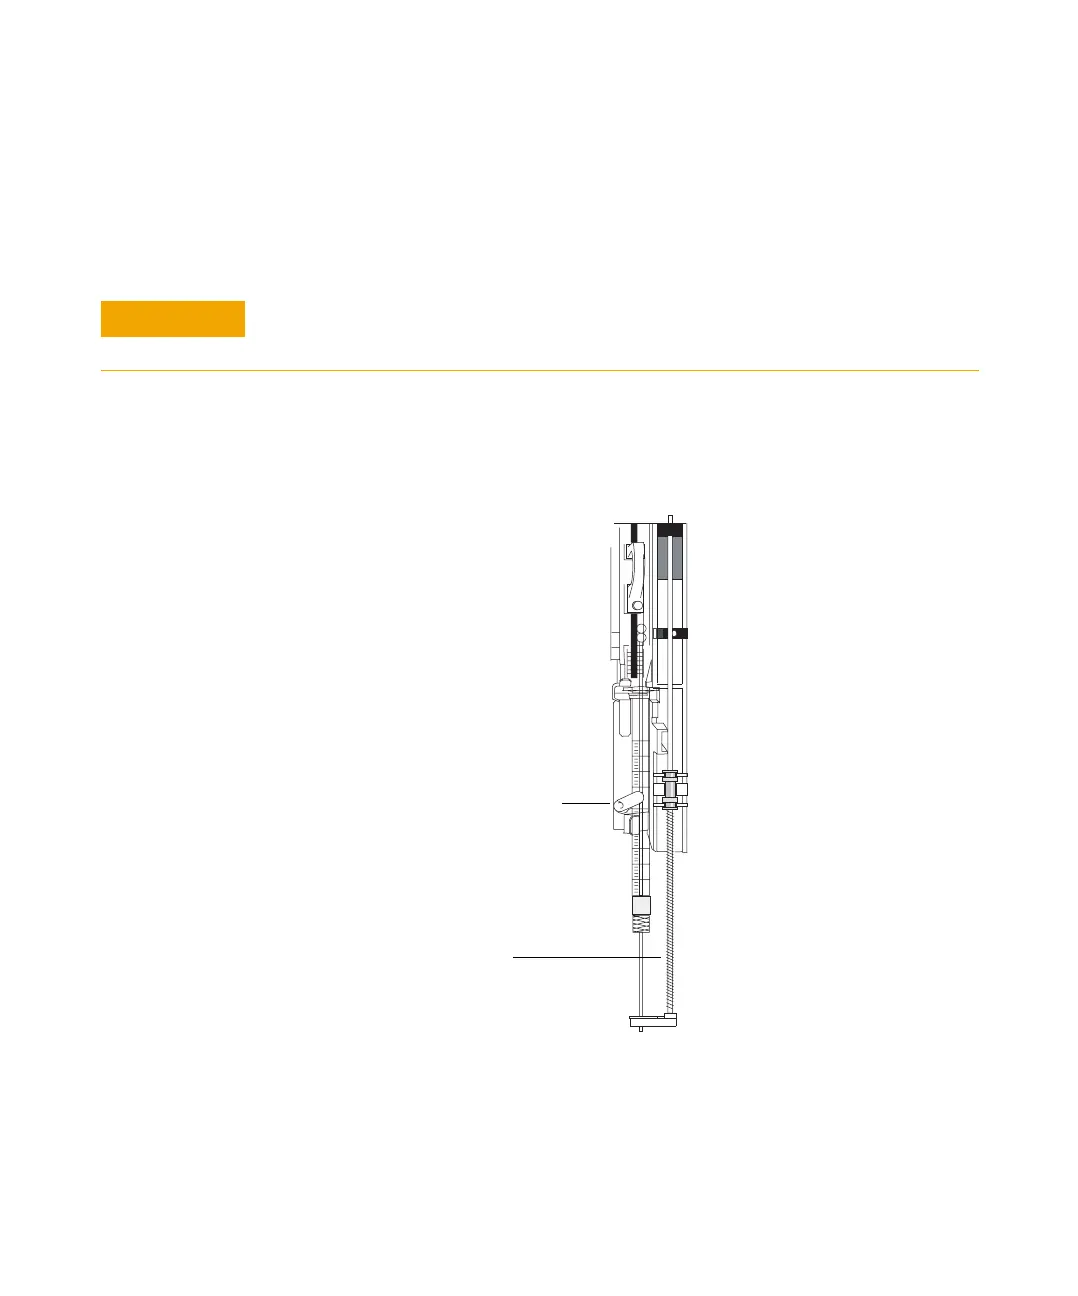
9 Check that the needle is aligned with the needle guide in the foot by moving
the slide up and down. The needle should slide smoothly in the needle
guide. See Figure 42.
CAUTION
Repeating this movement can damage the syringe.
Figure 42 Syringe carriage and needle support with syringe installed
Syringe latch (closed)
Needle support
 Loading...