Installation 2
Installation, Operation, and Maintenance 31
Part 1, Installation
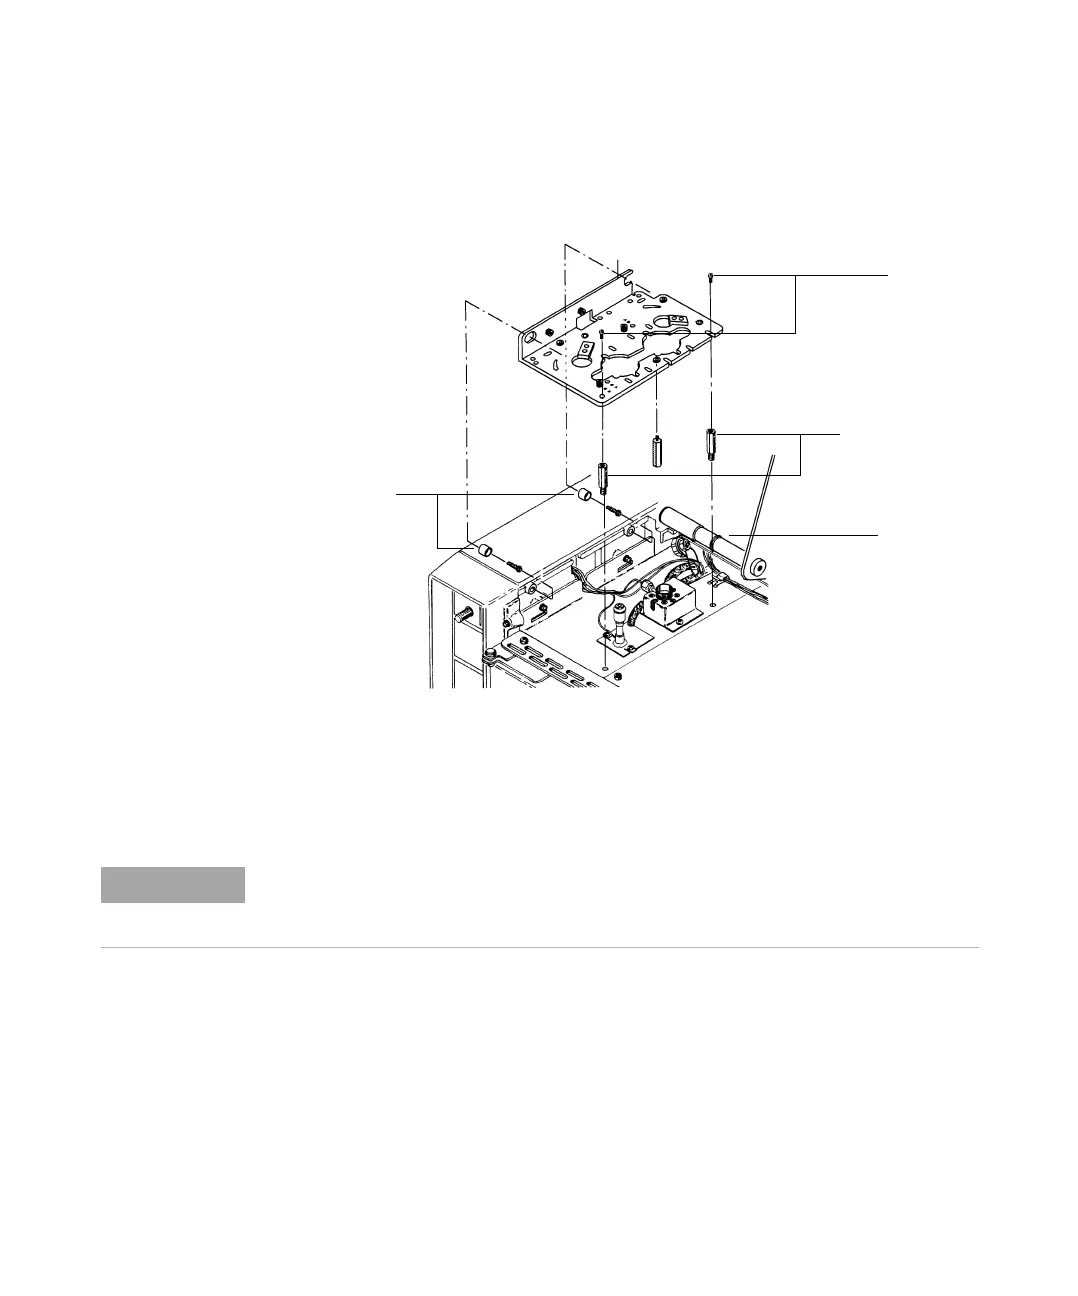
5 Remove the two screws attaching the bracket to the standoffs on the top of
the GC. See Figure 4.
6 Remove the bracket.
7 Reinstall any inlet nuts that were removed.
Install the new injector bracket
1 Locate the plastic tabs on the back of the front bezel above the oven door.
Trim the third tab from the left so that it is flush with the back edge of the
bezel (Figure 5).
Figure 4 Removing an injector bracket
Remove
These standoffs
remain
These bushings
and screws remain
Lid shaft
NOTE
Do not remove the bushings shown in Figure 4 that pass through the bracket from the left
or the standoffs that connect it to the top of the GC. These parts will be used to install the
new bracket.
 Loading...