113
A Accessories and platepads
Using the teach plate to set the teachpoint for an accessory
Bravo Platform User Guide
Using the teach plate to set the teachpoint for an accessory
About this topic
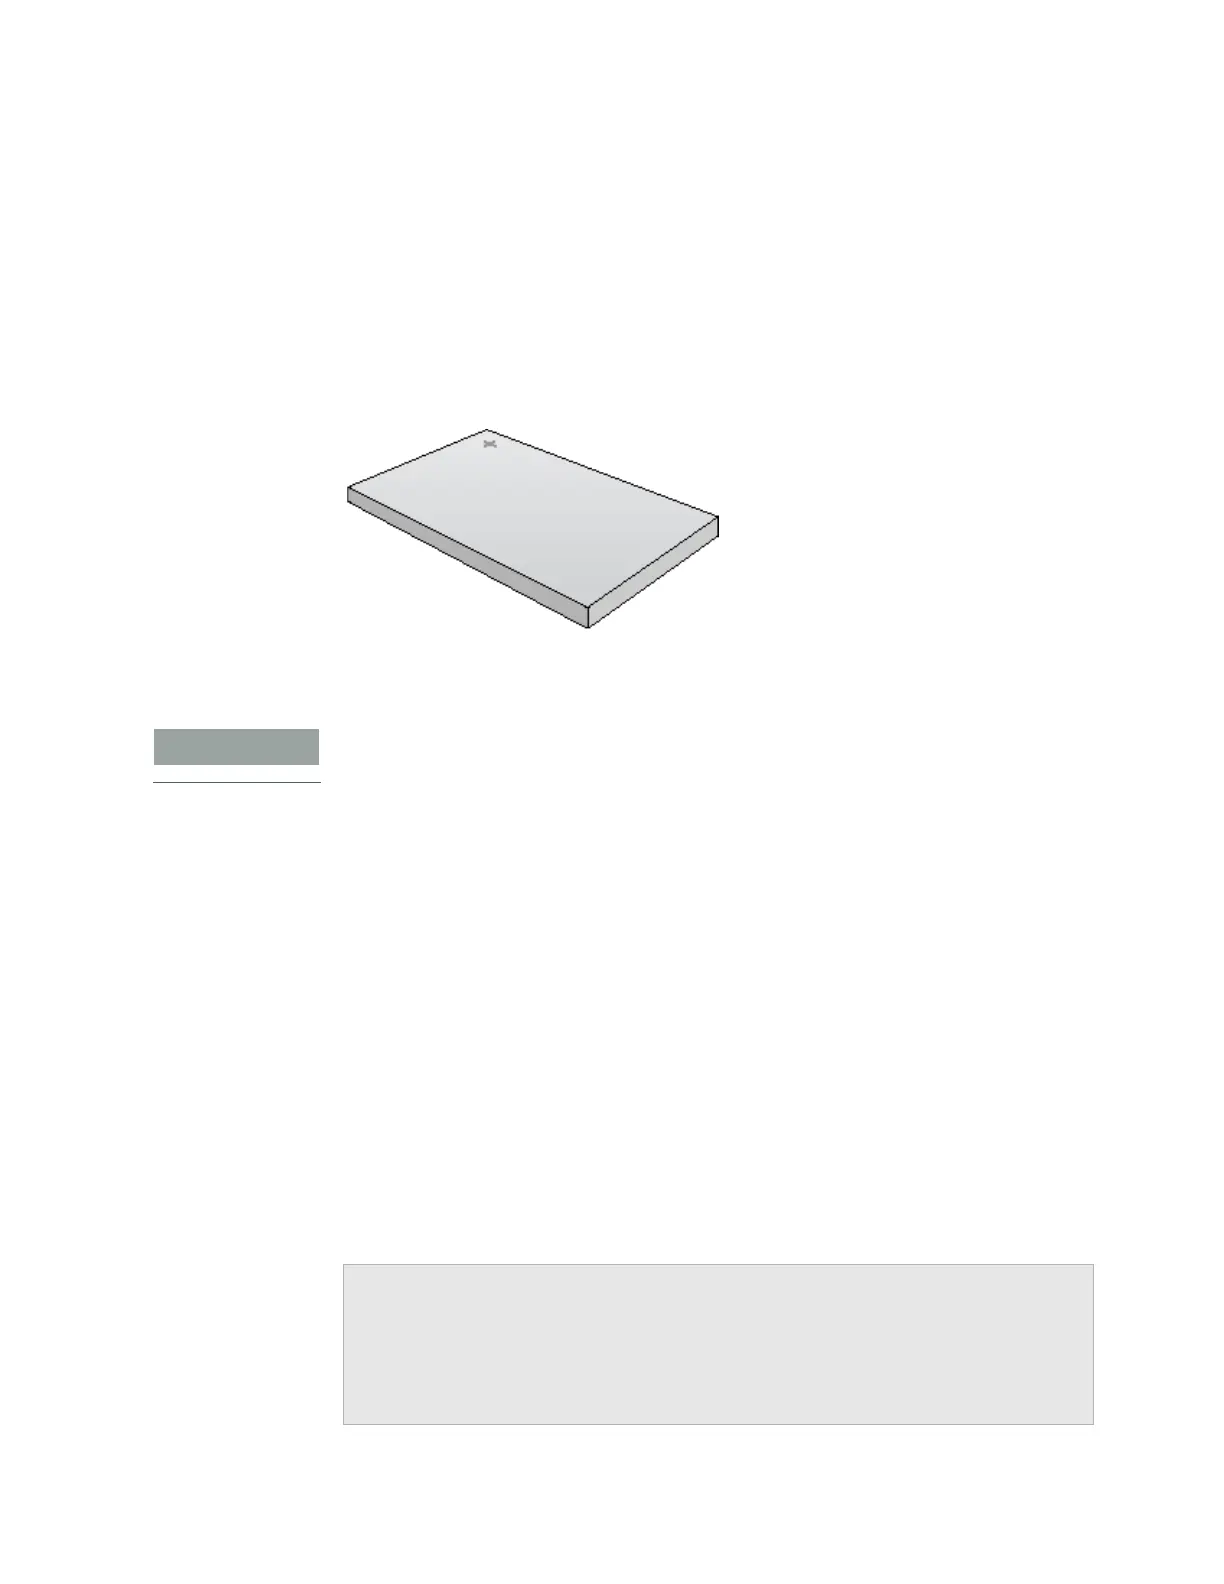
The teach plate is a 10 mm thick metal plate that fits in the plate nest of an accessory,
such as the Orbital Shaking Station. The teach plate has a crosshairs in one corner, as
the following figure shows. You use the teach plate to set the pipettor teachpoint for an
accessory that does not have a crosshairs for alignment.
Figure
Teach plate
Adjusting the teachpoint using a teach plate
When editing the teachpoint for the accessory, you must account for the teach plate
height before setting the teachpoint.
To set a teachpoint using the teach plate:
1 Place the teach plate on the accessory installed at the given deck location.
2 In Diagnostics, click the Jog/Teach tab.
3 In the Location list, select the deck location of the accessory.
4 In the Jog/Teach tab, use the controls to jog the head so that the A1 pipette tip is in
the correct position (directly over the crosshairs with paper-thin clearance). For
details, see “Setting the first teachpoint” on page 36.
5 Jog the head up in the z-axis so that you have enough room to remove the teach
plate. Remove the teach plate.
6 In the Jog/Teach tab, use the controls to jog the head down in the z-axis until there
is paper-thin clearance between the end of the tip and the station’s top surface.
7 Click Teach to set the teachpoint.
8 In the Profiles tab, click Update this profile.
Related information
For information about… See…
Hardware components “Hardware overview” on page 5
Editing teachpoints “Setting teachpoints” on page 34
Using the accessory in a protocol VWorks Automation Control User Guide