6 Calibration Procedures
Using the Front Panel for Adjustments
186 U3606A User’s and Service Guide
General calibration procedure
The steps below shows how the calibration adjustments are performed. For
detailed steps involved in each measurement or source function in the
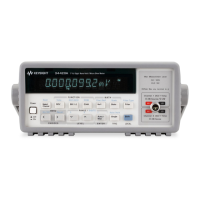
U3606A Multimeter|DC Power Supply, see the “Adjustments
procedures” on page 189.
1 Unsecure the instrument (see “Unsecuring the instrument for
calibration” on page 176).
2 After verifying that the security code you entered is correct (“PASS” is
briefly displayed in the primary display), the instrument goes into the
adjustment mode — “CALib” is displayed on the lower secondary display
and the reference input value of the next adjustment item is displayed
on the upper secondary display.
For example, if the reference input of the next adjustment item is
shorting the input terminals, the upper secondary display will display
“Short”.
Refer to “Adjustments procedures” on page 189 for the list and
sequence of all the adjustment items.
If you do not intend to perform the complete set of adjustment items, you
may press or to select the item you wish to calibrate.
 Loading...
